Welcome to part 6 of our TensorFlow Object Detection API tutorial series. First, you can download the code on my GitHub page. In this part, we're going to export inference graph and detect our own custom objects.
Export Inference Graph:
When training is complete, the last step is to generate the frozen inference graph (our detection model). Copy export_inference_graph.py file and paste it to /object_detection folder, then from command prompt issue the following command, where “XXXX” in “model.ckpt-XXXX” should be replaced with the highest-numbered .ckpt file in the training folder:
python export_inference_graph.py --input_type image_tensor --pipeline_config_path CSGO_training/faster_rcnn_inception_v2_coco.config --trained_checkpoint_prefix CSGO_training/model.ckpt-XXXX --output_directory CSGO_inference_graph
Use our trained custom object detection classifier:
The above line creates a frozen_inference_graph.pb file in the /object_detection/CSGO_inference_graph folder. The .pb file contains the object detection classifier. Rename it to CSGO_frozen_inference_graph.pb and move it to your main working folder. Also, take the same label map file as you used for training. In my case, I renamed it to CSGO_labelmap.pbtxt. Then I took object_detection_tutorial_grabscreen_faster.py code from my own 4th tutorial and renamed it to CSGO_object_detection.py and changed few lines, that it could work for us:
I changed line 39 to my frozen inference graph file.PATH_TO_FROZEN_GRAPH = 'CSGO_frozen_inference_graph.pb'
I changed line 41 to my labelmap file.PATH_TO_LABELS = 'CSGO_labelmap.pbtxt'
And lastly, before running the Python scripts, you need to modify the line 42 NUM_CLASSES variable in the script to equal the number of classes we want to detect. I am using only 4 classes, so I changed it to 4:NUM_CLASSES = 4
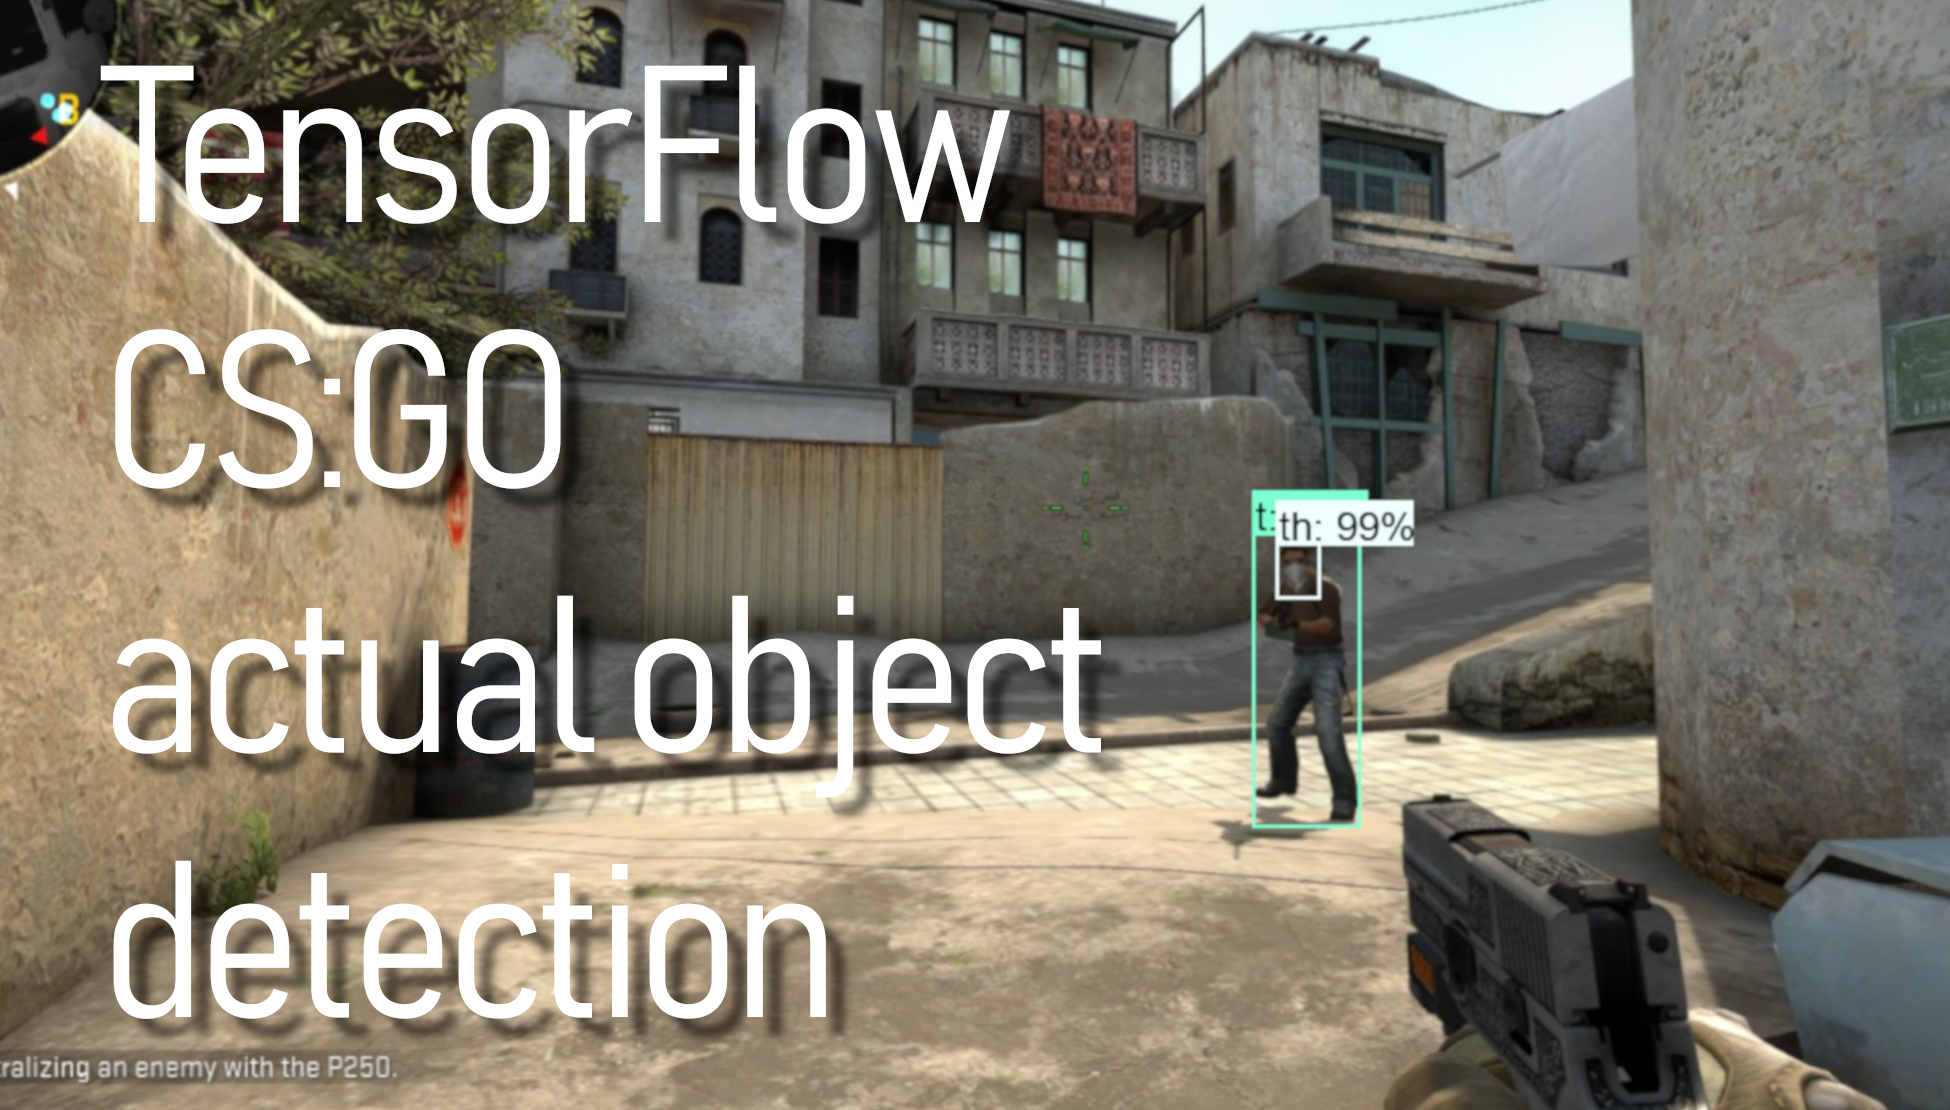
If everything is working properly, the object detector will initialize for about 10 (for GPU may take a little longer) seconds and then display a custom window size showing objects detected in the image. In our case, it's detecting players in the CSGO game.
That’s all for this tutorial. Now we covered all steps of how to implement your own custom object detection model. In the next tutorial, we will be working on shooting our enemies!