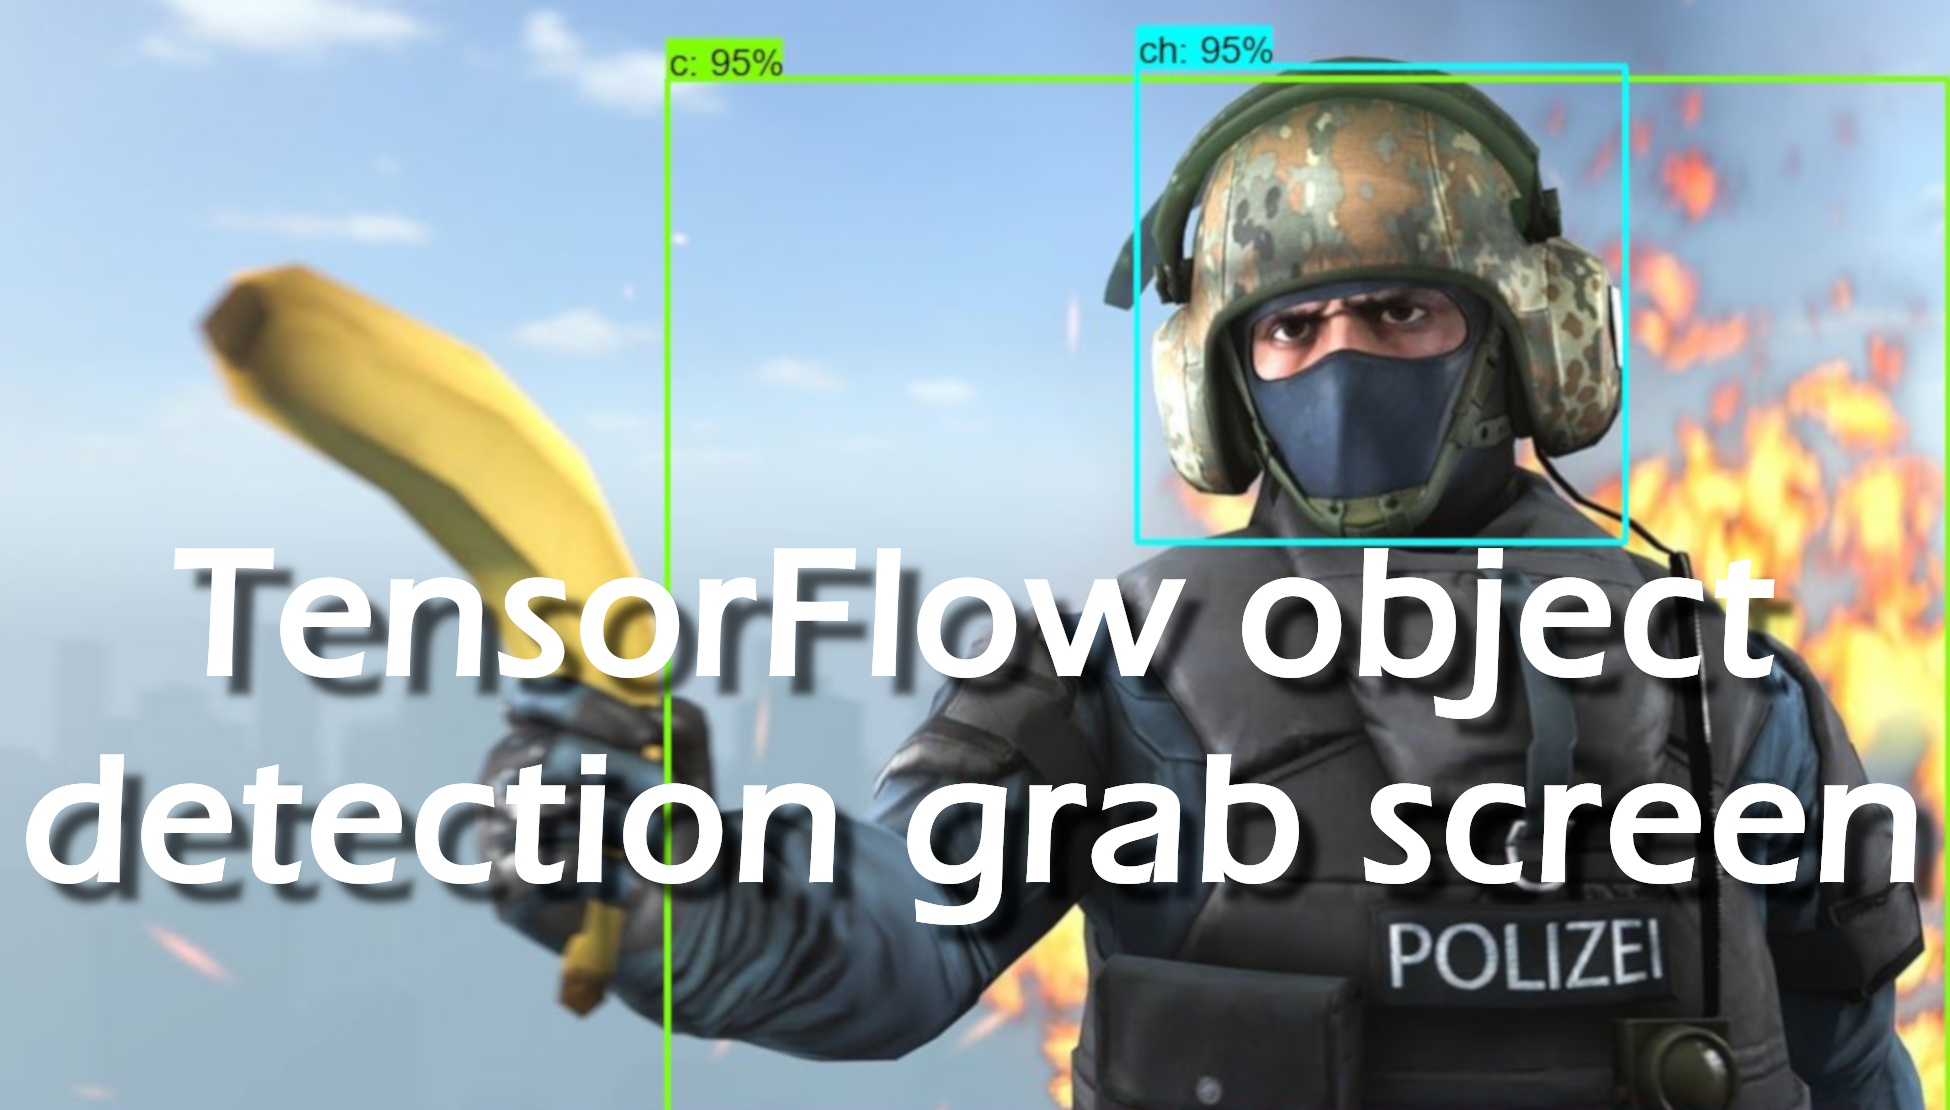
In the previous installation tutorial, we mentioned that vision of this tutorial series is to create a TensorFlow object detection model that could detect CS:GO players. In this short tutorial, we’ll focus more on grabbing our monitor screen where we could detect objects. I must mention that we need to find the fastest way to grab the screen, because later when we process images and try to detect objects, our FPS drops, and if our screengrab FPS were slow, this would affect our final frames per second.
At first, we need to install all required libraries, so you can begin installing OpenCV by writing this line: pip install opencv-python, then you can install the mss library: python -m pip install --upgrade --user mss. If you don't have already, install NumPy: pip install numpy. And at the end probably you will need the pywin32 package, download it and install it from the wheel file. grabscreen.py file you can download from my GitHub page. Now you should be ready to test grab screen codes. So, begin your code by importing libraries and setting variables that we'll use:
import time
import cv2
import mss
import numpy
from PIL import ImageGrab
from grabscreen import grab_screen

# title of our window
title = "FPS benchmark"
# set start time to current time
start_time = time.time()
# displays the frame rate every 2 second
display_time = 2
# Set primarry FPS to 0
fps = 0
# Load mss library as sct
sct = mss.mss()
# Set monitor size to capture to MSS
monitor = {"top": 40, "left": 0, "width": 800, "height": 640}
# Set monitor size to capture
mon = (0, 40, 800, 640)
We will begin with the most basic and slowest PIL method. In this first code, I commented on all lines, what is done in each line. In other examples, I copied the PIL code and changed few lines of code, exactly what you can see on my YouTube tutorial.
def screen_recordPIL():
    # set variables as global, that we could change them
    global fps, start_time
    # begin our loop
    while True:
        # Get raw pixels from the screen, save it to a Numpy array
        img = numpy.asarray(ImageGrab.grab(bbox=mon))
        # Display the picture
        cv2.imshow(title, cv2.cvtColor(img, cv2.COLOR_BGR2RGB))
        # add one to fps
        fps+=1
        # calculate time difference
        TIME = time.time() - start_time
        # check if our 2 seconds passed
        if (TIME) >= display_time :
            print("FPS: ", fps / (TIME))
            # set fps again to zero
            fps = 0
            # set start time to current time again
            start_time = time.time()
        # Press "q" to quit
        if cv2.waitKey(25) & 0xFF == ord("q"):
            cv2.destroyAllWindows()
            break
Here I used the Sentdex method of taking computer screen, and it's much faster than PIL. But we must have a grabscreen.py file in our local files to use it, so we move to the final example.
def screen_grab():
    global fps, start_time
    while True:
        # Get raw pixels from the screen
        img = grab_screen(region=mon)
        # Display the picture
        cv2.imshow(title, cv2.cvtColor(img, cv2.COLOR_BGR2RGB))
        fps+=1
        TIME = time.time() - start_time
        if (TIME) >= display_time :
            print("FPS: ", fps / (TIME))
            fps = 0
            start_time = time.time()
        # Press "q" to quit
        if cv2.waitKey(25) & 0xFF == ord("q"):
            cv2.destroyAllWindows()
            break
This is the last example of taking a computer screen, and I love it the most. Because of this method, we don't need local files, and most importantly, this method has more functionality. On their website, you can find that it's possible to use this method to grab screens from different computer screens that is impossible with previous methods. Moreover, this method is as fast as the second example.
def screen_recordMSS():
    global fps, start_time
    while True:
        # Get raw pixels from the screen, save it to a Numpy array
        img = numpy.array(sct.grab(monitor))
        # to ger real color we do this:
        img = cv2.cvtColor(img, cv2.COLOR_BGR2RGB)
        cv2.imshow(title, cv2.cvtColor(img, cv2.COLOR_BGR2RGB))
        fps+=1
        TIME = time.time() - start_time
        if (TIME) >= display_time :
            print("FPS: ", fps / (TIME))
            fps = 0
            start_time = time.time()
        # Press "q" to quit
        if cv2.waitKey(25) & 0xFF == ord("q"):
            cv2.destroyAllWindows()
            break
Here uncomment function line, which you would like to test.
screen_recordMSS()
#screen_recordPIL()
#screen_grab()
In this short tutorial, we learned three different ways to grab a computer screen. Sadly, we can get the maximum performance of around 20 FPS, but this is the best I found right now. If someone knows better ways how to get more FPS, please let me know. So, now we can move to other TensorFlow tutorials.