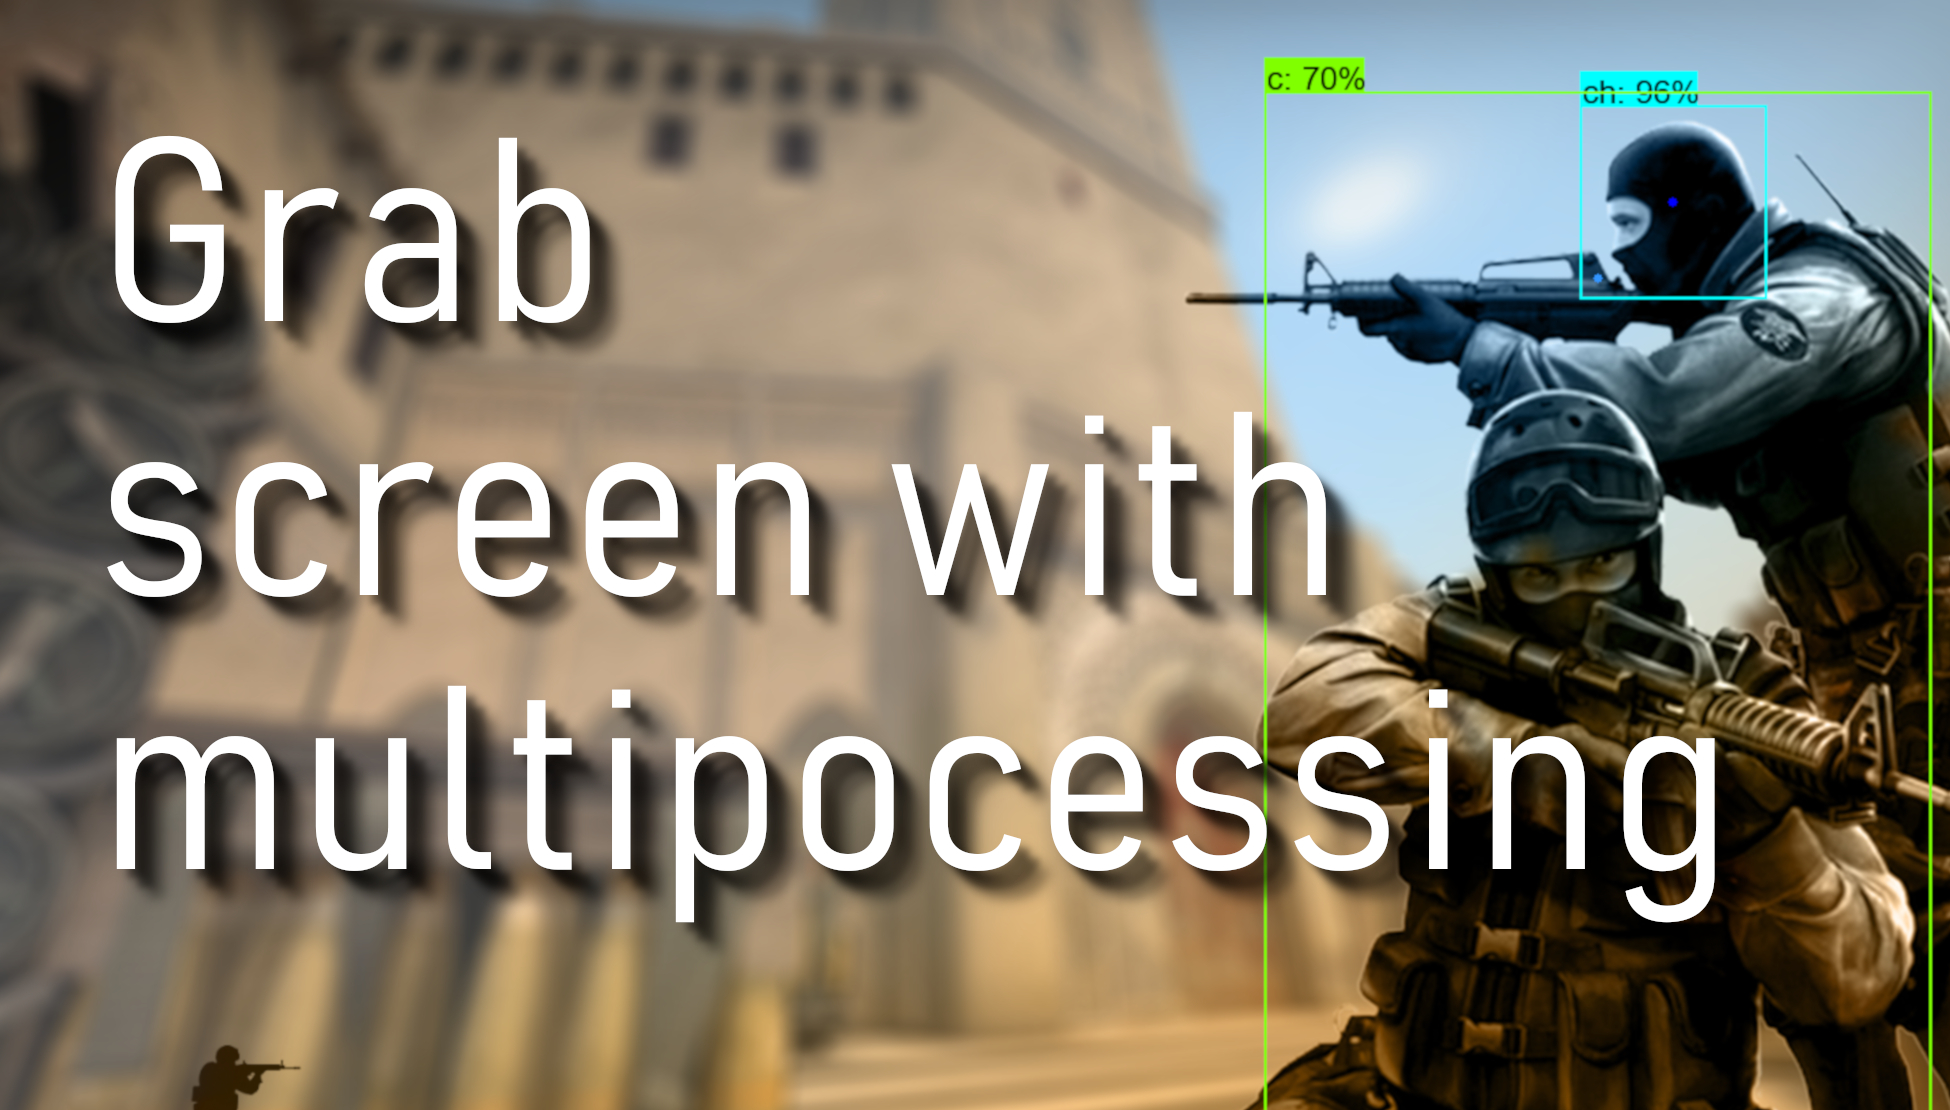
Welcome everyone to part 9 of our TensorFlow object detection API series. First, You can download the code on my GitHub page. This tutorial will be a little different from previous tutorials.
In the 8th part, I told that I would be working with python multiprocessing to make code work parallel with other processes. So I spent hours learning how to use multiprocessing (I was not using it before).
So I copied the whole code from my second tutorial and removed screen_recordPIL and screen_grab functions. Left only to work with screen_recordMSS function. This function we can divide into two parts where we grab the screen and where we show our grabbed screen. So this means we will need to create two processes.
At first, I divide the whole code into two parts; the first part we will call GRABMSS_screen. Next, we need to put the whole code into a while loop to run over and over. When we have our screen, we call the q.put_nowait(img) command where we put our image into the shared queue, and with the following line q.join() we are saying wait since the image will be copied to the queue.
def GRABMSS_screen(q):
    while True:
        # Get raw pixels from the screen, save it to a Numpy array
        img = numpy.array(sct.grab(monitor))
        # To get real color we do this:
        #img = cv2.cvtColor(img, cv2.COLOR_BGR2RGB)
        q.put_nowait(img)
        q.join()
The second function we will call SHOWMSS_screen. After that, we do the same things as before, showing grabbed image and measuring FPS. This function also will run in a while loop, and we always check if our queue is not empty. When we have something in the queue, we call the q.get_nowait() command which takes everything from the queue, and with q.task_done() we are locking the process, not to interrupt the queue if we didn't finish picking up all data.
def SHOWMSS_screen(q):
    global fps, start_time
    while True:
        if not q.empty():
            img = q.get_nowait()
            q.task_done()
            # To get real color we do this:
            img = cv2.cvtColor(img, cv2.COLOR_BGR2RGB)
            # Display the picture
            cv2.imshow(title, cv2.cvtColor(img, cv2.COLOR_BGR2RGB))
            # Display the picture in grayscale
            fps+=1
            TIME = time.time() - start_time
            if (TIME) >= display_time :
                print("FPS: ", fps / (TIME))
                fps = 0
                start_time = time.time()
            # Press "q" to quit
            if cv2.waitKey(25) & 0xFF == ord("q"):
                cv2.destroyAllWindows()
                break
Right now, we have two different functions, and we will use them in parallel processes.
If we want to run our code in multiprocessing, we must begin our code with if name=="main": and run python script from a command prompt; otherwise, if we run it from python shell, we won't get any prints to need here to measure FPS. So our full 3rd code part looks like this:
if __name__=="__main__":
    # Queue
    q = multiprocessing.JoinableQueue()

    # creating new processes
    p1 = multiprocessing.Process(target=GRABMSS_screen, args=(q, ))
    p2 = multiprocessing.Process(target=SHOWMSS_screen, args=(q, ))

    # starting our processes
    p1.start()
    p2.start()
More about python multiprocessing and queues you can learn on this link. Shortcode explanation: We begin with creating a chared queue.
# Queue
q = multiprocessing.JoinableQueue()
We are creating p1 and p2 processes with the following lines, which will run in the background. p1 function will call GRABMSS_screen() function and p2 will call SHOWMSS_screen() function. As an argument for these functions, we must give arguments, we give q there.
# creating new processes
p1 = multiprocessing.Process(target=GRABMSS_screen, args=(q, ))
p2 = multiprocessing.Process(target=SHOWMSS_screen, args=(q, ))
The final step is to start our processes. After these commands, our grab screen function will run in the background.
# starting our processes
p1.start()
p2.start()
For comparison, I ran old code without multiprocessing and with multiprocessing. Here are results without multiprocessing:
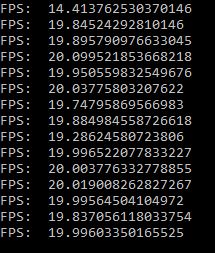
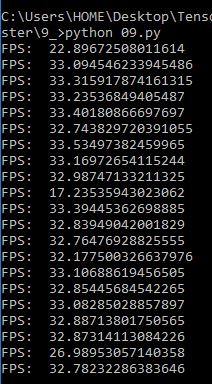
We can see that average is about 19-20 FPS. Here are results with multiprocessing:
Grab screen with multiprocessing pipes
Updated December 18, 2018 by Rokas Balsys
Here is a similar code where I use multiprocessing pipes for "one to one" communication between processes:
import multiprocessing
from multiprocessing import Pipe
import time
import cv2
import mss
import numpy as np
import datetime

title = "FPS benchmark"
start_time = time.time()
display_time = 2 # displays the frame rate every 2 second
fps = 0
sct = mss.mss()
# Set monitor size to capture
monitor = {"top": 40, "left": 0, "width": 800, "height": 640}

def GRABMSS_screen(p_input):
    while True:
        #Grab screen image
        img = np.array(sct.grab(monitor))
        img = cv2.cvtColor(img, cv2.COLOR_BGR2RGB)
        img = cv2.cvtColor(img, cv2.COLOR_BGR2RGB)

        # Put image from pipe
        p_input.send(img)

def SHOWMSS_screen(p_output):
    global fps, start_time
    while True:
        # Get image from pipe
        img = p_output.recv()

        # Display the picture
        cv2.imshow(title, img)

        # Calculate FPS
        fps+=1
        TIME = time.time() - start_time
        if (TIME) >= display_time :
            print("FPS: ", fps / (TIME))
            fps = 0
            start_time = time.time()

        # Press "q" to quit
        if cv2.waitKey(25) & 0xFF == ord("q"):
            cv2.destroyAllWindows()
            break


if __name__=="__main__":
    # Pipes
    p_output, p_input = Pipe()

    # creating new processes
    p1 = multiprocessing.Process(target=GRABMSS_screen, args=(p_input,))
    p2 = multiprocessing.Process(target=SHOWMSS_screen, args=(p_output,))

    # starting our processes
    p1.start()
    p2.start()
We can see that average is about 32 FPS. So our final result is that our grab screen improved by around 50%. I want to improve it more, but I don't have ideas on how to do that for now. Anyway, the results are much better than before! Next, I will try to integrate this with the CSGO object detection code.