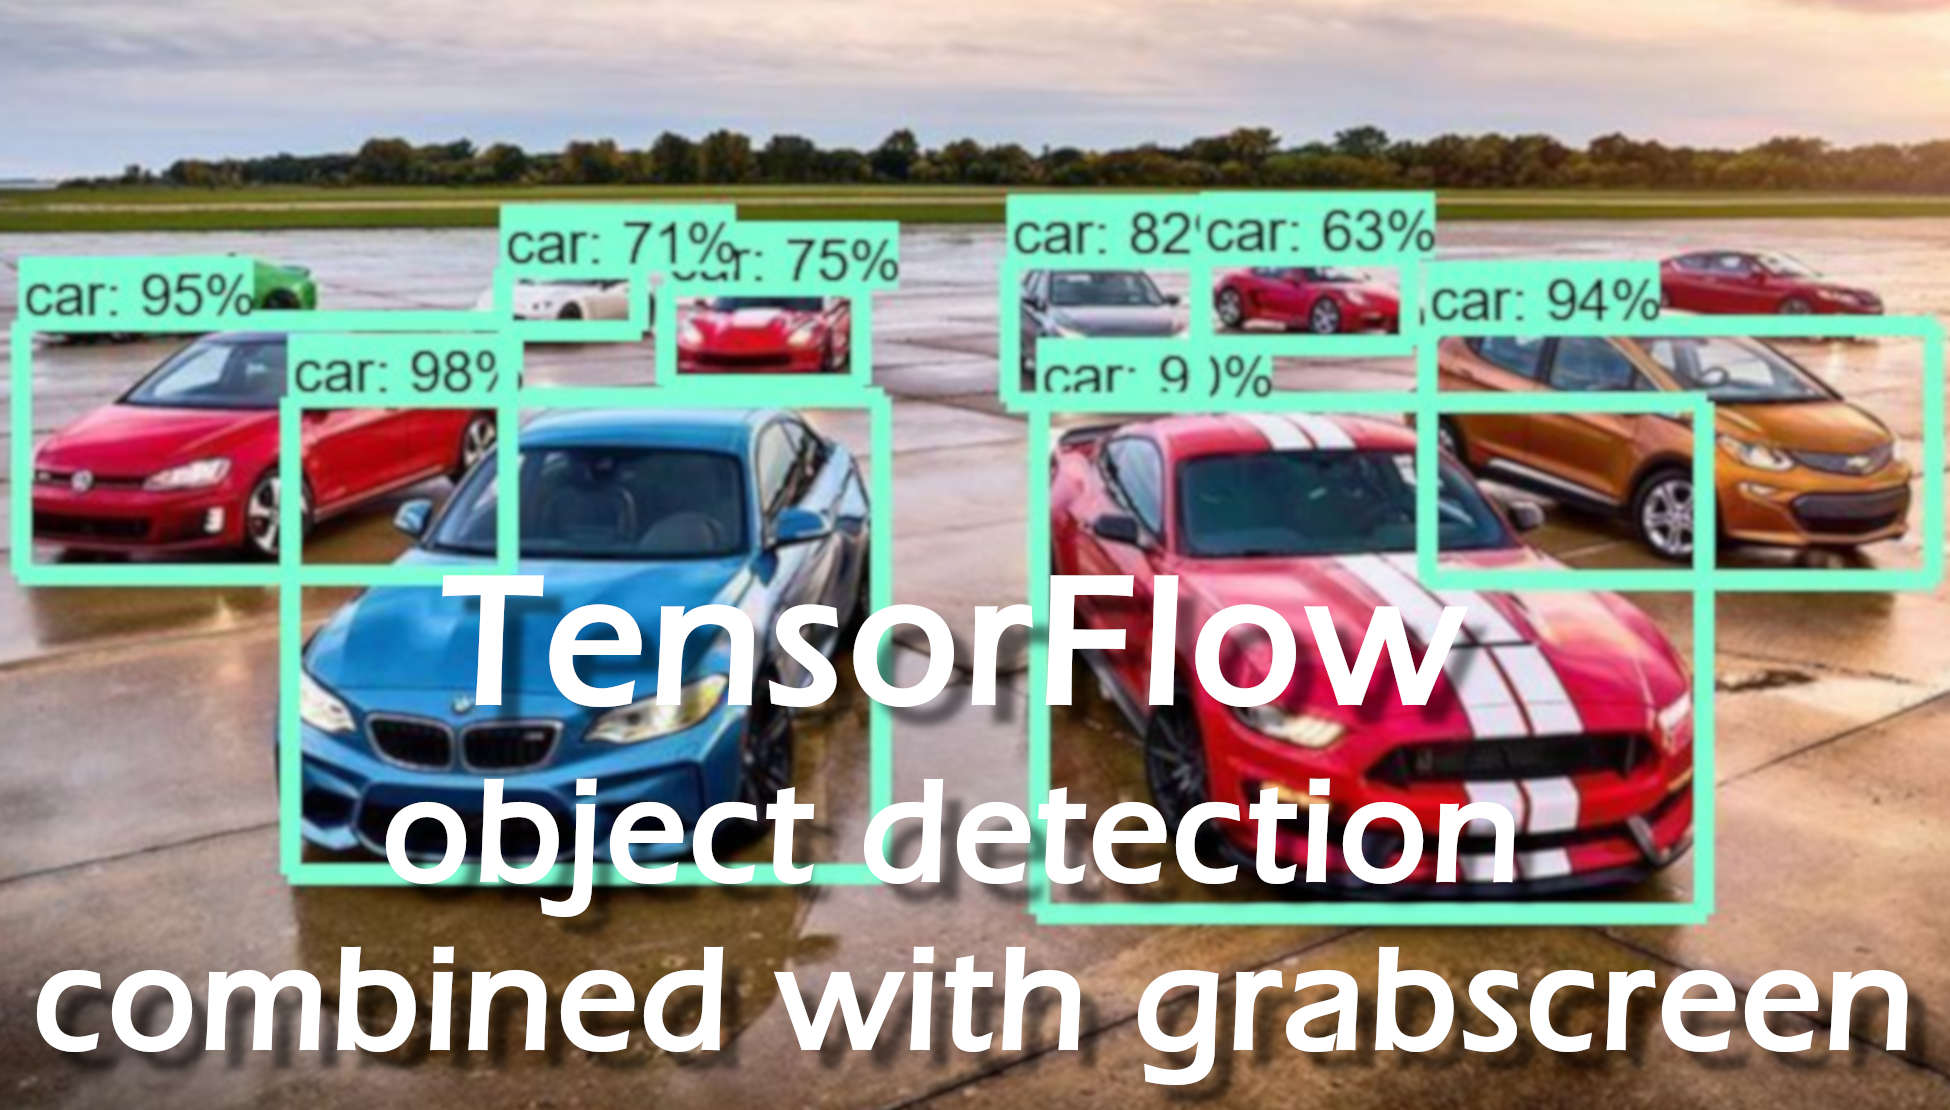
This is the third part of our CS:GO object detection tutorial. In this part, we will merge Jupiter API code from the 1-st tutorial with code from the 2-nd tutorial, where we tested three different ways of grabbing the screen. From the GitHub repository, you can download the complete code.
To begin, we're going to modify the notebook first by converting it to a .py file. If you want to keep it in a notebook, that's fine too. To convert, you can go to file > download as > python file. Once that's done, we're going to comment out the lines we don't need.
Once you have your converted object detection file, go to your TensorFlow installation folder: research\object_detection\data and grab mscoco_label_map.pbtxt file, place it in your working directory.
Next, you should download the pre-trained model from here, I am using faster_rcnn_inception_v2_coco, so I recommend you to use the same, at least at the beginning. Take frozen_inference_graph.pb file and transfer it to your local working repository.
So we begin by importing time, CV2, MSS libraries. If you don't have them, install them before moving forward.
I personally imported a line to disable CUDA devices because I wanted to run this example on a CPU. After all, running TensorFlow-GPU takes more time to startup in the backend.
os.environ['CUDA_VISIBLE_DEVICES'] = '-1'Then we don't need to import tarfile and import zipfileBecause we are not working with these files, so we comment them out now. Going further, we comment #from matplotlib import pyplot as plt and #from PIL import Image lines, because we are doing things our way.
Next, I am importing few lines from my second tutorial for grabbing screen and measuring FPS:
# title of our window
title = "FPS benchmark"
# set start time to current time
start_time = time.time()
# displays the frame rate every 2 second
display_time = 2
# Set primarry FPS to 0
fps = 0
# Load mss library as sct
sct = mss.mss()
# Set monitor size to capture to MSS
monitor = {"top": 40, "left": 0, "width": 800, "height": 640}
Because we are not using notebook anymore, we are not using and these lines:
#sys.path.append("..")

#if StrictVersion(tf.__version__) < StrictVersion('1.9.0'):
#  raise ImportError('Please upgrade your TensorFlow installation to v1.9.* or later!')
We are not using matplotlib to display images, so we are commenting line used for that:
#get_ipython().run_line_magic('matplotlib', 'inline')There are two lines of import before going to an actual code:
from utils import label_map_util
from utils import visualization_utils as vis_util
But if you will try to use them like this, you will get an error, so add object_detection. before utils, just like this:
from object_detection.utils import label_map_util
from object_detection.utils import visualization_utils as vis_util
Next are links to paths, if you would like to have everything in the same folder, just like in my tutorial, comment on all these lines:
# What model to download.
MODEL_NAME = 'ssd_mobilenet_v1_coco_2017_11_17'
MODEL_FILE = MODEL_NAME + '.tar.gz'
DOWNLOAD_BASE = 'http://download.tensorflow.org/models/object_detection/'

# Path to frozen detection graph. This is the actual model that is used for the object detection.
PATH_TO_FROZEN_GRAPH = MODEL_NAME + '/frozen_inference_graph.pb'

# List of the strings that is used to add correct label for each box.
PATH_TO_LABELS = os.path.join('data', 'mscoco_label_map.pbtxt')
And replace them with my used path lines (don't forget to add NUM_CLASSES = 80 line)
MODEL_NAME = 'inference_graph'
PATH_TO_FROZEN_GRAPH = 'frozen_inference_graph.pb'
PATH_TO_LABELS = 'mscoco_label_map.pbtxt'
NUM_CLASSES = 99
Next, you can comment on a whole [6] part because we won't use them:
#opener = urllib.request.URLopener()
#opener.retrieve(DOWNLOAD_BASE + MODEL_FILE, MODEL_FILE)
#tar_file = tarfile.open(MODEL_FILE)
#for file in tar_file.getmembers():
#  file_name = os.path.basename(file.name)
#  if 'frozen_inference_graph.pb' in file_name:
#    tar_file.extract(file, os.getcwd())
Next, add 3: label_map, categories and category_index lines before detection_graph code:
label_map = label_map_util.load_labelmap(PATH_TO_LABELS)
categories = label_map_util.convert_label_map_to_categories(label_map, max_num_classes=NUM_CLASSES, use_display_name=True)
category_index = label_map_util.create_category_index(categories)
and in part [8] comment or delete category_index line:
category_index = label_map_util.create_category_index_from_labelmap(PATH_TO_LABELS, use_display_name=True)Comment all lines in part [7] where images were loaded to NumPy array:
#def load_image_into_numpy_array(image):
#  (im_width, im_height) = image.size
#  return np.array(image.getdata()).reshape(
#      (im_height, im_width, 3)).astype(np.uint8)
Next, you can delete PATH_TO_TEST_IMAGES_DIR, TEST_IMAGE_PATHS, and IMAGE_SIZE lines, but if you left them, it wouldn't affect our code:
PATH_TO_TEST_IMAGES_DIR = 'test_images'
TEST_IMAGE_PATHS = [ os.path.join(PATH_TO_TEST_IMAGES_DIR, 'image{}.jpg'.format(i)) for i in range(1, 3) ]
IMAGE_SIZE = (12, 8)
At the end of the code, not to make any mistakes, you can replace all [12] block code with this code:
with detection_graph.as_default():
  with tf.Session(graph=detection_graph) as sess:
    while True:
      # Get raw pixels from the screen, save it to a Numpy array
      image_np = np.array(sct.grab(monitor))
      # to ger real color we do this:
      image_np = cv2.cvtColor(image_np, cv2.COLOR_BGR2RGB)
      #image = Image.open(image_path)
      # the array based representation of the image will be used later in order to prepare the
      # result image with boxes and labels on it.
      #image_np = load_image_into_numpy_array(image)
      # Expand dimensions since the model expects images to have shape: [1, None, None, 3]
      image_np_expanded = np.expand_dims(image_np, axis=0)
      # Actual detection.
      output_dict = run_inference_for_single_image(image_np, detection_graph)
      # Visualization of the results of a detection.
      vis_util.visualize_boxes_and_labels_on_image_array(
          image_np,
          output_dict['detection_boxes'],
          output_dict['detection_classes'],
          output_dict['detection_scores'],
          category_index,
          instance_masks=output_dict.get('detection_masks'),
          use_normalized_coordinates=True,
          line_thickness=8)
      #plt.figure(figsize=IMAGE_SIZE)
      #plt.imshow(image_np)
      cv2.imshow(title, cv2.cvtColor(image_np, cv2.COLOR_BGR2RGB))
      fps+=1
      TIME = time.time() - start_time
      if (TIME) >= display_time :
        print("FPS: ", fps / (TIME))
        fps = 0
        start_time = time.time()
      # Press "q" to quit
      if cv2.waitKey(25) & 0xFF == ord("q"):
        cv2.destroyAllWindows()
        break
So I tried to use this slow object detection method on an image where you can see the crowd of people walking across the street:
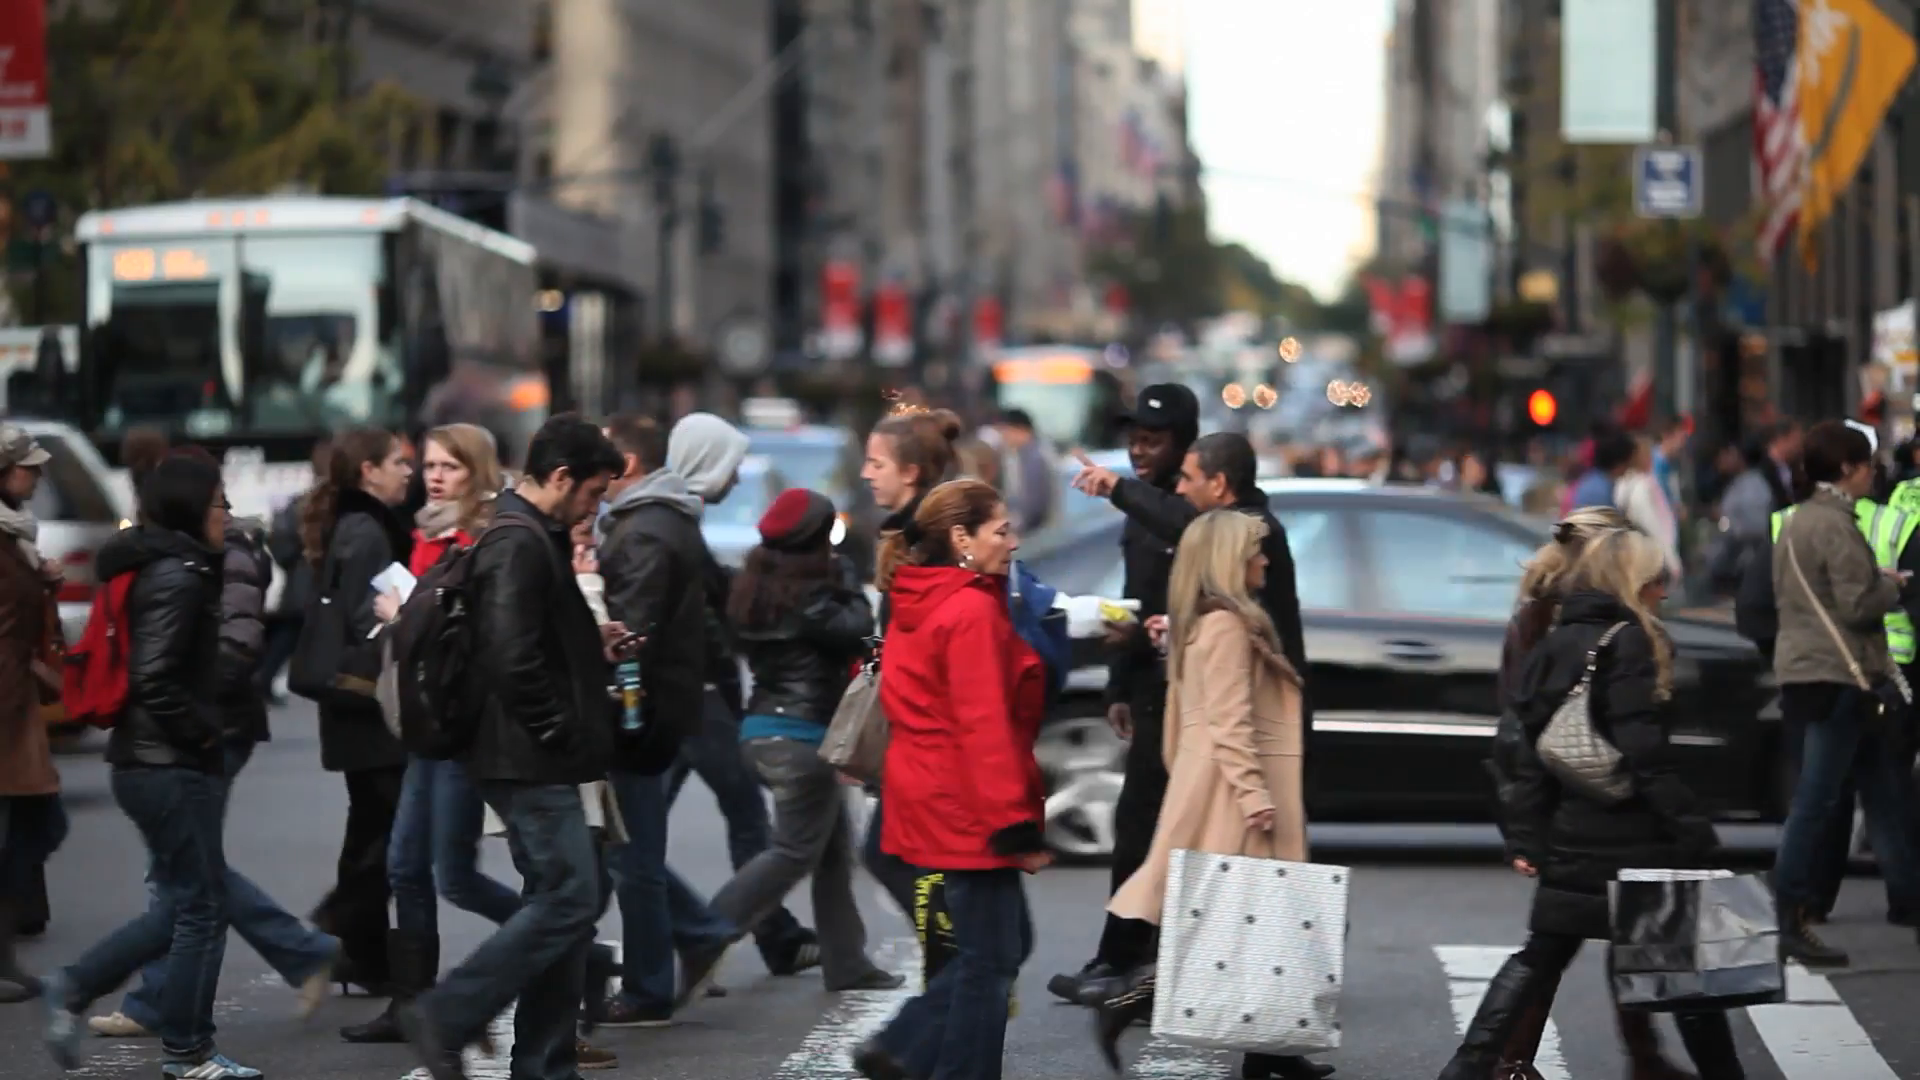
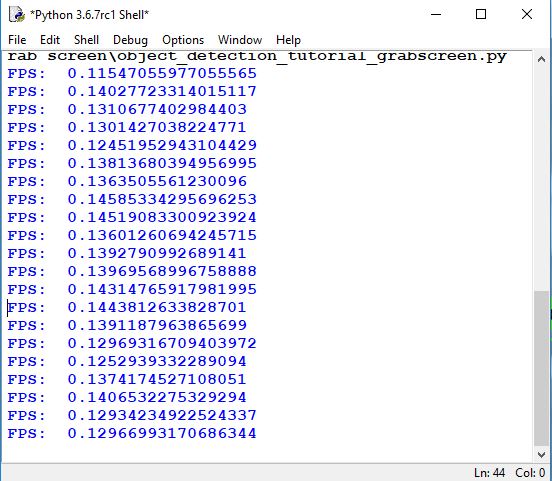
And here is the results of frames per second working with the TensorFlow CPU version. On average, it is about 7 seconds to receive one frame per second. So if we would like to use it for real-time purposes, it would be impossible to do something useful. So we need to make it work much faster. We will do this in a text tutorial.
In this tutorial, we learned how to export code from object detection API and modify it to work in our python shell. Here we used a pre-trained model for object detection, but now our model works very slow, so in the next tutorial, we will clean up our code and make our code work much faster.