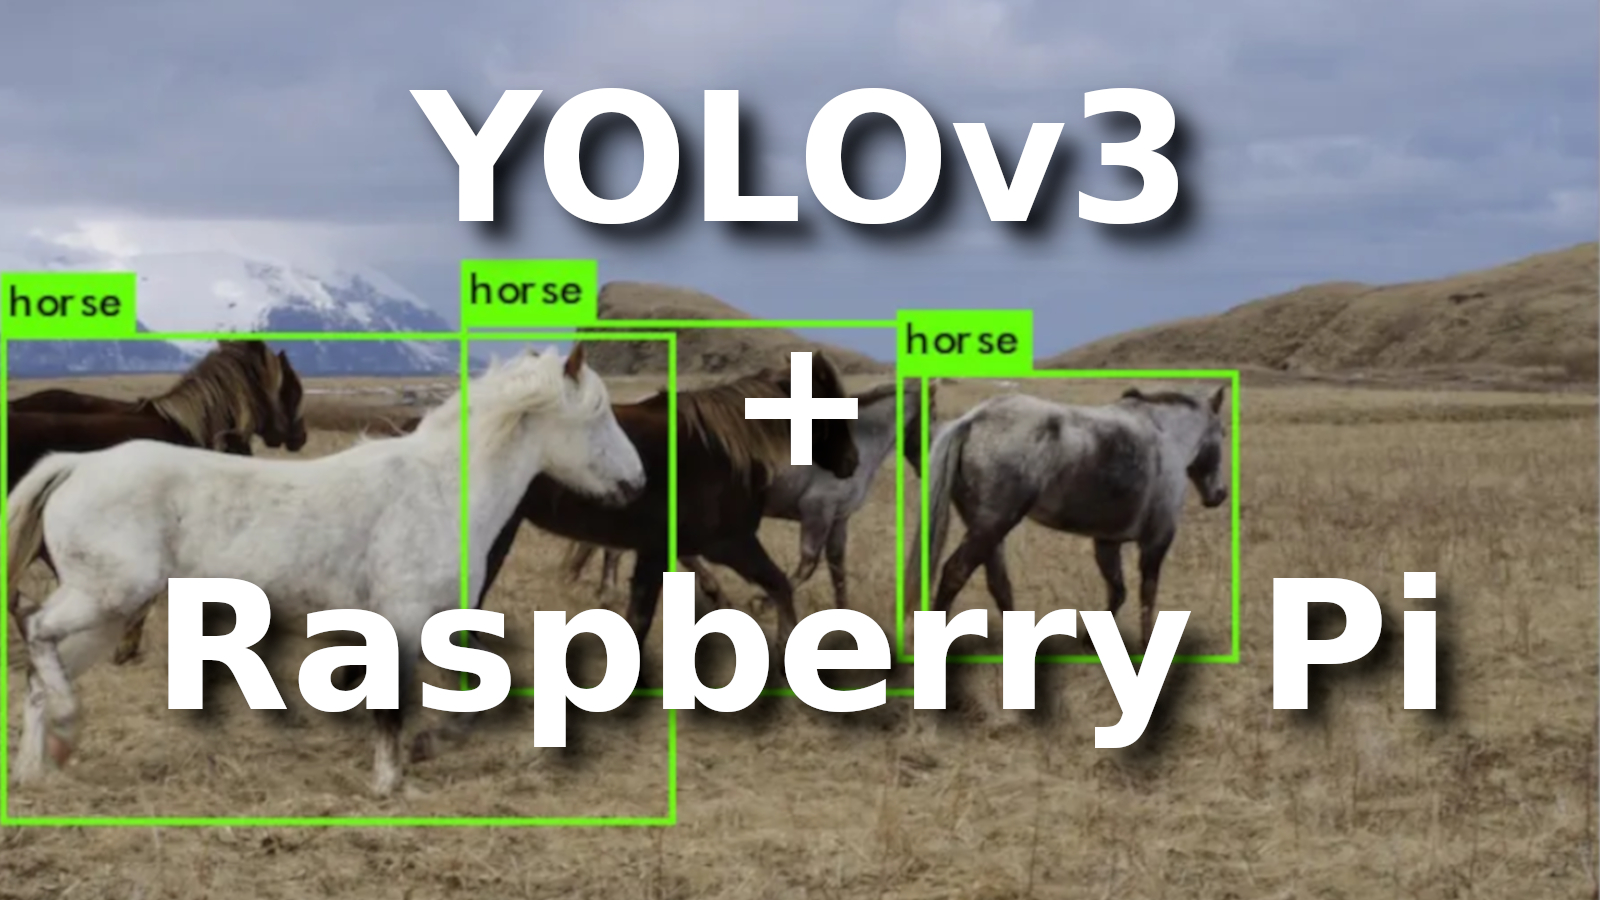
This tutorial will provide step-by-step instructions for setting up TensorFlow 2.* on the Raspberry Pi. By following this step-by-step guide, you will be able to use your Raspberry Pi to perform object detection on live video feeds from a Picamera or USB webcam. After this tutorial, you will be able to combine this tutorial with my previous tutorials on how to train your own custom YOLOv3 object detector to identify specific objects. The whole tutorial is divided into seven parts:
- Set up and update the Raspberry Pi;
- Install all needed packages and libraries;
- Install OpenCV;
- Install TensorFlow;
- Set up my YOLOv3 GitHub directory;
- Raspberry Pi Camera configuration;
- Detect objects!
Set up and update the Raspberry Pi
First, you need to install a Raspberry Pi operating system image on an SD card if you haven't done that before. It's recommended to use Raspberry Pi Imager. It looks following while installing:
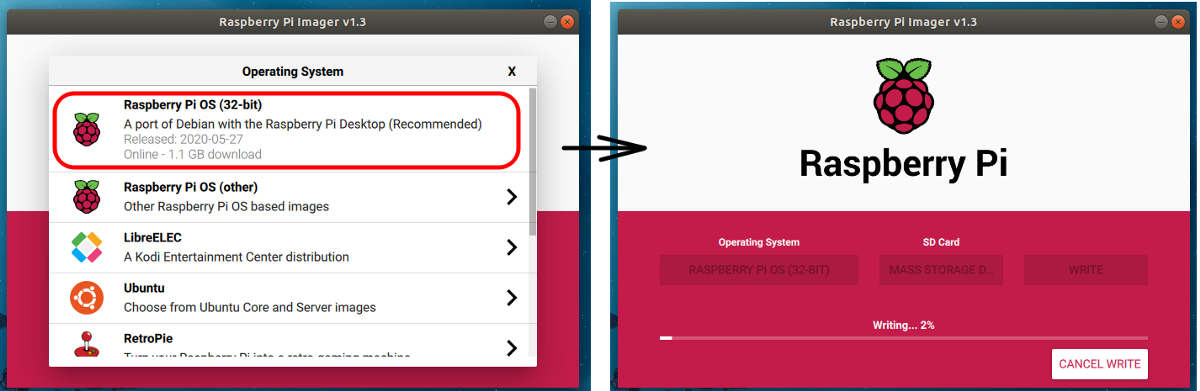 As you can see, you can even choose to install it with an online download.
I decided to install Raspberry Pi OS (32-bit) with Desktop. It's up to you what you are going to use.
After installation, the first thing you should do to make things easier for us is to set up a local network and wireless connectivity and enable SSH. Also, you will need to set up your client to connect to raspberry through ssh. All this information is given at the same link.
To show you the next tutorial steps, I will connect to my raspberry through RealVNC viewer.
First, the Raspberry Pi needs to be fully updated. Open a terminal and issue:
sudo apt-get update
sudo apt-get dist-upgrade
Depending on how long it's been since you've updated your Pi, the upgrade could take anywhere between a minute and an hour.
Some of you ask me why it runs python3 when I type python in the terminal. That's relatively easy. If you are on Linux, open your .bashrc file nano ~/.bashrc. Type alias python=python3 on to a new line at the end of the file, then save the file with ctrl+o and close the file with ctrl+x. Then, back at your command line, type source ~/.bashrc. Now your alias should be permanent.
Install all needed packages and libraries
Raspberry OS ships with Python 3 as the default Python installation. We need to complete the following steps to install pip (pip3) for Python 3:
sudo apt install python3-pip
The command above will also install all the dependencies required for building Python modules.
Once the installation is complete, we can verify the installation by checking the pip version:
pip3 --version
Most of the time, this command installs not the newest version, so we need to upgrade it with the following command:
pip3 install --upgrade pip
Before moving to another step, we should establish a batch of packages with the command below. This may take a while (copy and paste to the terminal):
sudo apt-get install -y libhdf5-dev libc-ares-dev libeigen3-dev gcc gfortran python-dev libgfortran5 \
                          libatlas3-base libatlas-base-dev libopenblas-dev libopenblas-base libblas-dev \
                          liblapack-dev cython libatlas-base-dev openmpi-bin libopenmpi-dev python3-dev python3-venv
Install OpenCV
I prefer to use OpenCV in all my projects because it's easier to work with and less error-prone. The object detection scripts in this guide's GitHub repository use OpenCV. So, we need to install OpenCV. If you have already tried to run pip3 install opencv-python, you already may be faced, that this way, it doesn't work on Raspberry Pi.
The problem is because the current version of OpenCV (currently 4.1.1.26) is not compatible with RPi. To get OpenCV working on the Raspberry Pi, also there are quite a few dependencies that need to be installed through apt-get. If any of the following commands don't work, issue "sudo apt-get update" and try again. Issue:
sudo apt-get install libjpeg-dev libtiff5-dev libjasper-dev libpng12-dev libavcodec-dev libavformat-dev \
                          libswscale-dev libv4l-dev libxvidcore-dev libx264-dev qt4-dev-tools libatlas-base-dev
If you have already tried to install OpenCV, just run pip3 uninstall opencv-python. Now that we've got all those installed, we can install OpenCV, run pip3 install opencv-python==3.4.6.27.
This should sort you out, and if you have any issues, check what versions of OpenCV are compatible with your Raspbian or whatever you are using.
Install TensorFlow
Now that we've installed all the packages, we need to install TensorFlow. If you already tried to issue pip3 install tensorflow you saw, it tries to install TensorFlow 1.* or says: Could not find a version that satisfies the requirement, that's our problem. So I found a very nice tutorial on GitHub to find our solution to this problem.
In the above link, it says to issue the following commands into a terminal:
sudo pip3 install keras_applications==1.0.8 --no-deps
sudo pip3 install keras_preprocessing==1.1.0 --no-deps
sudo pip3 install h5py==2.9.0
sudo pip3 install pybind11
pip3 install -U --user six wheel mock
wget "https://raw.githubusercontent.com/PINTO0309/Tensorflow-bin/master/tensorflow-2.2.0-cp37-cp37m-linux_armv7l_download.sh"
sh ./tensorflow-2.2.0-cp37-cp37m-linux_armv7l_download.sh
sudo pip3 uninstall tensorflow
sudo -H pip3 install tensorflow-2.2.0-cp37-cp37m-linux_armv7l.whl
After installation, open python on the terminal, import TensorFlow and print its version:
>>> import tensorflow as tf
>>> print(tf.__version__)
2.2.0
Set up my YOLOv3 GitHub directory
Up to this point, we have almost everything we need installed and working: python, OpenCV, TensorFlow. Now we can download my GitHub repository, which we'll use for our real-time object detection with YOLOv3. I recommend navigating to Desktop (cd Desktop) in the terminal, and here clone my repository: git clone https://github.com/pythonlessons/TensorFlow-2.x-YOLOv3.git.
While we are doing this detection, not with Raspberry Pi, we would install requirements from a file, but now not to mess with OpenCV and TensorFlow, we'll do this step manually:
sudo pip3 install numpy>=1.18.2
sudo pip3 install scipy>=1.4.1
sudo pip3 install wget>=3.2
sudo pip3 install seaborn>=0.10.0
sudo pip3 install tqdm==4.43.0
sudo pip3 install pandas
sudo pip3 install awscli
sudo pip3 install urllib3
Because I am using Raspberry Pi3, it's pretty weak to run the original YOLOv3, so I will use YOLOv3-Tiny in this tutorial. So I am downloading yolov3-tiny weights:
wget -P model_data https://pjreddie.com/media/files/yolov3-tiny.weights
Raspberry Pi Camera configuration
Okay, now everything is set up for performing object detection on the Pi! The Python script detects objects in live feeds from a Picamera or USB webcam. The script sets paths to the model and label map, loads the model into memory, initializes the Picamera, and begins running object detection on each video frame from the Picamera.
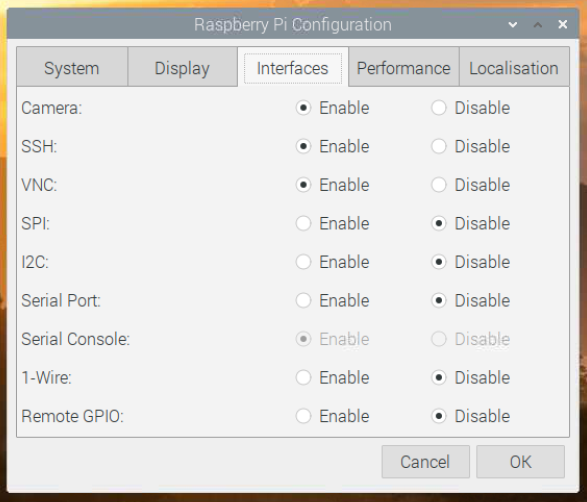
If you're using a Picamera, make sure it is enabled in the Raspberry Pi configuration menu:
Rather than using the Raspberry Pi camera module, you can use a standard USB webcam to take pictures and videos on the Raspberry Pi. Because I have only a standard USB camera, I will use it!
First, we need to install the fswebcam package:
sudo apt-get install fswebcam
Now we need to test it. Enter the command fswebcam followed by a filename, and a picture will be taken using the webcam and saved to the filename specified:
fswebcam -r 640x480 --no-banner image.jpg
This is the easiest way to test our webcam. If your image was created, this means that our camera is working, and we can move to the next final step. Otherwise, try to debug your problem with google help!
Detect objects!
Now, to run a real-time object detection, we need to change configurations of our project, so:
Open yolov3/configs.py file and change TRAIN_YOLO_TINY from False to True, because we downloaded tiny model weights. The next thing I change is YOLO_INPUT_SIZE from 416 to 320. A smaller input image will give us more FPS.
Now open detection_demo.py script and comment detect_image function and uncomment detect_realtime function, this way, our script will use webcam output to our model as input.
Finally, open the terminal and type python detection_demo.py.
If you did everything correctly, you should see the results on the raspberry window. If you want to see my results, check the above YouTube tutorial.
Conclusion:
Note: If you plan to run this on the Pi for extended periods (greater than 5–10 minutes), make sure to have a heatsink installed on the Pi's main CPU! All the processing causes the CPU to run hot. Without a heatsink, it will shut down due to high temperature quite soon.
In this tutorial, I showed only how to run detection on the pretrained COCO dataset. To run thins detection on your custom model, check my previous tutorials on GitHub at the end of the readme file.
Thanks for following through with this tutorial. I hope you found it helpful. Good luck with your object detection applications on the Raspberry Pi!
See you in the next tutorial part!