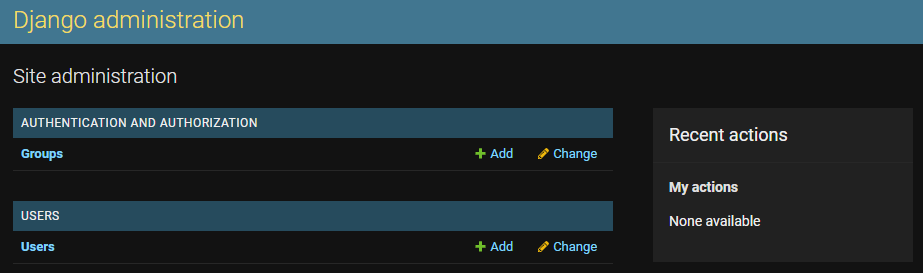
Welcome everyone to the 5th tutorial. In the previous part, you created a Custom user Model that we can use to log in to our Admin panel. Here you can interact with your models using an actual user interface. Here you can view, modify, add or remove entries for models registered here. You should see a similar view:
But we are missing Article and Series models; we need to register them. We need to register ArticleSeries and Article to our admin site, and we do the following:
from django.contrib import admin
from .models import Article, ArticleSeries
# Register your models here.
admin.site.register(ArticleSeries)
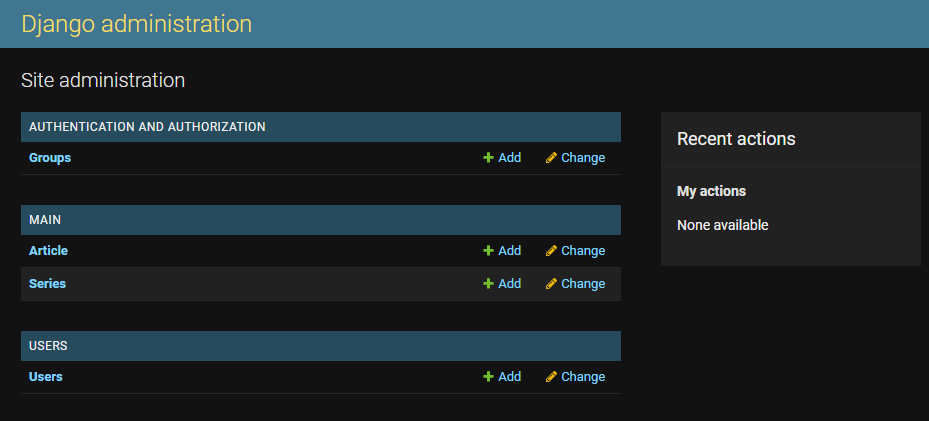
admin.site.register(Article)After registering these models, navigate back to the admin panel, and you should see Groups, Articles, Series, and Users models available:
Go ahead and click the users, then the username you just created. As you can see, there are quite a few fields here. This is Django's User model combined with our custom fields. However, all of these fields that we can edit are pretty awesome. We could even add new users here as administrators. However, we will probably not add users ourselves manually. We will add Articles, Series, or other things in the future. If you don't have similar views as I do, it seems you missed something in my previous tutorials. Go back, check what you missed and then continue on this tutorial.
I'll use sample data in this whole Django website tutorial series without any real-world purpose. The first idea that came to my mind was that I'd go to Wikipedia and grab two cat types and two dog types that I'll use to create two series for them, and we'll have detailed information in their Series.
Create Series:
We can now create our first Series, click on it, and you should see a similar view:

When we click the "save" button, now we have new Series in our database called "Dogs". So here I am creating a series, that title is Dogs. I give it a short subtitle, "Everything about dogs", and as simple slug as just "dogs". We'll assign our detailed articles to this Series, where we'll write about Huskies, Akitas, Doberman's, or other dog types. Same Series I create for Cats.
Create Articles:
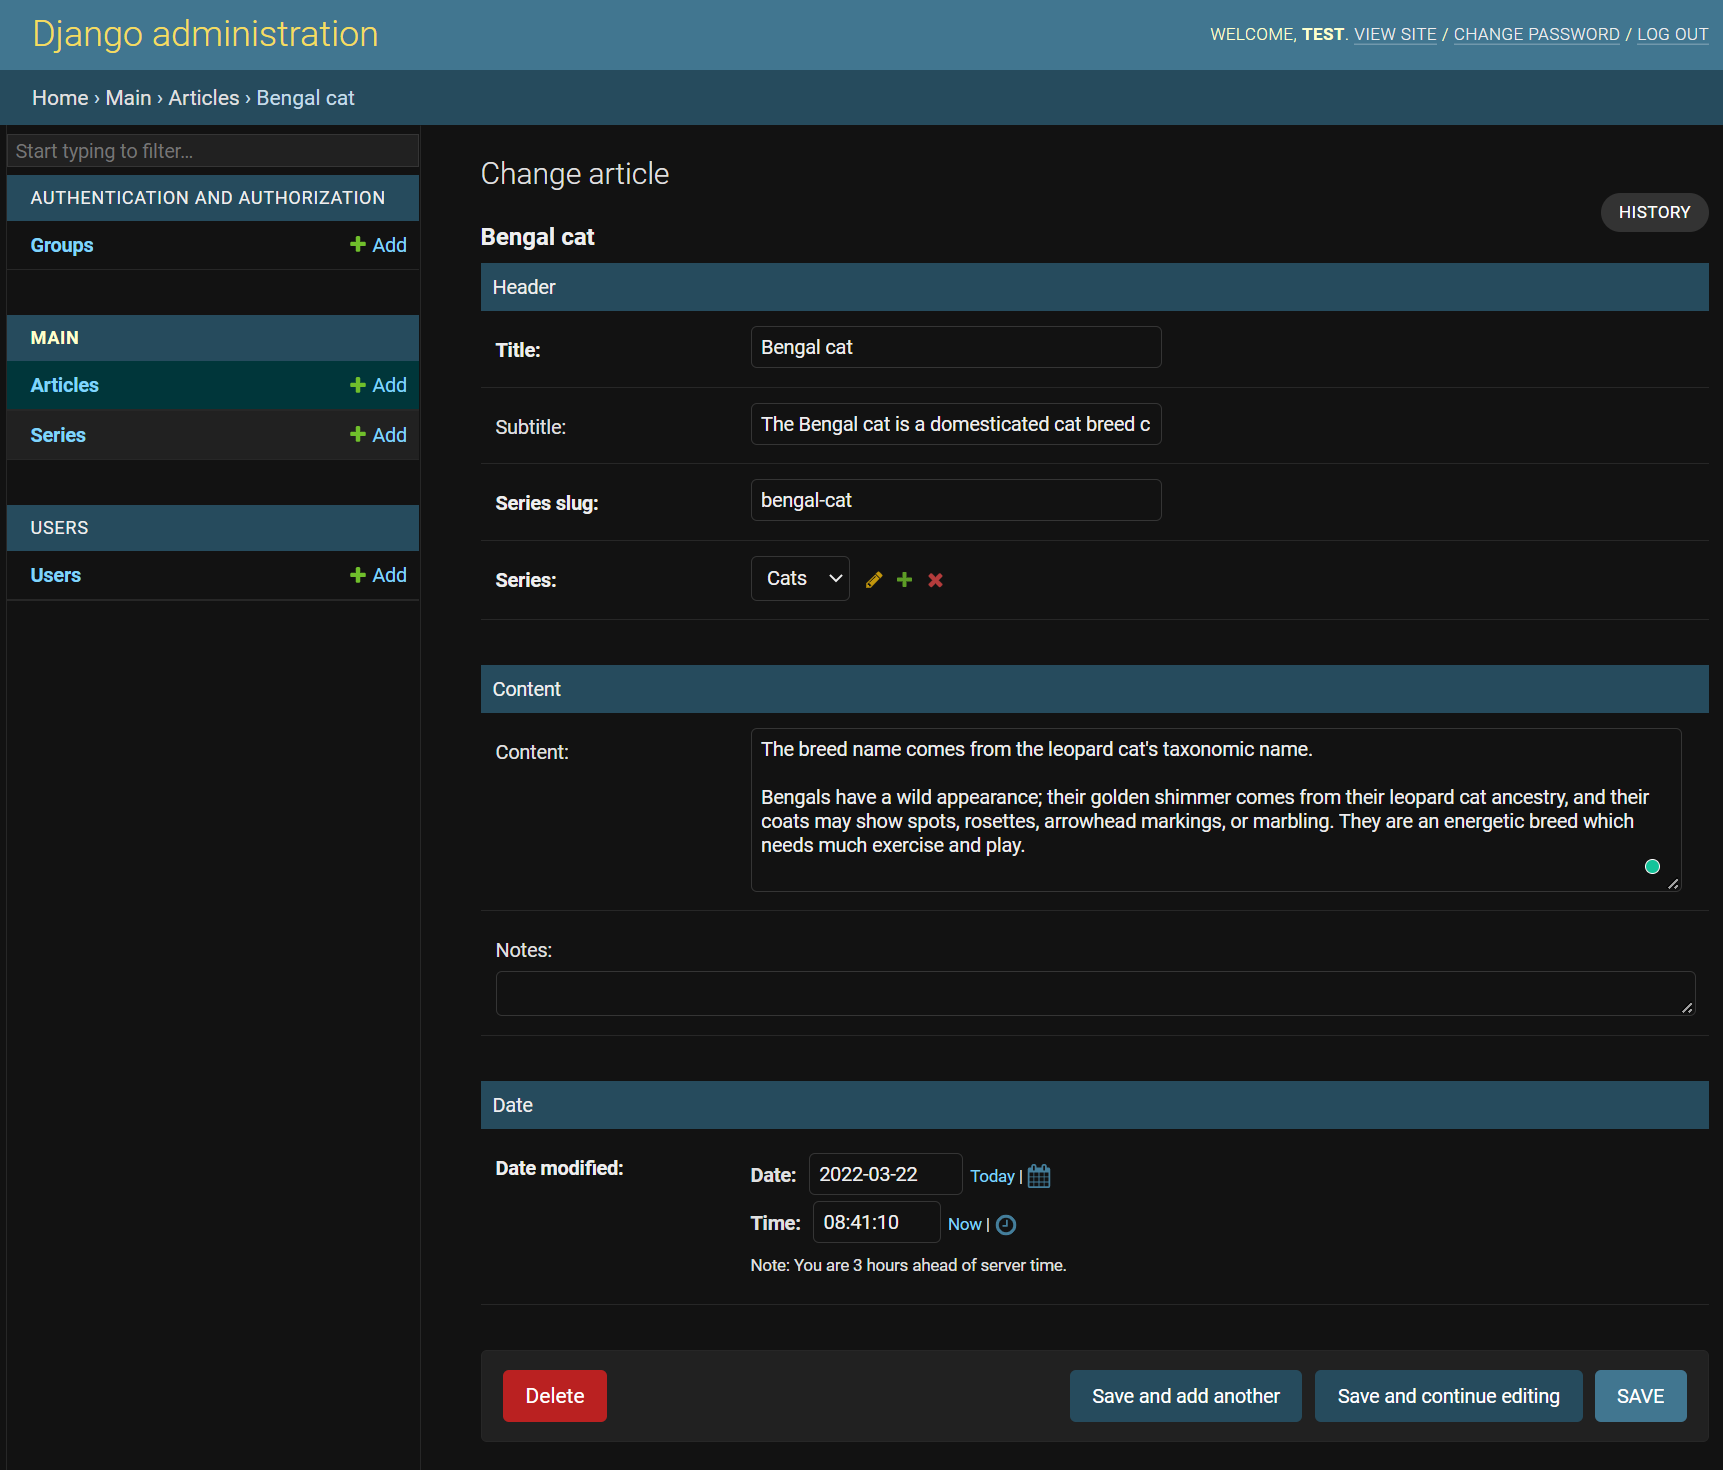
We may also choose to add a new Article from that previous page; for example, I am creating one for "Bengal Cat":
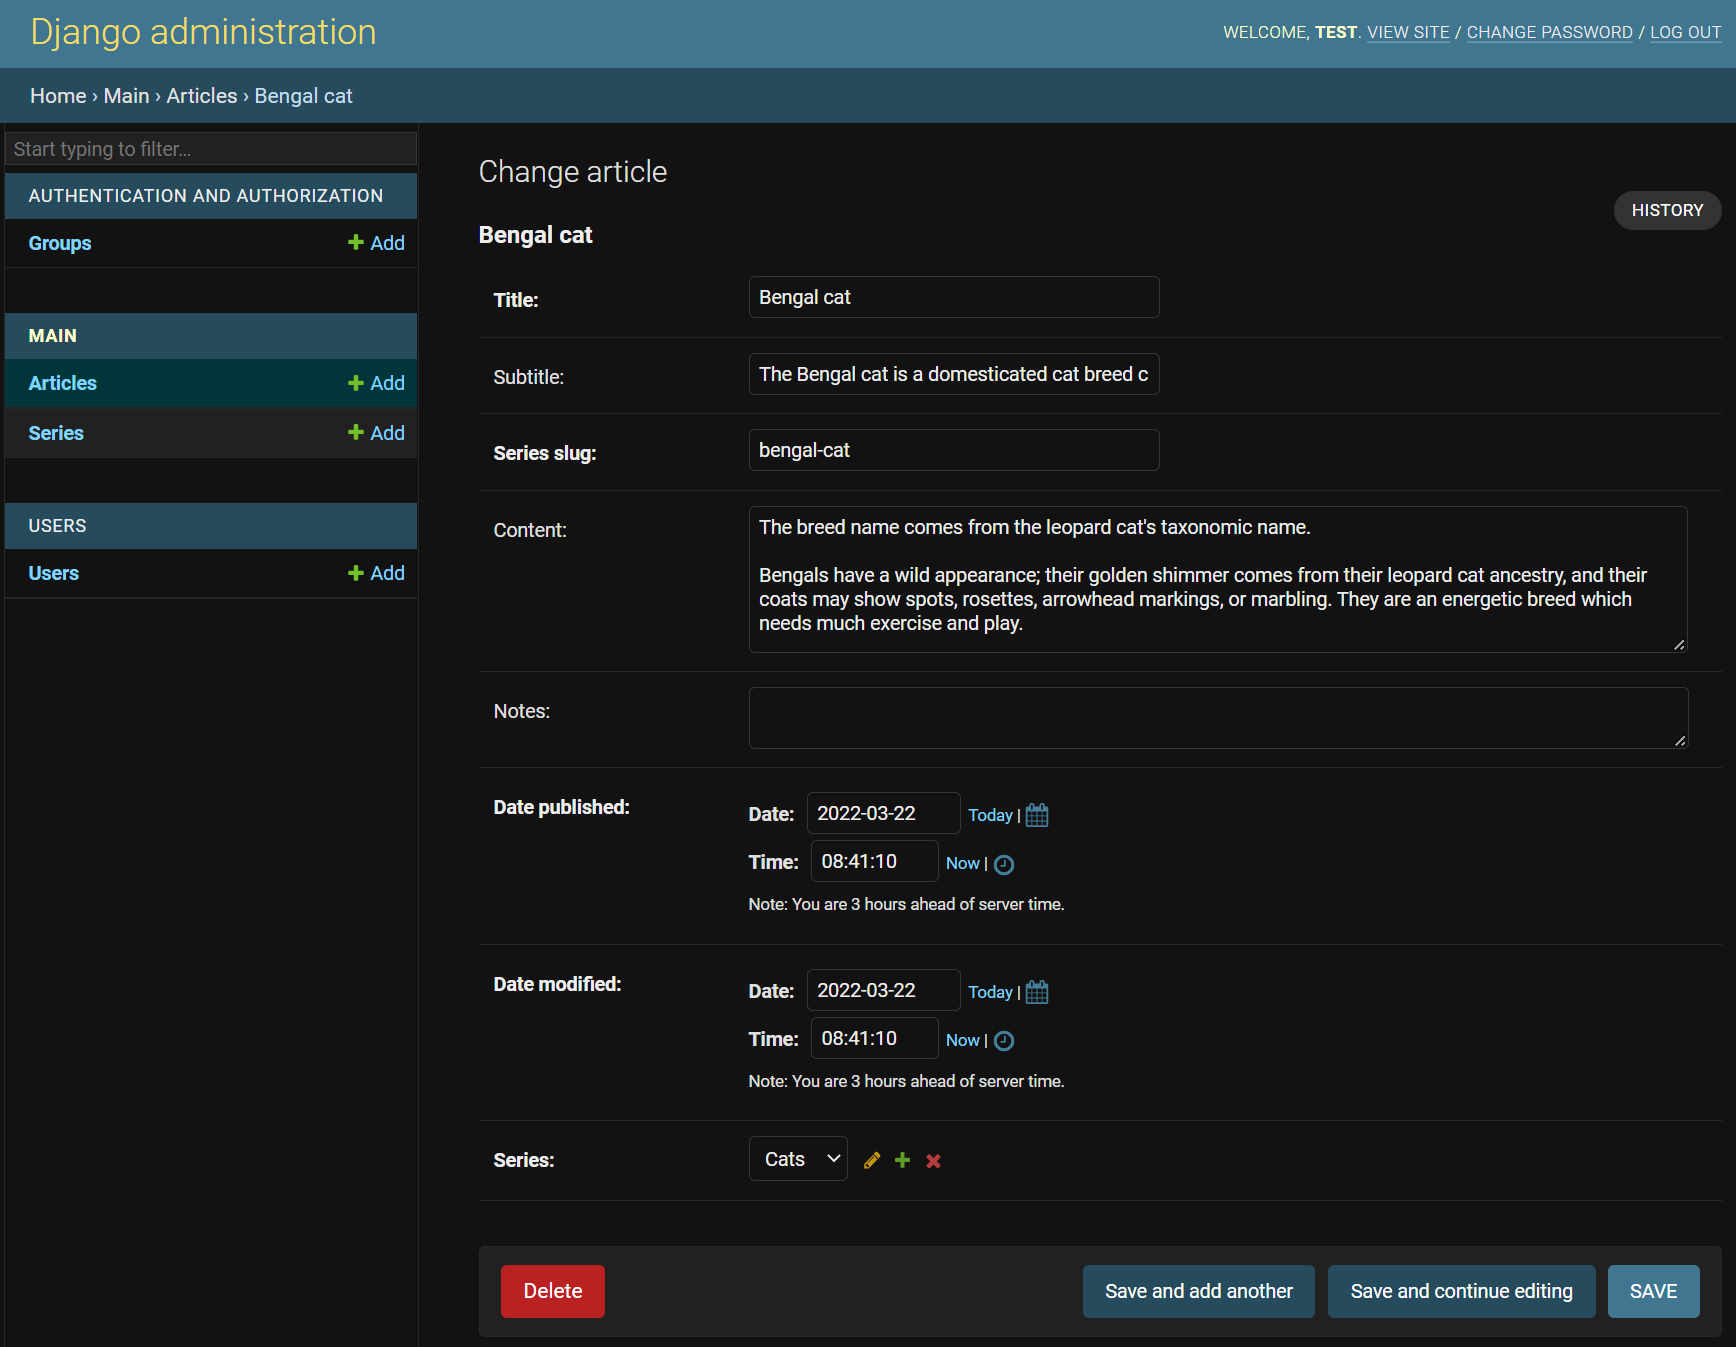
Notice how the fields are all different. The title is a small, single-line entry. Then there is a larger box with the content. Date entry fields are the shortest, single line, and even have calendar and clock options. To make things even more incredible, the dates allow us just quickly to click "today" and "now." We now even can choose our Series from the dropdown list. This...is...amazing! Django does all this using the field types we specify in our model. You can list, edit, add, and delete all your models on this admin page.
If you've ever needed to write such an admin control panel, you're probably very dizzy now. You get this amazing thing from Django right out the gate.
But wait, there is even more! We can easily organize how this model is presented to us. We do not always choose the order of the columns in a table. We may not care about all the columns either. To modify how this information is presented to us, let's go back to editing the admin.py file:
# django_project/main/admin.py
from django.contrib import admin
from .models import Article, ArticleSeries

class ArticleSeriesAdmin(admin.ModelAdmin):
    fields = [
        "title",
        "subtitle",
        "slug",
        "published"
    ]

class ArticleAdmin(admin.ModelAdmin):
    fields = [
        "title",
        "subtitle",
        "article_slug",
        "content",
        "notes",
        "published",
        "modified",
        "series"
    ]

# Register your models here.
admin.site.register(ArticleSeries, ArticleSeriesAdmin)
admin.site.register(Article)
We now have the same information, but now we can change the order of our fields. We can also comment on the "published" part because we don't want to adjust this field manually. It will update when we create a record.
Another option is to modify how things are grouped for organization purposes. In our case, things are not confusing just yet, because we don't have too many columns yet, but everything might change pretty fast. So we need to organize things, for example, by creating "fieldsets", we do this for our "Article" model:
# django_project/main/admin.py
from django.contrib import admin
from .models import Article, ArticleSeries

class ArticleSeriesAdmin(admin.ModelAdmin):
    fields = [
        "title",
        "subtitle",
        "slug",
        # "published"
    ]

class ArticleAdmin(admin.ModelAdmin):
    fieldsets = [
        ("Header", {'fields': ["title", "subtitle", "article_slug", "series"]}),
        ("Content", {"fields": ["content", "notes"]}),
        ("Date", {"fields": ["modified"]})
    ]

# Register your models here.
admin.site.register(ArticleSeries, ArticleSeriesAdmin)
admin.site.register(Article, ArticleAdmin)
After making these changes, we should see the following results in our Admin panel:
This is easy and cool, isn't it?
TinyMCE integration:
Remember what I said about Django is a collection of apps and part of what makes the abstraction that Django forces to use highly modular apps? Let's see just how easy that can be.
One thing my website desperately could use is an easy-to-use text editor, not just some text field. Sure, I can write HTML here, but it would be pretty boring and time-consuming, especially if I made some spelling mistake and then didn't see it until I published it! Instead, I will use a WYSIWYG (what you see is what you get) editor. Fortunately, many of them exist in the Django ecosystem. What I will use is called a TinyMCE. To get it, we need to insert it into Django with two following steps:
pip install django-tinymce
Now, this is an installed app, so we need to add it to our INSTALLED_APPS in the django_project/django_website/settings.py file:
INSTALLED_APPS = [
    ...
    'users',
    'main',
    'tinymce',
]
Then, somewhere at the end of the file in the settings.py also, add:
TINYMCE_DEFAULT_CONFIG = {
    'custom_undo_redo_levels': 100,
    'selector': 'textarea',
    "menubar": "file edit view insert format tools table help",
    'plugins': 'link image preview codesample contextmenu table code lists fullscreen',
    'toolbar1': 'undo redo | backcolor casechange permanentpen formatpainter removeformat formatselect fontselect fontsizeselect',
    'toolbar2': 'bold italic underline blockquote | alignleft aligncenter alignright alignjustify '
               '| bullist numlist | outdent indent | table | link image | codesample | preview code | tiny_mce_wiris_formulaEditor tiny_mce_wiris_formulaEditorChemistry',
    'contextmenu': 'formats | link image',
    'block_formats': 'Paragraph=p; Header 1=h1; Header 2=h2',
    'fontsize_formats': "8pt 10pt 12pt 14pt 16pt 18pt",
    'content_style': "body { font-family: Arial; background: white; color: black; font-size: 12pt}",
    'codesample_languages': [
        {'text': 'Python', 'value': 'python'}, {'text': 'HTML/XML', 'value': 'markup'},],
    'image_class_list': [{'title': 'Fluid', 'value': 'img-fluid', 'style': {} }],
    'width': 'auto',
    "height": "600px",
    'image_caption': True,
}
These are precisely the configurations that are best for me. This mean's that they may not be best for your purposes, so you definitely should check the Django-TinyMCE documentation page to find the best configurations for your purposes.
Next, we need to add a pointer to the app so it can be referenced when we call it. To do this, let's now edit django_project/django_website/urls.py:
# django_project/django_website/urls.py
urlpatterns = [
    ...
    path('tinymce/', include('tinymce.urls')),
    ...
]
Finally, we need to use TinyMCE wherever we want. To do this, we need to set the model to use the TinyMCE model instead of TextField. To do this, go back into our django_project/main/models.py file, and change the following lines:
# django_project/main/models.py
from django.db import models
from django.utils import timezone
from tinymce.models import HTMLField

class Article(models.Model):
    ...
    content = HTMLField(blank=True, default="")
    notes = HTMLField(blank=True, default="")
    ...
Don't forget to modify django_project/main/admin.py and insert "notes" into our ArticleAdmin class laying in the Content tab:
# django_project/main/admin.py
...
class ArticleAdmin(admin.ModelAdmin):
fieldsets = [
("Header", {'fields': ["title", "subtitle", "article_slug", "series"]}),
("Content", {"fields": ["content", "notes"]}),
("Date", {"fields": ["modified"]})
]
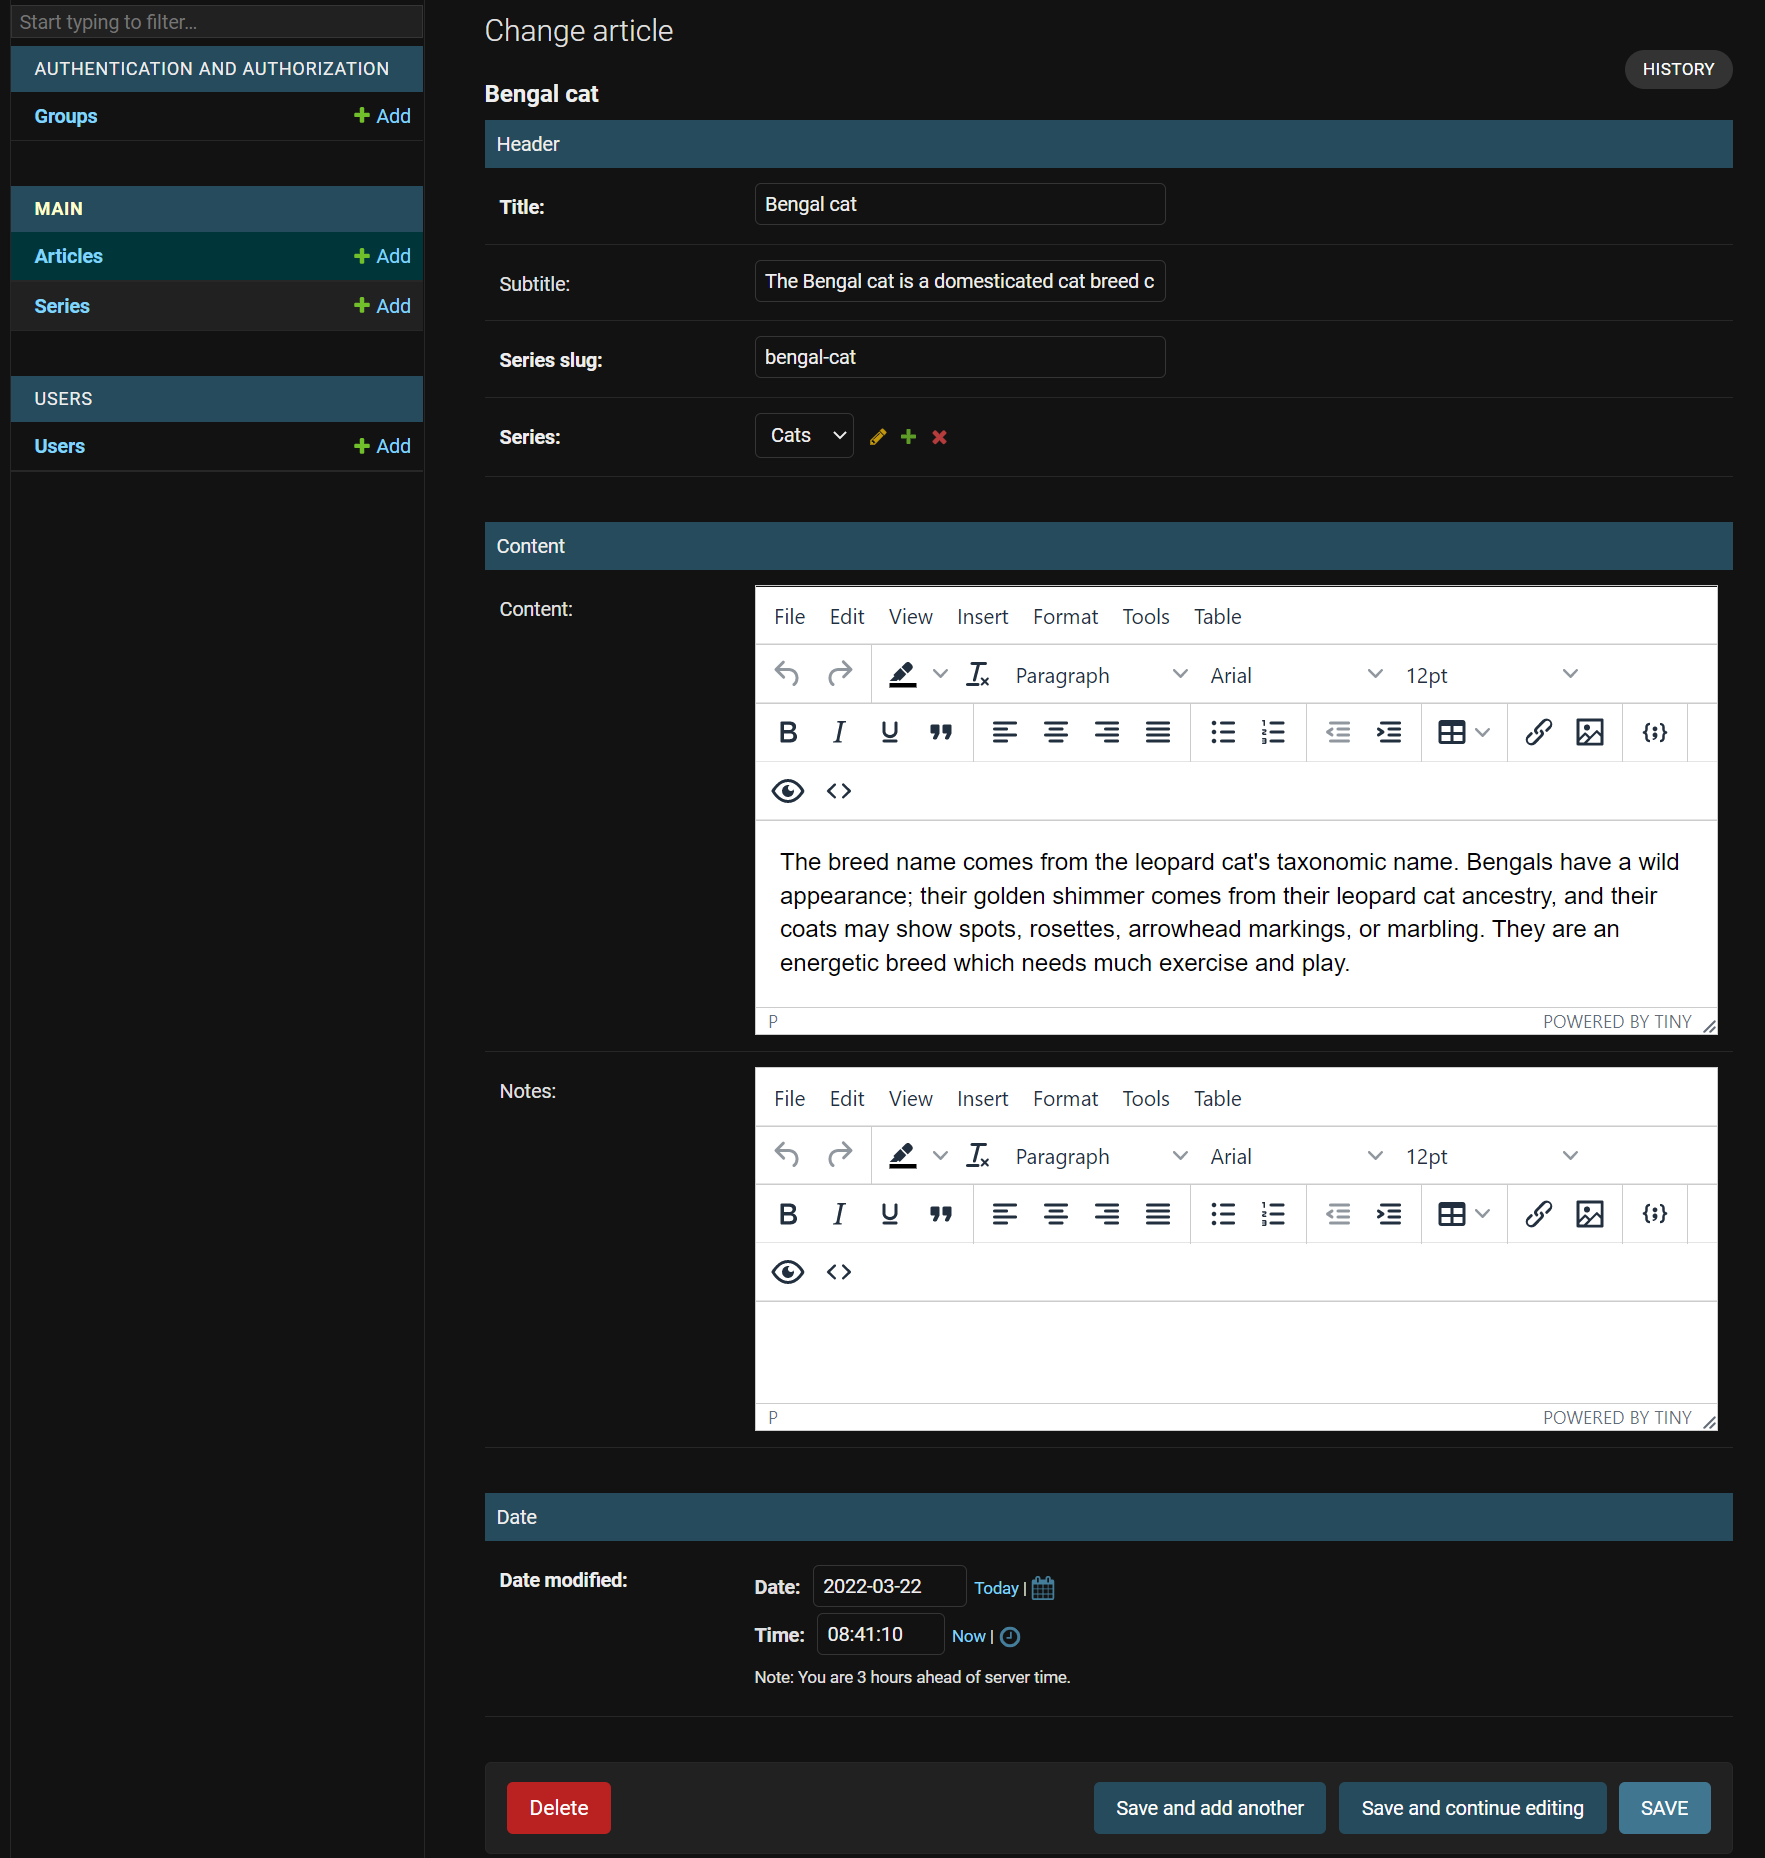
...Now refresh the admin page where we were creating or modifying our Article, and we should see something similar to this:
Conclusion:
This stuff with Django is Awesome! But this editor is so flexible that we can add our plugins to it for specific functions. So this TinyMCE editor allows us to write HTML, insert code snippets, and type things way more easily. We can also view raw HTML and insert custom HTML if something we want is not in the editor.
In the future tutorial, we'll see how to create these articles from the front end of the website. Usually, we want that users with given privileges could create records on our website. Instead of using the Admin panel, we'll leave the admin panel for administrators.
Let's now head back to our views.py to learn how our views can interact with our models and how the Django templating works to display and work with python objects inside HTML templates. We'll do this in our next tutorial!
This tutorial files can be downloaded from GitHub.