This tutorial is one of the last tutorials from my YOLO object detection tutorial series. So, after covering almost everything about YOLO, I thought it would be helpful to implement something exciting and fun. Then I remembered my old Counter-Strike Global Offensive TensorFlow aimbot, where I used TensorFlow to detect enemies. This project was unsuccessful because when TensorFlow received an image where it detects enemies, the bottleneck was coming. FPS dropped to 4–5 frames per second, and it became impossible to play this game for our bot. Right now, I have YOLO, which is much better, so I can revive my project.
Also, right now, I am on Linux before I was on Windows 10. But, because I plan to use TensorRT (in my previous tutorial, I made a speed comparison), I decided to stay on Linux. It's simpler to use TensorRT on Linux than on Win10. Off-course, there is a method to install TensorRT on Win10, but for me, it's simpler to install Steam on Linux.
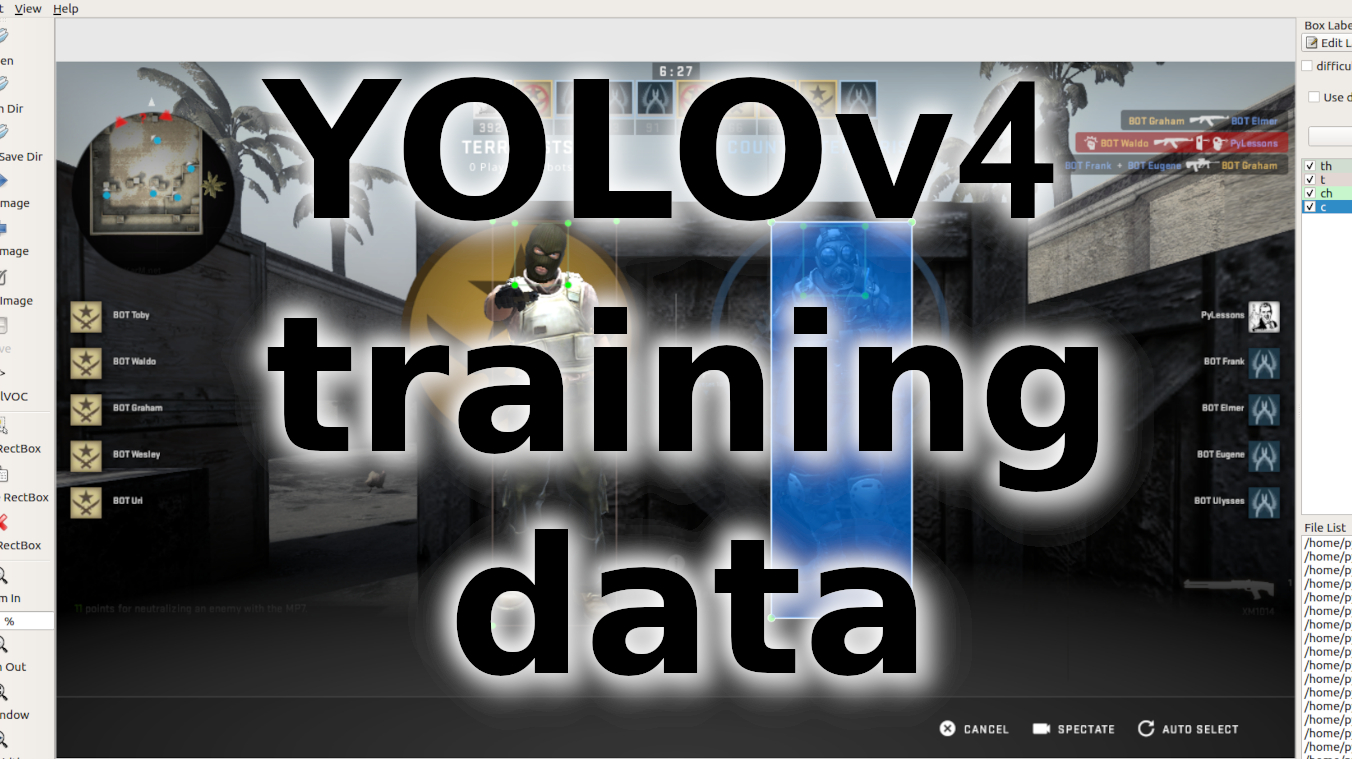
To start with, I downloaded the same CSGO_training data I used last time. I followed my YOLOv4 tutorial to train a custom object detector that I used to generate new training data to achieve better accuracy than the previous time.
If you don't know how to train a custom YOLOv4 object detector on GitHub at the end of the readme, you can find a lot of tutorials with instructions on how to do that.
I already uploaded the Detection_to_XML.py script in the tools folder, which you can use to create XML files from detections. To test it with image detection go to tools/utils.py scroll to detect_image function and uncomment CreateXMLfile("XML_Dete... line. You can do the same with video or webcam detections. To test if it works, run detection_demo.py from the main folder, and check if the XML_Detections folder was created with content in it.
To collect training data for CSGO, I use a different method. I grab my computer screen and do detection on it, following script code you can find here.
If you analyze my code, you may see that the draw_enemy function is simply a copy of draw_bbox. Next, I use the detect_enemy function, that's also a copy of the detect_image function, but in this function, I removed the first line where I read images from a given path. Although I removed the last lines used to show the image, instead of returning the resulting image, I also produced a bboxes.
And this is my while loop:
offset = 30
sct = mss.mss()
yolo = Load_Yolo_model()
while True:
    img = np.array(sct.grab({"top": 87-offset, "left": 1920, "width": 1280, "height": 720, "mon": -1}))
    img = cv2.cvtColor(img, cv2.COLOR_RGBA2RGB)
    image, bboxes = detect_enemy(yolo, np.copy(img), input_size=YOLO_INPUT_SIZE, CLASSES=TRAIN_CLASSES, rectangle_colors=(255,0,0))
    if len(bboxes) > 0:
        CreateXMLfile("XML_Detections", str(int(time.time())), img, bboxes, read_class_names(TRAIN_CLASSES))
        print("got it")
        time.sleep(2)
If you watch my YouTube tutorial above, you will understand that I am using the mss python library to grab part of my screen because I need to detect objects, not in a full screen. And I use offset to crop unnecessary screen parts. As a result, I receive an image with drawn bounding boxes and a bboxes array. Then I convert the image from RGBA to RGB and send the captured screen image to my detect_enemy function. Then we need to check if there are bboxes detected. If there are, it means we can create an XML file from our results. Then need to call the CreateXMLfile function, and our XML file will be created in the XML_Detections folder. Then I use a delay of 2 seconds because usually, our detection works quite fast, so without delay, we would receive a lot of identical copies, which could give us a lot of manual checking.
Right now, I use the LabelImg tool, to check my created XML files:
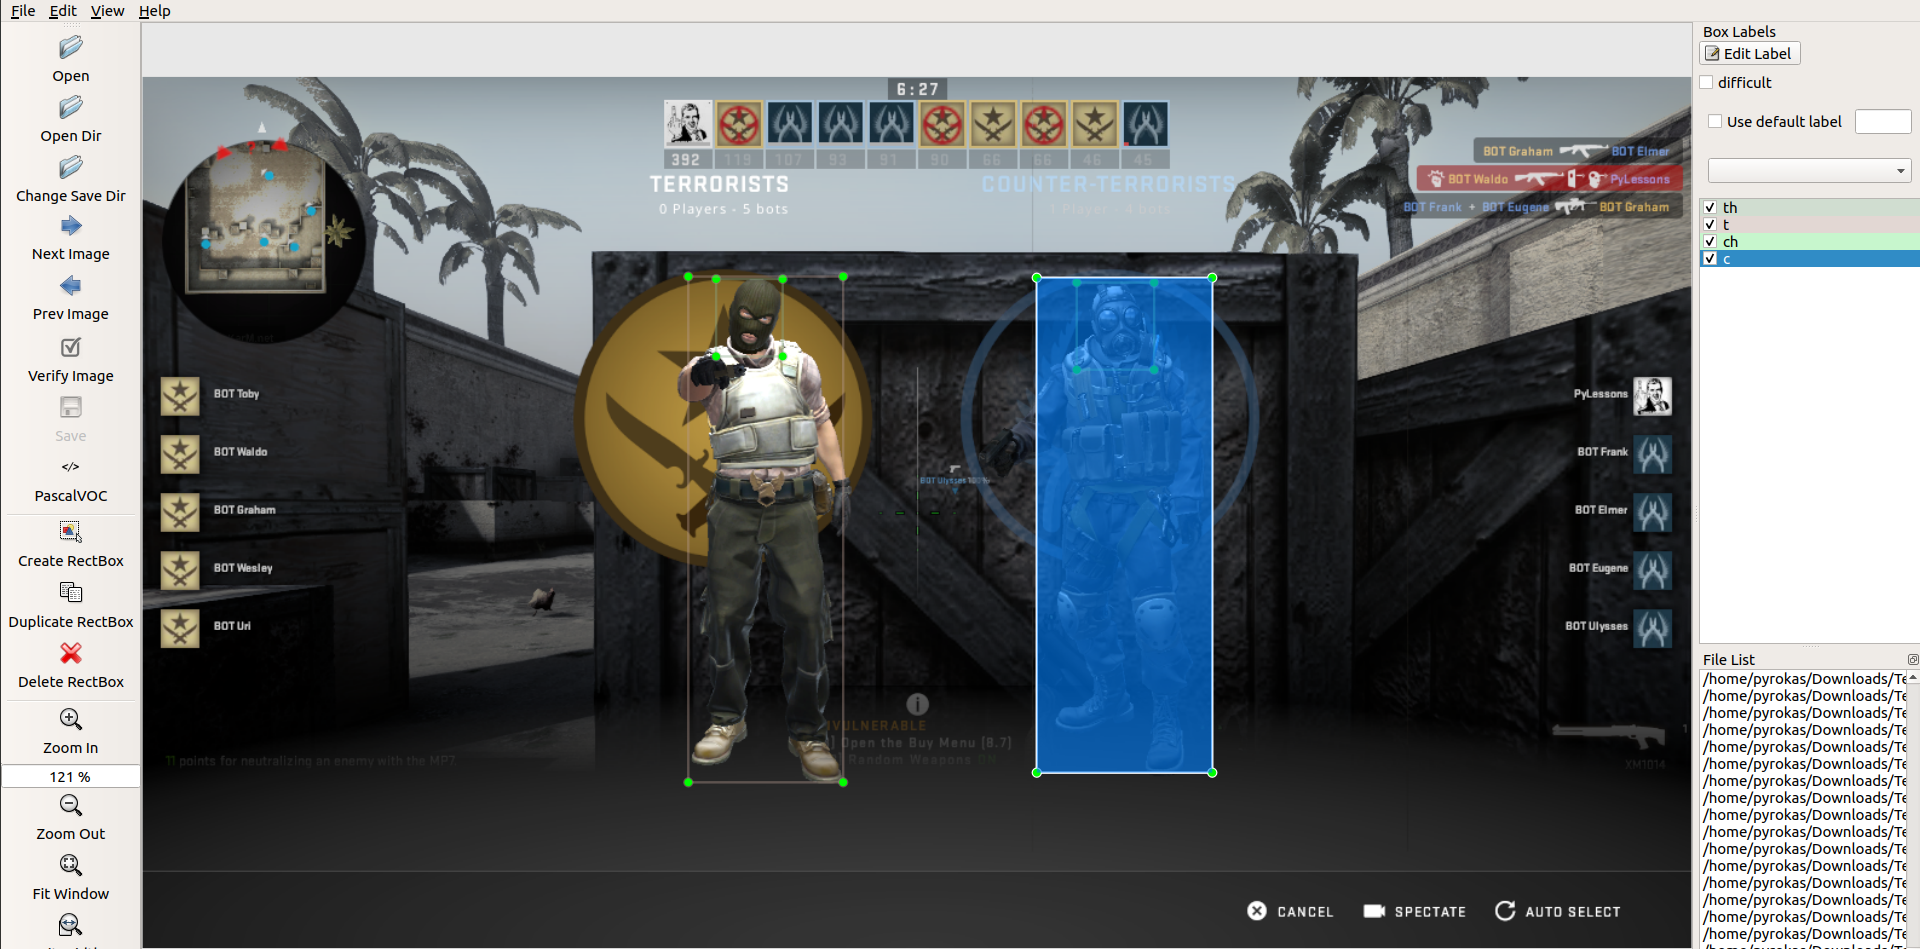
As you can see, this technique of generating training data can save us a lot of time because now we don't need to add all labels manually. It's enough to fix them. Also, it's an excellent way to check how accurately our model works, which objects it's hard to detect for him, and so on. While creating XML files in the following way, I recommend running detections within high input size (YOLO_INPUT_SIZE in configs.py).
Conclusion:
So, it was a short tutorial, but I created this because I faced such situations where I had to manually label a lot of images to get appropriate training data. So, I came up with this very time-saving method, which saved me tons of hours of image labeling. I hope this will be useful for you too.
Thank you for reading, and of course, don't miss my coming tutorial, where I will show you how my created YOLOv4 aimbot can play the Counter-Strike Global Offensive game!