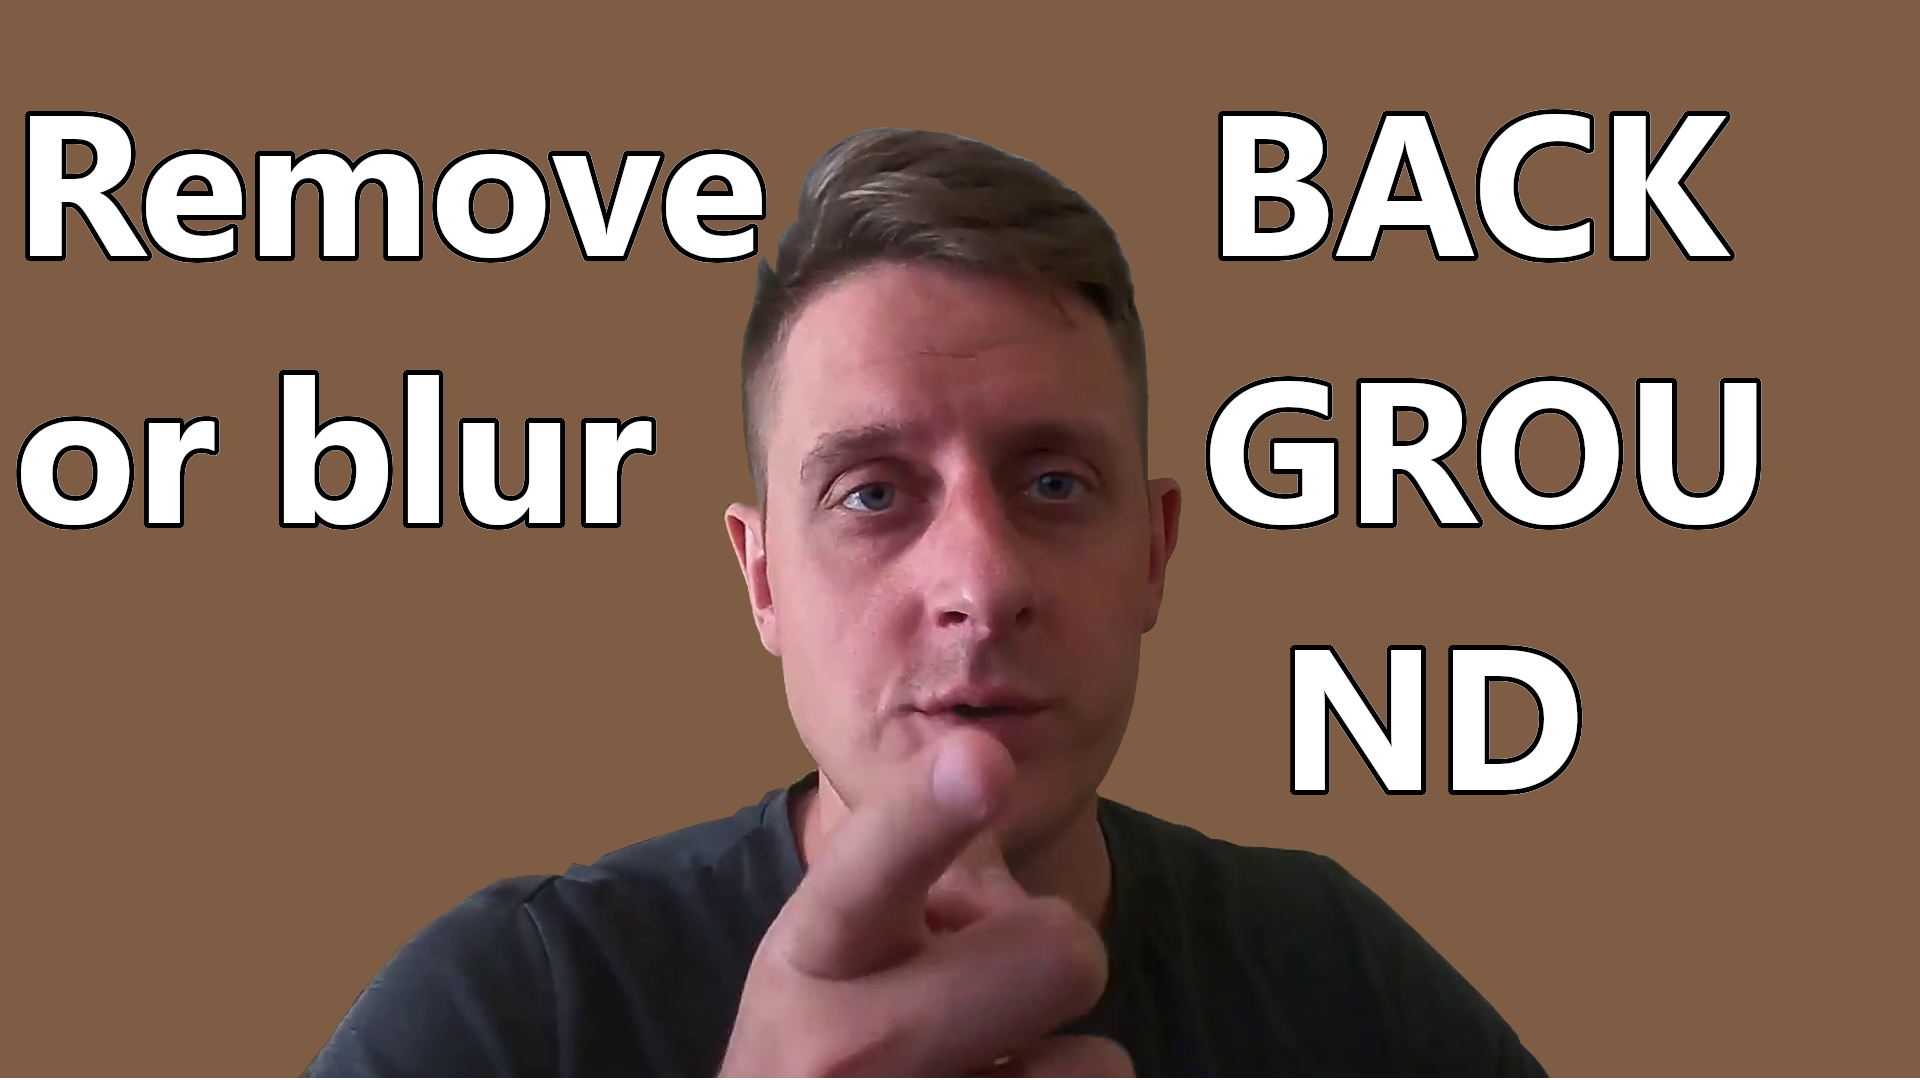
Have you ever wondered how the "Custom Background" or "Blur Background" features work in Zoom, MS Teams, Google Meet, or Skype? How can a machine understand the difference between a person and the background without depth-capturing techniques or a green screen?
That's where image segmentation comes into the game. Image segmentation is one of the most valuable features that Machine Learning provides to us these days. Image Segmentation is still in active research, and as a result, we have many SOTA Machine Learning methods to provide precise pixel-level segmentation.
These models can be of various sizes with millions of parameters. Running these models in real-time on an edge device with limited battery life and computational resources may be challenging. When we want to test some new stuff or try new things for fun, the pre-trained models can save us from the tedious optimization we need to perform to make these models lite and super-fast.
There are many pretrained selfie segmentation models, but I chose to go with the MediaPipe Selfie Segmentation solution in this tutorial. Here is the quote from their description:
MediaPipe Selfie Segmentation segments the prominent humans in the scene. It can run in real-time on both smartphones and laptops. The intended use cases include selfie effects and video conferencing, where the person is close (< 2m) to the camera.
This MediaPipe solution provides us ML model based on MobileNetV3 and has two models (general and landscape):
- The general model operates on a 256x256x3 (HWC) tensor and outputs a 256x256x1 tensor representing the segmentation mask;
- The landscape model is similar to the general model but operates on a 144x256x3 (HWC) tensor. It has fewer FLOPs than the general model and runs faster.
NOTE. The general model is also powering ML Kit, and a variant of the landscape model is powering Google Meet. Please find more detail about the models in the model card.
Setup the project (windows):
So, if you saw my YouTube video, you probably noticed that it was very straightforward how to use this model. But to simplify things, I made a "Background_removal" project on GitHub. The first thing you need to do is to clone or download my project from the following link: https://github.com/pythonlessons/background_removal.git.
I am giving instructions on how to test it on windows quickly because if you are using Linux, I think you should be good enough to find out how to install all the requirements:
- Install Python virtual environment:
python -m venv venv; - Activate Python virtual environment:
venv\Script\activate; -
Install all the requirements:
pip install -r requirements.txt; -
(Optional if have Nvidia GPU): install
onnxruntimewith GPU support:pip install onnxruntime-gpu;
At this point, when you are reading this, I might be already updated this project with more features, but if you want only to run a quick test on your webcam, replace the main.py code with the following:
# main.py
from utils import FPSmetric
from selfieSegmentation import MPSegmentation
from engine import Engine

if __name__ == '__main__':
    fpsMetric = FPSmetric()
    segmentationModule = MPSegmentation(threshold=0.3, bg_images_path='', bg_blur_ratio=(45, 45))
    selfieSegmentation = Engine(webcam_id=0, show=True, custom_objects=[segmentationModule, fpsMetric])
    selfieSegmentation.run()
You can run it by typing python main.py in a terminal.
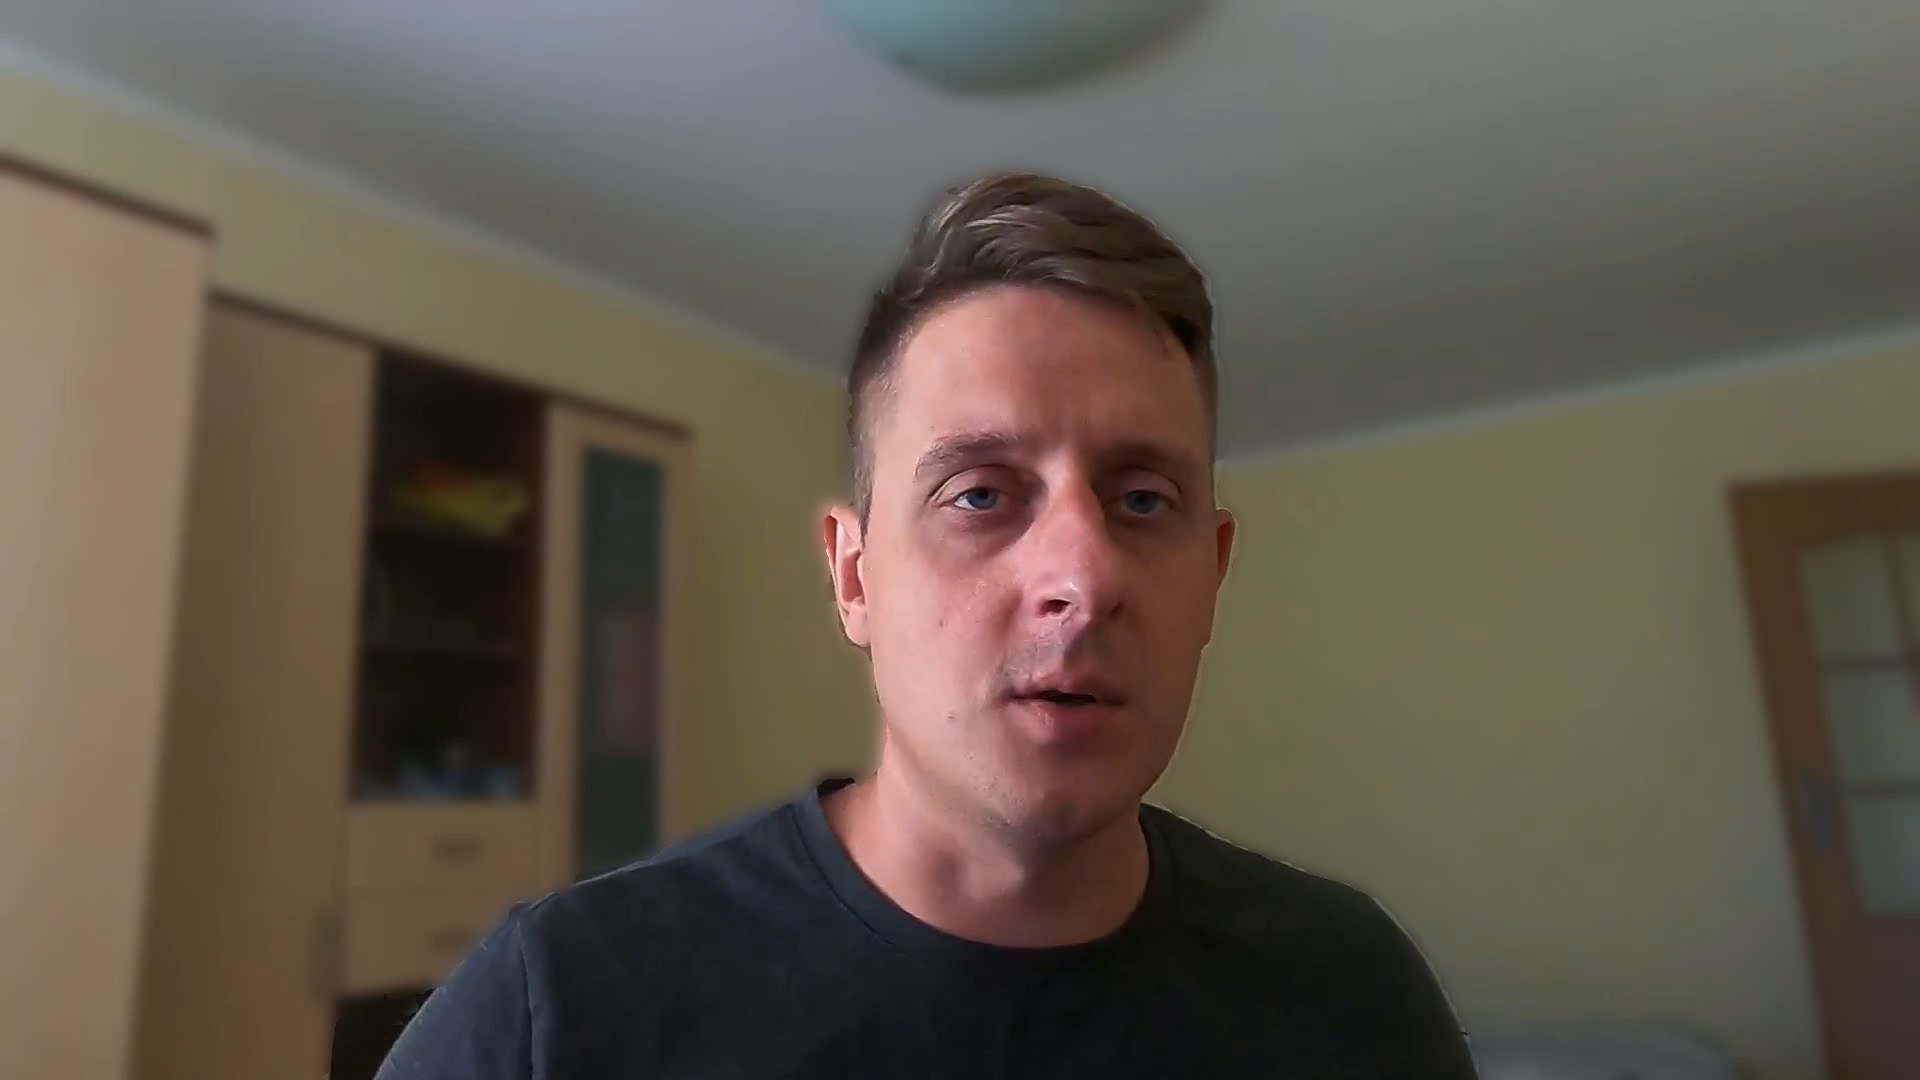
You should see something similar to this my webcam view with blurred background:
In short, we are using three (FPSmetric, MPSegmentation, Engine) different objects for simplicity; FPSmetric is not critical but valuable. In short, we define the MediaPipe segmentation model with the MPSegmentation object, where we receive results simply by feeding frames to it. The FPSmetric object talks for himself - calculates FPS for each call iteration. And the main object that does all the hard work is Engine; with it, we can process Images, Videos, and WebCam input. For more, check the Detailed code block overview below.
Detailed code block overview:
The Engine:
As you may see, the Engine object is the main one that does all the hard work. The idea is that we could add our custom objects without changing the Engine code. Additional processing should be added to the "custom_objects" list argument. These custom_objects are called each frame iteration; this means that objects must have a "__call__" function. Here is the complete Engine code:
# engine.py
import cv2
import stow
import typing
import numpy as np
from tqdm import tqdm

from selfieSegmentation import MPSegmentation

class Engine:
    """Object to process webcam stream, video source or images
    All the processing can be customized and enchanced with custom_objects
    """
    def __init__(
        self,
        image_path: str = "",
        video_path: str = "",
        webcam_id: int = 0,
        show: bool = False,
        flip_view: bool = False,
        custom_objects: typing.Iterable = [],
        output_extension: str = 'out',
        start_video_frame: int = 0,
        end_video_frame: int = 0,
        break_on_end: bool = False,
        ) -> None:
        """Initialize Engine object for further processing

        Args:
            image_path: (str) - path to image to process
            video_path: (str) - path to video to process
            webcam_id: (int) - ID of the webcam to process
            show: (bool) - argument whether to display or not processing
            flip_view: (bool) - argument whether to flip view horizontally or not
            custom_objects: (typing.Iterable) - custom objects to call every iteration (must have call function)
            output_extension: (str) - additional text to add to processed image or video when saving output
            start_video_frame: (int) - video frame from which to start applying custom_objects to video
            end_video_frame: (int) - last video frame to which apply custom_objects to video
        """
        self.video_path = video_path
        self.image_path = image_path
        self.webcam_id = webcam_id
        self.show = show
        self.flip_view = flip_view
        self.custom_objects = custom_objects
        self.output_extension = output_extension
        self.start_video_frame = start_video_frame
        self.end_video_frame = end_video_frame
        self.break_on_end = break_on_end

    def flip(self, frame: np.ndarray) -> np.ndarray:
        """Flip given frame horizontally
        Args:
            frame: (np.ndarray) - frame to be fliped horizontally

        Returns:
            frame: (np.ndarray) - fliped frame if self.flip_view = True
        """
        if self.flip_view:
            return cv2.flip(frame, 1)

        return frame

    def custom_processing(self, frame: np.ndarray) -> np.ndarray:
        """Process frame with custom objects (custom object must have call function for each iteration)
        Args:
            frame: (np.ndarray) - frame to apply custom processing to

        Returns:
            frame: (np.ndarray) - custom processed frame
        """
        if self.custom_objects:
            for custom_object in self.custom_objects:
                frame = custom_object(frame)

        return frame

    def display(self, frame: np.ndarray, webcam: bool = False) -> bool:
        """Display current frame if self.show = True
        When displaying webcam you can control the background images

        Args:
            frame: (np.ndarray) - frame to be displayed
            webcam: (bool) - Add aditional function for webcam. Keyboard 'a' for next or 'd' for previous

        Returns:
            (bool) - Teturn True if no keyboard "Quit" interruption
        """
        if self.show:
            cv2.imshow('Remove Background', frame)
            k = cv2.waitKey(1)
            if k & 0xFF == ord('q'):
                cv2.destroyAllWindows()
                return False

            if webcam:
                if k & 0xFF == ord('a'):
                    for custom_object in self.custom_objects:
                        # change background to next with keyboar 'a' button
                        if isinstance(custom_object, MPSegmentation):
                            custom_object.change_image(True)
                elif k & 0xFF == ord('d'):
                    for custom_object in self.custom_objects:
                        # change background to previous with keyboar 'd' button
                        if isinstance(custom_object, MPSegmentation):
                            custom_object.change_image(False)

        return True

    def process_image(self) -> np.ndarray:
        """Function do to processing with given image in image_path

        Returns:
            frame: (np.ndarray) - final processed image
        """
        if not stow.exists(self.image_path):
            raise Exception(f"Given image path doesn't exists {self.image_path}")

        frame = self.custom_processing(self.flip(cv2.imread(self.image_path)))

        extension = stow.extension(self.image_path)
        output_path = self.image_path.replace(f".{extension}", f"_{self.output_extension}.{extension}")
        cv2.imwrite(output_path, frame)

        return frame

    def process_webcam(self) -> None:
        """Process webcam stream for given webcam_id
        """
        # Create a VideoCapture object for given webcam_id
        cap = cv2.VideoCapture(self.webcam_id)
        while cap.isOpened():
            success, frame = cap.read()
            if not success:
                print("Ignoring empty camera frame.")
                continue

            frame = self.custom_processing(self.flip(frame))

            if not self.display(frame, webcam=True):
                break

        else:
            raise Exception(f"Webcam with ID ({self.webcam_id}) can't be opened")

        cap.release()

    def check_video_frames_range(self, fnum):
        """Not to waste resources this function processes only specified range of video frames

        Args:
            fnum: (int) - current video frame number

        Returns:
            status: (bool) - Return True if skip processing otherwise False
        """
        if self.start_video_frame and fnum < self.start_video_frame:
            return True

        if self.end_video_frame and fnum > self.end_video_frame:
            return True

        return False

    def process_video(self) -> None:
        """Process video for given video_path and creates processed video in same path
        """
        if not stow.exists(self.video_path):
            raise Exception(f"Given video path doesn't exists {self.video_path}")

        # Create a VideoCapture object and read from input file
        cap = cv2.VideoCapture(self.video_path)

        # Check if camera opened successfully
        if not cap.isOpened():
            raise Exception(f"Error opening video stream or file {self.video_path}")

        # Capture video details
        width  = int(cap.get(cv2.CAP_PROP_FRAME_WIDTH))
        height = int(cap.get(cv2.CAP_PROP_FRAME_HEIGHT))
        fps = int(cap.get(cv2.CAP_PROP_FPS))
        frames = int(cap.get(cv2.CAP_PROP_FRAME_COUNT))

        # Create video writer in the same location as original video
        output_path = self.video_path.replace(f".{stow.extension(self.video_path)}", f"_{self.output_extension}.mp4")
        out = cv2.VideoWriter(output_path, cv2.VideoWriter_fourcc(*'MP4V'), fps, (width, height))

        # Read all frames from video
        for fnum in tqdm(range(frames)):
            # Capture frame-by-frame
            success, frame = cap.read()
            if not success:
                break

            if self.check_video_frames_range(fnum):
                out.write(frame)
                if self.break_on_end and fnum >= self.end_video_frame:
                    break
                continue

            frame = self.custom_processing(self.flip(frame))

            out.write(frame)

            if not self.display(frame):
                break

        cap.release()
        out.release()

    def run(self):
        """Main object function to start processing image, video or webcam input
        """
        if self.video_path:
            self.process_video()
        elif self.image_path:
            self.process_image()
        else:
            self.process_webcam()
To avoid explaining each line of the code, I documented the critical parts of the code. But still, there may be functions that may be unclear to you. For instance, "custom_processing", this function is called each frame. Here we loop through the given "self.custom_objects" list objects and apply these objects to the frame. The idea here is that we can provide an image path, video path, or webcam_id, and the engine will start processing it when we call the "run()" function.
Another one is the "display" function; this is more suitable when playing around with a web camera and wanting to see the results. Moreover, some custom code is written to handle background images with "a" and "d" keyboard buttons.
The main functions are:
- The "
process_image" - This function is called only if we define an "image_path" while creating the Engine object. It saves the processed image in the same path where is the original one; - The "
process_webcam" - This function is called every time and tries to read frames from the webcam that id we define with the "webcam_id" argument. It's not creating any video; it simply processes frames from a webcam and displays them. You are free to change this function to your needs; - The "
process_video" - This function works with video files, that path you define with the "video_path" argument. I use this function the most. Even my YouTube video is modified with the help of this function while removing the background.
The FPSmetric:
Another useful object is used to measure inference speed, whether we are processing saved video or real-time video stream such as webcam stream. The following FPSmetric object is used just for that:
# utils.py
import numpy as np
import typing
import time
import cv2

class FPSmetric:
    """ Measure FPS between calls of this object
    """
    def __init__(
        self,
        range_average: int = 30,
        position: typing.Tuple[int, int] = (7, 70),
        fontFace: int = cv2.FONT_HERSHEY_SIMPLEX,
        fontScale: int = 3,
        color: typing.Tuple[int, int, int] = (100, 255, 0),
        thickness: int = 3,
        lineType: int = cv2.LINE_AA,
        ):
        """
        Args:
            range_average: (int) = 30 - number of how many call should be averaged for a result
            position: (typing.Tuple[int, int]) = (7, 70) - position in a frame where to put text
            fontFace: (int) = cv2.FONT_HERSHEY_SIMPLEX - cv2 font for text
            fontScale: (int) = 3 - size of font
            color: (typing.Tuple[int, int, int]) = (100, 255, 0) - RGB color for text
            thickness: (int) = 3 - chickness for text
            lineType: (int) = cv2.LINE_AA - text line type
        """
        self._range_average = range_average
        self._frame_time = 0
        self._prev_frame_time = 0
        self._fps_list = []

        self.position = position
        self.fontFace = fontFace
        self.fontScale = fontScale
        self.color = color
        self.thickness = thickness
        self.lineType = lineType

    def __call__(self, frame: np.ndarray = None) -> typing.Union[bool, np.ndarray]:
        """Measure duration between each call and return calculated FPS or frame with added FPS on it

        Args:
            frame: (np.ndarray) - frame to add FPS text if wanted

        Returns:
            fps: (float) - fps number if frame not given otherwise return frame (np.ndarray)
        """
        self._prev_frame_time = self._frame_time
        self._frame_time = time.time()
        if not self._prev_frame_time:
            return 0
        self._fps_list.append(1/(self._frame_time - self._prev_frame_time))
        self._fps_list = self._fps_list[-self._range_average:]

        fps = float(np.average(self._fps_list))

        if frame is None:
            return fps

        cv2.putText(frame, str(int(fps)), self.position, self.fontFace, self.fontScale, self.color, self.thickness, self.lineType)
        return frame
As you can see, we rarely try to calculate FPS for single-frame inference. Usually, we do this for some range that we define in this object with the range_average argument. Other "__init__" arguments are to define "cv2.putText" function arguments, to style text in our frame. From a first look, you can understand whether it will add text with object-defined arguments if we call this object with "frame" input. Otherwise, the object will return the calculated float of FPS. I love this object because we don't need to manually implement any custom function inside our code to calculate FPS, and it is enough to call this object each iteration.
The MPSegmentation:
This object is responsible for selfie image segmentation. Specifically, I created it for the Media Pipe solution. But if you want to use a different model or implementation of selfie segmentation, modify or create a copy of this object and reimplement it as you need.
# selfieSegmentation.py
class MPSegmentation:
    """Object to create and do mediapipe selfie segmentation, more about it:
    https://google.github.io/mediapipe/solutions/selfie_segmentation.html
    """
    def __init__(
        self,
        bg_blur_ratio: typing.Tuple[int, int] = (35, 35),
        bg_image: typing.Optional[np.ndarray] = None,
        threshold: float = 0.5,
        model_selection: bool = 1,
        bg_images_path: str = None,
        bg_color : typing.Tuple[int, int, int] = None,
        ) -> None:
        """
        Args:
            bg_blur_ratio: (typing.Tuple) = (35, 35) - ratio to apply for cv2.GaussianBlur
            bg_image: (typing.Optional) = None - background color to use instead of gray color in background
            threshold: (float) = 0.5 - accuracy border threshold separating background and foreground, necessary to play to get the best results
            model_selection: (bool) = 1 - generas or landscape model selection for segmentations mask
            bg_images_path: (str) = None - path to folder for background images
            bg_color: (typing.Tuple[int, int, int]) = None - color to replace background with
        """
        self.mp_selfie_segmentation = mp.solutions.selfie_segmentation
        self.selfie_segmentation = self.mp_selfie_segmentation.SelfieSegmentation(model_selection=model_selection)

        self.bg_blur_ratio = bg_blur_ratio
        self.bg_image = bg_image
        self.threshold = threshold
        self.bg_color = bg_color

        if bg_images_path:
            self.bg_images = [cv2.imread(image.path) for image in stow.ls(bg_images_path)]
            self.bg_image = self.bg_images[0]

    def change_image(self, prevOrNext: bool = True) -> bool:
        """Change image to next or previous ir they are provided

        Args:
            prevOrNext: (bool) - argument to change image to next or previous in given list

        Returns:
            bool - Return True if successfully changed background image
        """
        if not self.bg_images:
            return False

        if prevOrNext:
            self.bg_images = self.bg_images[1:] + [self.bg_images[0]]
        else:
            self.bg_images = [self.bg_images[-1]] + self.bg_images[:-1]
        self.bg_image = self.bg_images[0]

        return True

    def __call__(self, frame: np.ndarray) -> np.ndarray:
        """Main function to process selfie semgentation on each call

        Args:
            frame: (np.ndarray) - frame to excecute selfie segmentation on

        Returns:
            frame: (np.ndarray) - processed frame with selfie segmentation
        """
        results = self.selfie_segmentation.process(frame)
        condition = np.stack((results.segmentation_mask,) * 3, axis=-1) > self.threshold

        if self.bg_image:
            background = self.bg_image
        elif self.bg_color:
            background = np.ones(frame.shape, np.uint8)[...,:] * self.bg_color
        else:
            background = cv2.GaussianBlur(frame, self.bg_blur_ratio, 0)

        frame = np.where(condition, frame, cv2.resize(background, frame.shape[:2][::-1]))

        return frame
While creating this object, we can define several different parameters, such as whether we'll use a general inference model or landscape type. We can specify what background image or even a list of images to use instead of blurring the background. The threshold is a border parameter that gives us confidence when separating background and foreground. For best results, it's necessary to play around with this value.
The main logic is held in the "__call__" function. First, we feed the frame to this object, where the defined model returns a selfie segmentation 1D mask. Because our image is 3D (RGB), we are transforming our mask into the same shape. Next, we check whether we have defined the background image or background color; if not, we'll use blurred background, otherwise - given image. And in the last step, we put our original image part that overlaps with the segmentation mask on a background image.
Conclusion:
I hope you loved this short Selfie Segmentations tutorial and you understood that separating ourselves from a background is not rocket science; it's way more manageable when we know what tools to use and how to apply them. In this part, I wrote an Engine backbone that we can easily use with custom objects to process images, videos, or webcam stream!
I showed you how to create objects to measure inference speed and, most importantly, how to use the Media Pipe selfie segmentation model, get selfie segmentation results and apply them to blur or change our background!
In the next tutorial, I'll create another Media Pipe face detection object that we'll use to detect faces in real time.
Thanks for reading! As always, all the code given in this tutorial can be found on my GitHub page and is free to use!