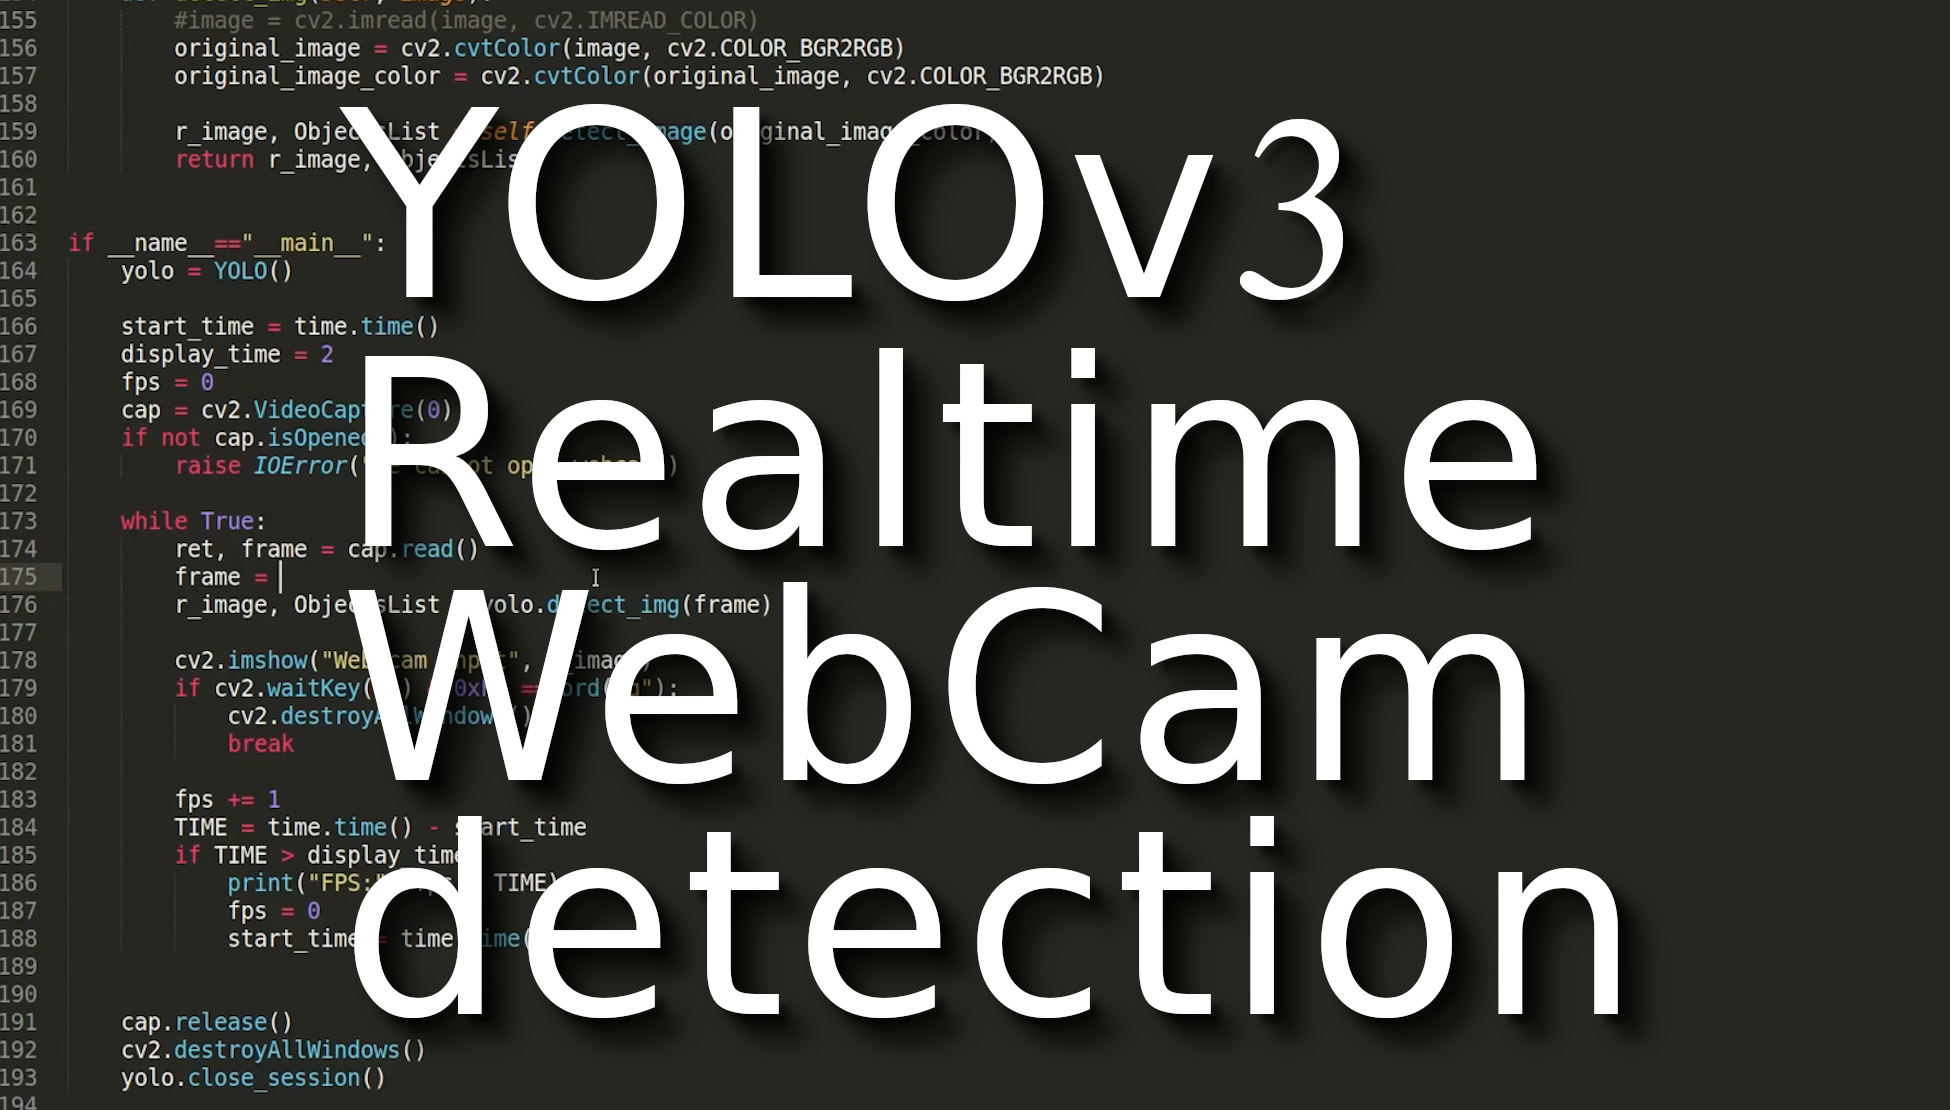
Welcome to another YOLO v3 object detection tutorial. A lot of you asked me how to make this YOLO v3 work with a webcam, I thought this was obvious. Still, when I received around the tenth email, with the question "how to make it work with webcam", I thought - OK, I will invest my expensive 20 minutes, and I will record a short tutorial about that.
You might see from the video tutorial that I downloaded my code from the 4-th YOLO object detection tutorial. So I will give you step-by-step instructions. First, if you want to try it by yourself, you can find code on my GitHub. Alternatively, clone the whole directory with:
git clone https://github.com/pythonlessons/YOLOv3-object-detection-tutorial.git
We will be working in the "YOLOv3-custom-training" directory. I will be working on the image_detect.py file in the video tutorial, but now you can find webcam_detect.py it in the same directory.
Now, download YOLOv3 weights from the YOLO website, or use wget command:
wget https://pjreddie.com/media/files/yolov3.weights
Copy downloaded weights file to model_data folder and convert the Darknet YOLO model to a Keras model:
python convert.py model_data/yolov3.cfg model_data/yolov3.weights model_data/yolo_weights.h5
To measure how fast we can capture frames from our webcam, we'll need to import time. Up to this step, you already should have all the needed files in the 'model_data' directory, so we need to modify our default parameters to the following:
"model_path": 'model_data/yolo_weights.h5',
"anchors_path": 'model_data/yolo_anchors.txt',
"classes_path": 'model_data/coco_classes.txt',
Now we need to comment image = cv2.imread(image, cv2.IMREAD_COLOR) line in def detect_img(self, image) function, because this function is used to read images from stored images on disk, we'll use camera captured framed directly.
Now let's move to the final part if __name__=="__main__":.
Same as in previous tutorials, I will use capture FPS parts. I will not explain to them because it's standard procedure.
OpenCV provides a video capture object which handles everything related to the opening and closing of the webcam. All we need to do is create that object and keep reading frames from it. The following code will open the webcam, capture the frames, scale them by a factor of 1. YOLO model will detect objects on it and then display them in a window. You can press the "q" key to exit:
yolo = YOLO()

# we create the video capture object cap
cap = cv2.VideoCapture(0)
if not cap.isOpened():
    raise IOError("We cannot open webcam")

while True:
    ret, frame = cap.read()
    # resize our captured frame if we need
    frame = cv2.resize(frame, None, fx=1.0, fy=1.0, interpolation=cv2.INTER_AREA)

    # detect object on our frame
    r_image, ObjectsList = yolo.detect_img(frame)

    # show us frame with detection
    cv2.imshow("Web cam input", r_image)
    if cv2.waitKey(25) & 0xFF == ord("q"):
        cv2.destroyAllWindows()
        break

cap.release()
cv2.destroyAllWindows()
yolo.close_session()
Short explanation:
As we can see in the preceding code, we use OpenCV's VideoCapture function to create the video capture object cap. Once it's created, we start an infinite loop and keep reading frames from the webcam until a keyboard interrupt occurs. In the first line within the while loop, we have the following line:
ret, frame = cap.read()
Here, "ret" is a Boolean value returned by the read function, and it indicates whether or not the frame was captured successfully. If the frame is captured correctly, it's stored in the variable frame. This loop will keep running until we press the "q" key. So we keep checking for a keyboard interrupt in the following line:
if cv2.waitKey(25) & 0xFF == ord("q"):
	cv2.destroyAllWindows()
	break
Every time we capture a new frame, we apply Yolo detection on that frame:
r_image, ObjectsList = yolo.detect_img(frame)
Conclusion:
So as you can see, it's not magic to use your webcam with YOLO object detection. To edit code that I could use the webcam on all this stuff took me around 10 minutes.
Also, to make it more interesting, we tried to compare FPS while using CPU and GPU. On CPU, I received around 3 frames per second; with GPU, it was 11 frames per second. So to use object detection on GPU, I can say that it's a hundred times faster. Our frames were limited by openCV cap.read() function. I believe there are ways to capture frames faster, but this wasn't the goal of this tutorial. The full code webcam_detect.py is on my GitHub page.
