Welcome to Part 4 of the web development with Python and Django tutorial series. In this tutorial, we will check out the admin functionality of Django and cover its benefits.
In the previous tutorial, we saw that we could create records in a database by using the Django shell. But this is not the fastest and most convenient way that we would like to use all the time. We usually want to get full access to manage things through the user interface. Here comes the Django admin panel; we only need to take all the benefits it gathers.
Creating a custom user model using AbstractUser
Every Django project should use a custom user model. The official documentation of Django states that it is "highly recommended":
If you’re starting a new project, it’s highly recommended to set up a custom user model, even if the default User model is sufficient for you. This model behaves identically to the default user model, but you’ll be able to customize it in the future if the need arises.
And they are right. I learned this the hard way. I created this website from scratch by using the default User model. There were many relationships with "profile" another table where I stored another user's sensitive information. My code complexity grew because of additional user relationships, and then I decided to create a custom user. While doing this in a project middle stage, I faced many issues. Finally, I deleted all the databases and wrote code to correctly move data from the old database to the new one. I encountered more problems than you can expect, so I hardly recommend starting with a custom user from the beginning! This is also mentioned in Django documentation:
Due to limitations of Django’s dynamic dependency feature for swappable models, the model referenced by AUTH_USER_MODEL must be created in the first migration of its app (usually called 0001_initial); otherwise, you’ll have dependency issues.
It can be pricy in terms of time. If you move on with the default user model, I'll go a step further and say without hesitation: You are straight-up crazy not to use a custom user model upfront. You'll regret that.
Why do you need a custom user model in Django?
When starting a project with a custom user model, stop considering whether it is the right choice for your project.
Keeping all user-related information in one model eliminates the need for additional or more complex database queries to obtain related model data. On the other hand, storing application-specific user information in a model associated with a custom user model may be more appropriate. This allows each application to specify its user data requirements without conflicting with or violating the assumptions of other applications. It also means that your user model should be as simple as possible, focused on authentication, and meet the minimum requirements that Django expects customized user models to meet.
Here is an example, with the standard User model, we have only specific fields, and often we would like to have a user profile description, image, etc. While using the standard User model, we must create another, for example, the Profile user model, where we would store this information. But while using the custom User model, we can hold all this information in a single table.
So I think it's clear why we need a custom user model in Django. This tutorial will teach us how to create a custom user model and its API in Django.
Steps to create a Custom User Model
Same as we did in our second tutorial, where we created our first app, we need to do the same stuff now. We create the "Users" application: python manage.py startapp users.
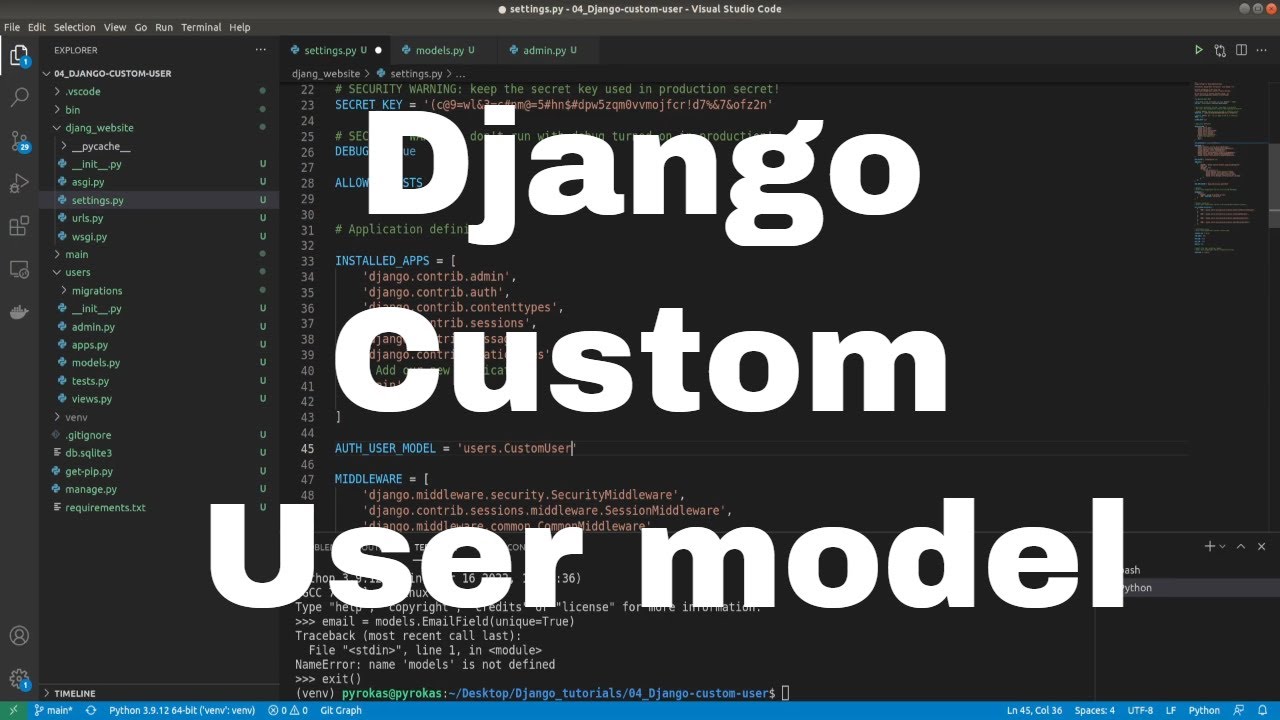
Open the project settings file, django_project/django_website/settings.py and find the definition for the INSTALLED_APPS list. Then add a new "users" line at the end of the list, as shown:
INSTALLED_APPS = [
    'django.contrib.admin',
    'django.contrib.auth',
    'django.contrib.contenttypes',
    'django.contrib.sessions',
    'django.contrib.messages',
    'django.contrib.staticfiles',
    # Add our new application
    'main',
    'users',
]
But now, it's different compared to our "main" application. We need to create a model for our users:
# django_project/users/models.py
from django.contrib.auth.models import AbstractUser
from django.db import models

class CustomUser(AbstractUser):

    STATUS = (
        ('regular', 'regular'),
        ('subscriber', 'subscriber'),
        ('moderator', 'moderator'),
    )

    email = models.EmailField(unique=True)
    status = models.CharField(max_length=100, choices=STATUS, default='regular')
    description = models.TextField("Description", max_length=600, default='', blank=True)

    def __str__(self):
        return self.username
I decided to use AbstractUser, but it's also possible to use AbstractBaseUser. By default, "AbstractUser" doesn't have email, status, and description fields. They will be customized for my purposes; later, there won't be any issues with adding more of them for us. The default Django user model uses a username to identify the user during authentication uniquely. To use an email address instead of a username, you must create a custom user model by splitting it into AbstractUser or AbstractBaseUser.
Options:
- AbstractUser: Use this option if you are satisfied with the existing fields in the User model and want to remove the username field;
- AbstractBaseUser: Use this option to start from scratch when creating your brand new User model.
Next, as we did for our main application, we need to register it. We do it with the following code:
# django_project/users/admin.py
from django.contrib import admin
from .models import CustomUser
# Register your models here.

admin.site.register(CustomUser)
Now we'll see our registered users in the admin panel. Before making the migrations, we need to register our users model in "settings.py" we add the following line in our "settings.py":
# django_project/django_website/settings.py
AUTH_USER_MODEL = 'users.CustomUser'
We are very close to the end. Because we already had a "main" application for which we already made a migration in the previous tutorial, we need to remove all files related to this migration. This is the consequence without even doing anything with our authentication and users. When Django does its initial migration, it records that we use the default method instead of it. Now you may understand why it's a bad idea to move to CustomUser in the middle of the project...
So, we remove all the migrations in the "main" application (don't remove the __init__.py file), and we remove our "db.sqlite" database. If you face any errors while making migrations, go through the files and remove __pycache__ folders. Now we are ready to do migrations:
python manage.py makemigrations
python manage.py migrate
In the next step, we can create our admin user:
python manage.py createsuperuser
Username: test
Email address: test@test.test
Password:
Password (again):
Superuser created successfully.
The superuser is like other users, and Django user objects come with email fields. Django has built-in reporting features that will email your superusers when exceptions are hit, which can be helpful. More information on that: Django email reports.
Now that we've done that, let's log in to the admin page: http://127.0.0.1:8000/admin.
Log in with the user we just created, and you should see a page like:
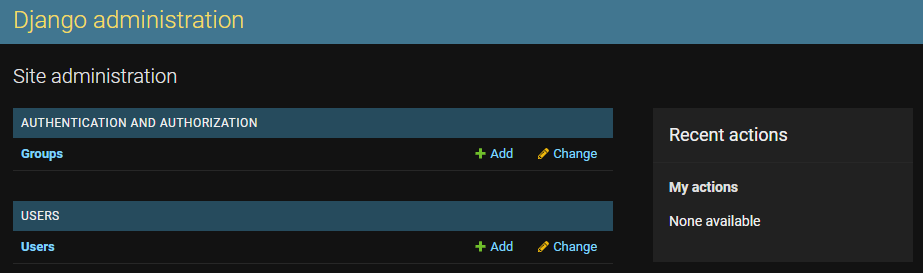
We'll create Articles and Series in the next tutorial through our admin panel.
Conclusion:
In this tutorial, we looked at how to create a custom User model so that we could add additional fields to our primary user identifier. In the future registration tutorial, you'll see that we can benefit from this model while allowing users to login using a username or email.
This tutorial files can be downloaded from GitHub.
The final code examples include the templates, views, and URLs required for user authentication.