Welcome everyone to part 14 of the web development in python with Django. In the previous tutorial, we learned how to upload and manage images for our Django website. Although, we learned how to upload images for our series, articles, and even for our user profile.
But what's that purpose if we can't manage our series and articles from the front end? We are locked to do all this stuff in the back end in the admin panel.
So in this Django tutorial, we'll learn how we can implement all this stuff so we would be able to update, delete and create articles and series just in the front end if we have the right authorization for that.
Let's head to the "django_project/main/urls.py" and we need to create many new URLs so we can create new series and posts, update these series and posts and also delete them:
# django_project/main/urls.py
from django.urls import path
from . import views

urlpatterns = [
    path("", views.homepage, name="homepage"),
    path("new_series", views.new_series, name="series-create"),
    path("new_post", views.new_post, name="post-create"),
    path("<series>", views.series, name="series"),
    path("<series>/update", views.series_update, name="series_update"),
    path("<series>/delete", views.series_delete, name="series_delete"),
    path("<series>/<article>", views.article, name="article"),
    path("<series>/<article>/update", views.article_update, name="article_update"),
    path("<series>/<article>/delete", views.article_delete, name="article_delete"),
]
Cool, now we have defined these URLs. They are linked to our functions in the views script, so we need to create these functions there. We'll redirect to the homepage on all of them for now:
# django_project/main/views.py
from django.shortcuts import redirect
from .models import Article, ArticleSeries

...

def new_series(request):
    return redirect('/')

def new_post(request):
    return redirect('/')

def series_update(request, series):
    return redirect('/')

def series_delete(request, series):
    return redirect('/')

def article_update(request, series, article):
    return redirect('/')

def article_delete(request, series, article):
    return redirect('/')
You already should be familiar with Django, so you may guess what we need next, that's right! We must create "forms.py" in our main application for these view functions.
# django_project/main/forms.py
from django import forms
from .models import Article, ArticleSeries

class SeriesCreateForm(forms.ModelForm):
    class Meta:
        model = ArticleSeries

        fields = [
            "title",
            "subtitle",
            "slug",
            "image",
        ]

class ArticleCreateForm(forms.ModelForm):
    class Meta:
        model = Article

        fields = [
            "title",
            "subtitle",
            "article_slug",
            "content",
            "notes",
            "series",
            "image",
        ]

class SeriesUpdateForm(forms.ModelForm):
    class Meta:
        model = ArticleSeries

        fields = [
            "title",
            "subtitle",
            "image",
        ]

class ArticleUpdateForm(forms.ModelForm):
    class Meta:
        model = Article

        fields = [
            "title",
            "subtitle",
            "content",
            "notes",
            "series",
            "image",
        ]
Here we can manage what our model's fields will be available to edit. And as a rule, we remove the author from here; we don't want this to be changed.
Our slug will not be changeable. That's important because usually, if we create some topic or URL and share the link on multiple websites, for example, 100. We don't want to change the URL because you can't manage to change these 100 places where it was shared, so it's better always to stick to the same URL and never change it.
At this point, our website should be running. Ensure everything works the same as before; click on several links to guarantee that.
We want that our series, posts and etc., would be managed only by the admin users, and others won't be able to do that. So I copy a "decorators.py" from the users application and paste it into the main application. Still, instead of checking whether the user is authenticated, we are checking if the user is a superuser:
# django_project/main/decorators.py
from django.shortcuts import redirect
from django.contrib import messages

def user_is_superuser(function=None, redirect_url='/'):
    """
    Decorator for views that checks that the user is superuser, redirecting
    to the homepage if necessary by default.
    """
    def decorator(view_func):
        def _wrapped_view(request, *args, **kwargs):
            if not request.user.is_superuser:
                messages.error(request, "You are not authorized to access this!")
                return redirect(redirect_url)

            return view_func(request, *args, **kwargs)

        return _wrapped_view

    if function:
        return decorator(function)

    return decorator
Also, we are inserting messages package to these decorators. When someone tries to access our URLs that only superusers can access, it will throw them a message "You are not authorized to access this!" and redirect the user to the homepage. We apply this decorator to all the new functions we create in our views.
Because we are trying to access the same template for the homepage and series to display our records, we need to separate them somehow when adding update and delete buttons. I found the simplest way is to add an additional "type" row into the context. For the homepage, we are adding the "series" type because it displays only series, and for our series function, we add the "article" type because we display only articles there:
# django_project/main/views.py

def homepage(request):
    matching_series = ArticleSeries.objects.all()

    return render(
        request=request,
        template_name='main/home.html',
        context={
            "objects": matching_series,
            "type": "series"
        } )

def series(request, series: str):
    matching_series = Article.objects.filter(series__slug=series).all()

    return render(
        request=request,
        template_name='main/home.html',
        context={
            "objects": matching_series,
            "type": "article"
            })
...
With the above change, we need to change our "home.html" template. Here we are checking whether the object author is the same as our user, and if it is - we display our buttons. Note that for our series, we give a full slug, and for articles, we give our series slug and article slug:
<-- django_project/main/templates/main/home.html -->
...
{% if object.author == user %}
<div style="float: right">
{% if type == "series" %}
<a class="btn btncolor btn-sm mt-1 mb-1" href="{% url 'series_update' object.slug %}">Update</a>
<a class="btn btn-danger btn-sm mt-1 mb-1" href="{% url 'series_delete' object.slug %}">Delete</a>
{% else %}
<a class="btn btncolor btn-sm mt-1 mb-1" href="{% url 'article_update' object.series.slug object.article_slug %}">Update</a>
<a class="btn btn-danger btn-sm mt-1 mb-1" href="{% url 'article_delete' object.series.slug object.article_slug %}">Delete</a>
{% endif %}
</div>
{% endif %}
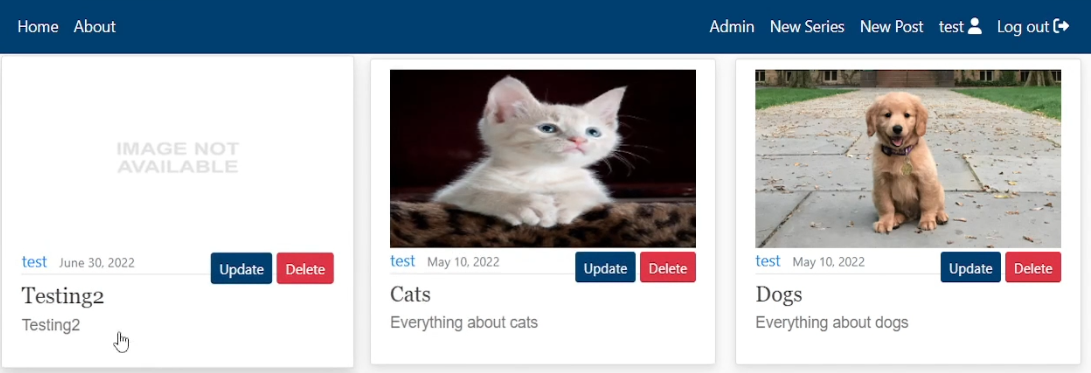
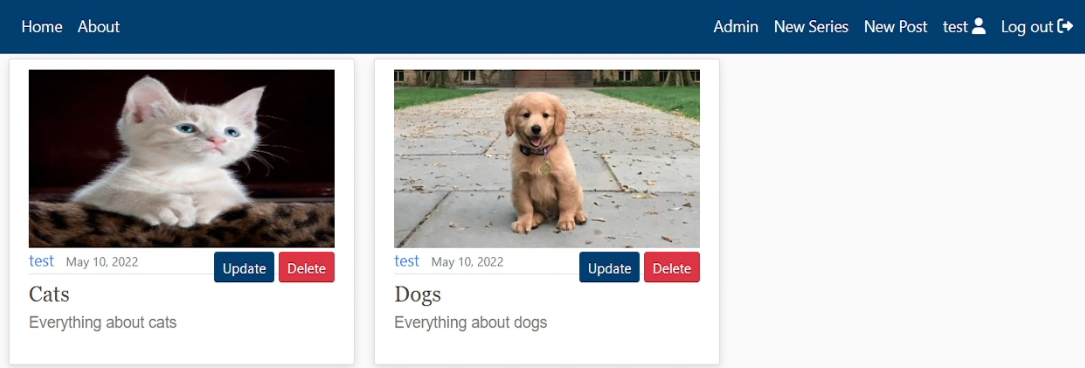
...Now we go to our website, and let's check if these buttons appeared:
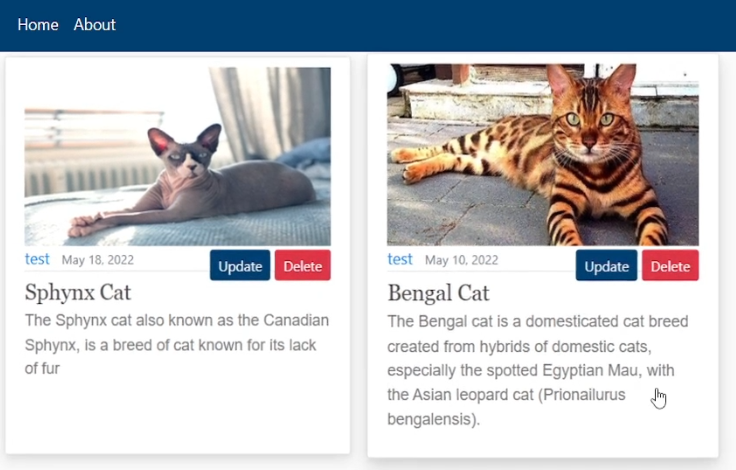 Here, two buttons appeared, "update" and "delete" that are not doing anything yet.
But how should we create these series and articles? We'll create new buttons in our navigation bar, so when the user authorized to create these articles is logged in, he'll see additional buttons! Let's head to our "django_project/main/templates/main/navbar.html" and create three extra buttons if a user is a superuser:
<-- django_project/main/templates/main/navbar.html -->
...
{% if user.is_authenticated %}
    {% if user.is_superuser %}
        <a class="nav-item nav-link" href="admin/">Admin</a>
        <a class="nav-item nav-link" href="{% url 'series-create' %}">New Series</a>
        <a class="nav-item nav-link" href="{% url 'post-create' %}">New Post</a>
    {% endif %}
...
Let's check how this looks on our website:
 But to make these buttons work, we need to create a new template, where we'll be able to set title, subtitle, context, URL, and other stuff to our new record. So, we create a new "
new_record.html" template in "django_project/main/templates/main":
<-- django_project/main/templates/main/new_record.html -->
{% extends "main/header.html" %}
{% load crispy_forms_tags %}
{% block content %}
    <div class="content-section">
        <form method="POST" enctype="multipart/form-data">
            {% csrf_token %}
            <fieldset class="form-group">
                <legend class="border-bottom mb-4">New {{ object }}</legend>
                {{ form|crispy }}
                {{ form.media }}
            </fieldset>
            <div class="form-group">
                <button class="btn btncolor" type="submit">Publish</button>
            </div>
        </form>
    </div>
{% endblock content %}
Also, when we press a delete button, we always want to double-check whether the user hasn't misclicked the delete button, because usually when we remove something, there is no way to restore these things. So, we create the "confirm_delete.html" template in the same location:
<-- django_project/main/templates/main/confirm_delete.html -->
{% extends "main/header.html" %}
{% block content %}
    <div class="content-section">
        <form method="POST">
            {% csrf_token %}
            <fieldset class="form-group">
                <legend class="border-bottom mb-4">Delete {{ type }}</legend>
                <h2>Are you sure you want to delete this {{ type }} "{{ object.title }}"?</h2>
            </fieldset>
            <div class="form-group">
                <button class="btn btn-outline-danger" type="submit">Confirm</button>
                <a class="btn btn-outline-secondary" href="/{{ object.slug }}">Cancel</a>
            </div>
        </form>
    </div>
{% endblock content %}
Also, it would be a good idea to add these Update and Delete buttons inside where we display our detailed view of articles, so it would be a quick way to make some modifications if necessary. So we head to the location where is our "article.html" template and insert a few lines of code that are very similar to what we used before:
<-- django_project/main/templates/main/article.html -->
...
<div>
    <a class='mr-2' href="{% url 'profile' object.author %}">{{ object.author }}</a>
    <small class="text-muted">Published {{ object.published|date:"F d, Y" }}</small>
</div>
{% if object.author == user %}
    <div class="ml-auto">
        <a class="btn btncolor btn-sm mt-1 mb-1" href="{% url 'article_update' object.series.slug object.article_slug %}">Update</a>
        <a class="btn btn-danger btn-sm mt-1 mb-1" href="{% url 'article_delete' object.series.slug object.article_slug  %}">Delete</a>
    </div>
{% endif %}
...
Now, let's go tone one of our articles, and let's check if these buttons are there:
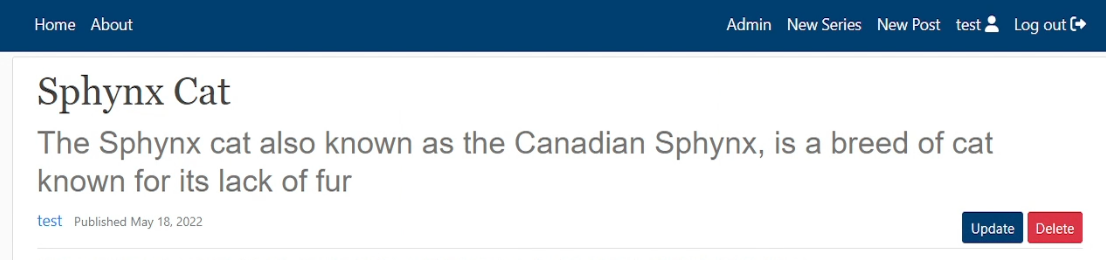
You might change these buttons however you want. If you don't want to have these update and delete buttons on the homepage, you might leave them inside series or articles. It's up to you.
That's it with the styling and templates. Let's head back to our views, where we'll complete our new functions. Let's begin with the imports:
# django_project/main/views.py
from django.shortcuts import render, redirect

from .models import Article, ArticleSeries
from .decorators import user_is_superuser
from .forms import SeriesCreateForm, ArticleCreateForm, SeriesUpdateForm, ArticleUpdateForm
...
We'll begin by creating a function, to create a new series in our database:
# django_project/main/views.py

@user_is_superuser
def new_series(request):
    if request.method == 'POST':
        form = SeriesCreateForm(request.POST, request.FILES)
        if form.is_valid():
            form.save()
            return redirect('homepage')
    else:
        form = SeriesCreateForm()

    return render(
        request=request,
        template_name='main/new_record.html',
        context={
            "object": "Series",
            "form": form
            }
        )
Now, let's go to our website and click on a button in the navigation bar "New Series", we should see our "new_record.html" template giving us a nice interface to create our series:
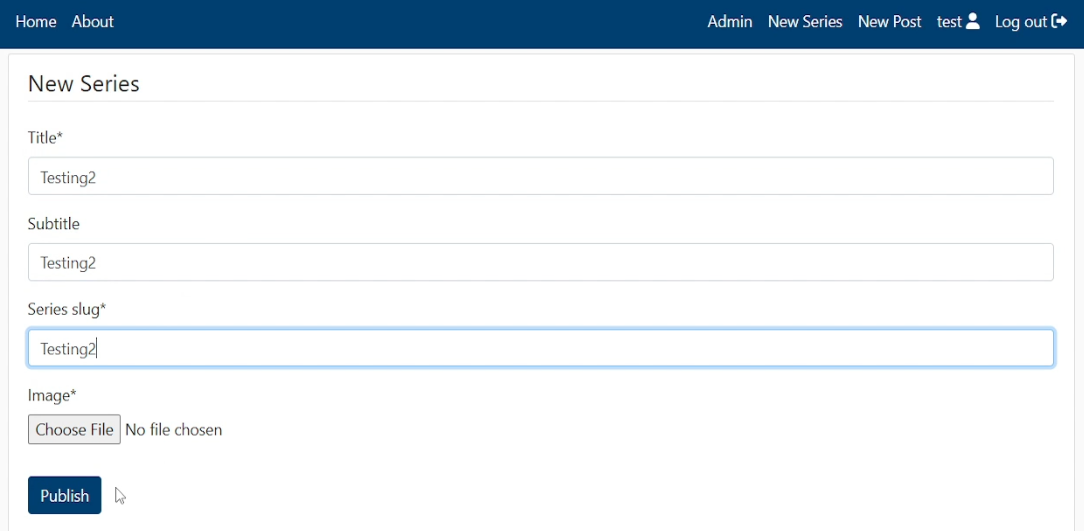 When we click Publish it should be created without any problems and we can see a new tab in our homepage:
Great, now we can create new series in our database, now let's write a function to create new records inside our series. This code is very similar to the "new_series" function code:
# django_project/main/views.py
@user_is_superuser
def new_post(request):
if request.method == "POST":
form = ArticleCreateForm(request.POST, request.FILES)
if form.is_valid():
form.save()
return redirect(f"{form.cleaned_data['series'].slug}/{form.cleaned_data.get('article_slug')}")
else:
form = ArticleCreateForm()
return render(
request=request,
template_name='main/new_record.html',
context={
"object": "Article",
"form": form
}
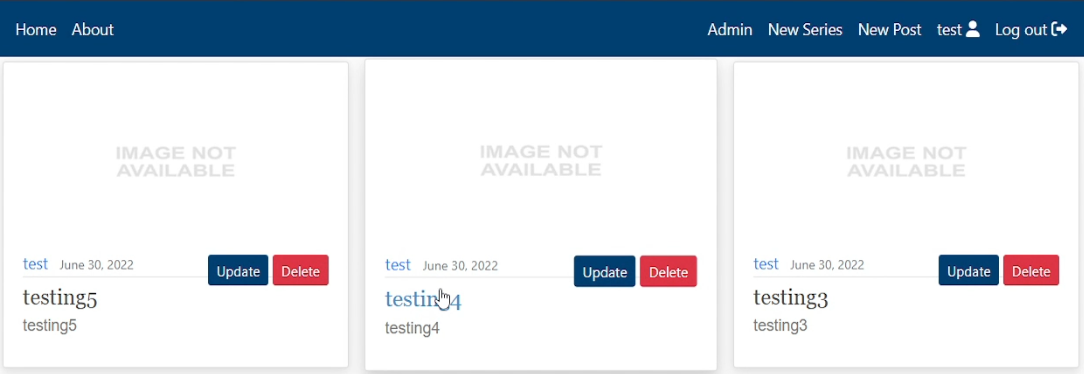
)And if we'll try to create several articles, it works without any problems:
Now we can create them, but in the next step, we would like to delete them, so let's write a function to delete our articles:
# django_project/main/views.py

@user_is_superuser
def article_delete(request, series, article):
    matching_article = Article.objects.filter(series__slug=series, article_slug=article).first()

    if request.method == "POST":
        matching_article.delete()
        return redirect('/')
    else:
        return render(
            request=request,
            template_name='main/confirm_delete.html',
            context={
                "object": matching_article,
                "type": "article"
                }
            )
Now, let's try to delete the "testing5" article:
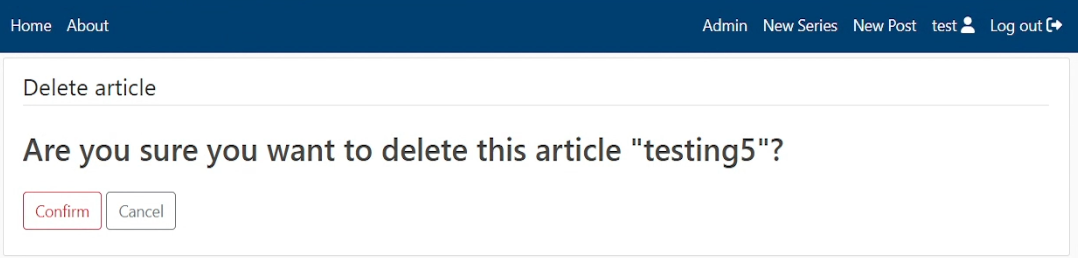
Nice, here comes into the game our "confirm_delete.html" template, where we are double asked if we really want to delete it. We click "Confirm", and we can't see our article in the series anymore. Isn't this cool? Now, we are still missing an article update functionality, so let's write it:
# django_project/main/views.py

@user_is_superuser
def article_update(request, series, article):
    matching_article = Article.objects.filter(series__slug=series, article_slug=article).first()

    if request.method == "POST":
        form = ArticleUpdateForm(request.POST, request.FILES, instance=matching_article)
        if form.is_valid():
            form.save()
            return redirect(f'/{matching_article.slug}')

    else:
        form = ArticleUpdateForm(instance=matching_article)

        return render(
            request=request,
            template_name='main/new_record.html',
            context={
                "object": "Article",
                "form": form
                }
            )
Now, let's try to update by clicking our article "Update" button. I am adding "updated" worn next to its subtitle and content. Note: we can't update the author and the slug - just like we expect it to work! Let's see if it worked:
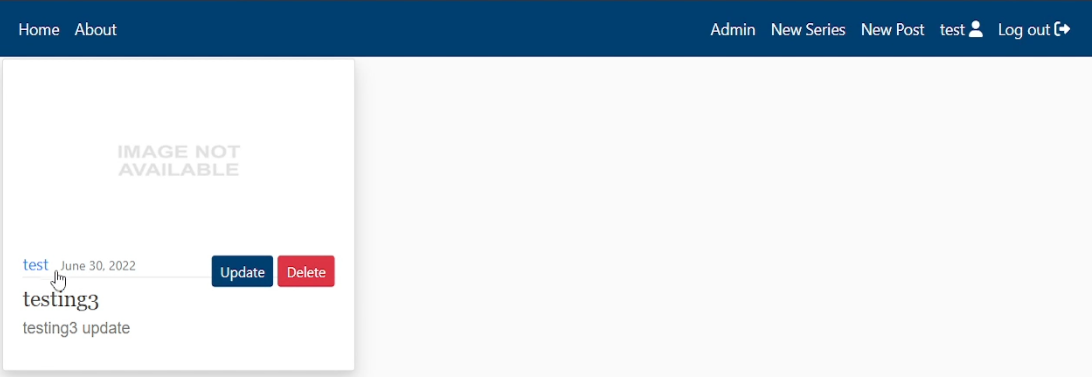
It worked as expected, and the overall experience was quick and easy. Let's write a very similar "series_update" function to do the same operation to our series records:
# django_project/main/views.py

@user_is_superuser
def series_update(request, series):
    matching_series = ArticleSeries.objects.filter(slug=series).first()

    if request.method == "POST":
        form = SeriesUpdateForm(request.POST, request.FILES, instance=matching_series)
        if form.is_valid():
            form.save()
            return redirect('homepage')

    else:
        form = SeriesUpdateForm(instance=matching_series)

        return render(
            request=request,
            template_name='main/new_record.html',
            context={
                "object": "Series",
                "form": form
                }
            )
And if we update it in the same way as we updated our articles, we should see our results immediately:

What's left for us is the "series_delete" function, so let's complete it:
# django_project/main/views.py

@user_is_superuser
def series_delete(request, series):
    matching_series = ArticleSeries.objects.filter(slug=series).first()

    if request.method == "POST":
        matching_series.delete()
        return redirect('/')
    else:
        return render(
            request=request,
            template_name='main/confirm_delete.html',
            context={
                "object": matching_series,
                "type": "Series"
                }
            )
If we try to delete a series that already has articles assigned, it will throw us an error. That's good to protect us from deleting articles without knowing that. You may write another template to tell you that, but I am not doing this right now. We'll be able to delete the series only if it doesn't have any articles inside.
So, I removed all articles from my testing series and then try to remove my "Testing2" series to test if it works as expected:
No errors, as you see, so that was pretty easy!
Conclusion:
This tutorial's goal was to make our page more dynamic and easily manageable. Before, we had to go to our admin panel, and it was necessary to be authorized as a super user to do things like that. Now it's way easier than before.
Suppose you want to allow other users with different privileges to modify series and articles. In that case, you may need to edit decorators and change templates and functions, but from this point, it's not that hard.
If we log out from our admin user, you may see that we can't see these buttons and can't access our URLs to make harmful actions! Remember, you should test everything before you release these things to production because if you might miss something, someone may find your bug and might use it to harm your website!
That's it for this tutorial; I hope this article was valuable and exciting. It was pretty long, but we pushed a lot of information into this topic. If you are working on your own Django project, this part is crucial to make all things protected from unauthorized actions.
In the next tutorial, we will check how we might authorize our users with an email. This means we will implement the Gmail email user authorization system into our project!
See you in my next tutorial, final tutorial files you can download from my GitHub page.