Welcome everyone to part 12 of the web development in Python with Django. We all know that a page with registration and login tabs must have a user profile page. So, in this part, we'll crack on our user profile so that our users can edit their description, name, surname, or other details you want to include. Also, it is important that these profiles could be accessed by other users, for example, so that anyone could check the author's profile of any published post on our page.
We created our users model so that users can't change their username when registered, and it's unique, which means that the best idea is to access user profiles by username. We start by creating an URL for our profile. We go to our "django_project/users/urls.py" and insert a new line with a path to a new profile function in our views:
# django_project/users/urls.py
from django.urls import path
from . import views

urlpatterns = [
    path("register", views.register, name="register"),
    path('login', views.custom_login, name='login'),
    path('logout', views.custom_logout, name='logout'),
    path('profile/<username>', views.profile, name='profile'),
]
Ok, from our previous tutorial, we know that we will need to create a new form for our users, so we can easily access and modify profile information. We go to our "django_project/users/forms.py" and we create a new "UserUpdateForm" object with basic (name, surname, email, description) fields from our user models:
#django_project/users/forms.py
...

class UserUpdateForm(forms.ModelForm):
    email = forms.EmailField()

    class Meta:
        model = get_user_model()
        fields = ['first_name', 'last_name', 'email', 'description']
Here, we are creating a new page for our users, which means we'll need to create a new HTML template. Same as before, I already made one in "django_project/users/templates/users/profile.html":
<!-- django_project/users/templates/users/profile.html -->
{% extends "main/header.html" %}
{% load crispy_forms_tags %}
{% block content %}
<div class="content-section col-lg-12 col-md-12 col-sm-12 tutorial-style" style="min-height:65vh;">
    <legend class="border-bottom mb-4">Profile Information:</legend>
    <form method="POST" enctype="multipart/form-data">
        {% csrf_token %}
        <div class="media">
            <div class="media-body">
                <h2 class="account-heading">{{ form.instance.username }}
                    <small class="text-muted">({{ form.instance.status }})</small>
                </h2>
                <p class="text-secondary">{{ form.instance.first_name }} {{ form.instance.last_name }}</p>
                <p class="text-secondary">{{ form.instance.email }}</p>
                <p class="text-secondary">{{ form.instance.description }}</p>
            </div>
        </div>

        {% if user.username == form.instance.username %}
            <fieldset class="form-group">
                <legend class="border-bottom mb-4">Edit Profile Information</legend>
                <div class="form-row">
                    <div class="form-group col-md-6 mb-0">
                        {{ form.first_name|as_crispy_field }}
                    </div>
                    <div class="form-group col-md-6 mb-0">
                        {{ form.last_name|as_crispy_field }}
                    </div>
                </div>
                {{ form.email|as_crispy_field }}
                {{ form.description|as_crispy_field }}

                <a href="/">Change password?</a>
            </fieldset>
            <div class="form-group">
                <button class="btn btn-outline-info" type="submit">Update</button>
            </div>
        {% endif %}
    </form>
</div>
{% endblock content %}
As you can notice from this template, we are checking if the user username is equal to the username we have in our form. The purpose is to check whether the profile owner accesses this template or not so that we can preview and update the profile on the same link. Don't hesitate to modify this template if you have more fields in your user model that you want to display or modify.
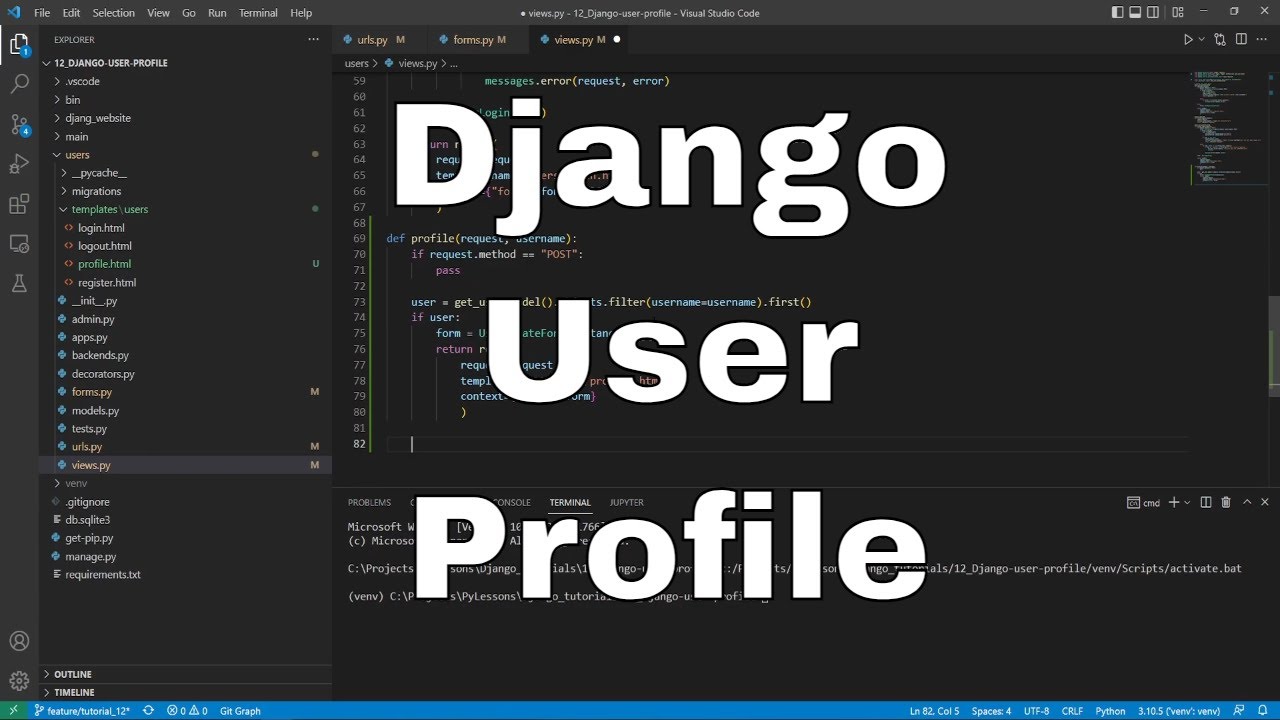
Ok, we are close to testing how it works. The last thing to do is to create our profile function in views. To do so, we go there and create an essential profile function along with a few additional imports:
# django_project/users/views.py
from django.contrib.auth import get_user_model
from .forms import UserUpdateForm

...

def profile(request, username):
    if request.method == 'POST':
        pass

    user = get_user_model().objects.filter(username=username).first()
    if user:
        form = UserUpdateForm(instance=user)
        return render(request, 'users/profile.html', context={'form': form})

    return redirect("homepage")
For now, we'll skip the POST method; at first, let's try how it works with a simple GET method:
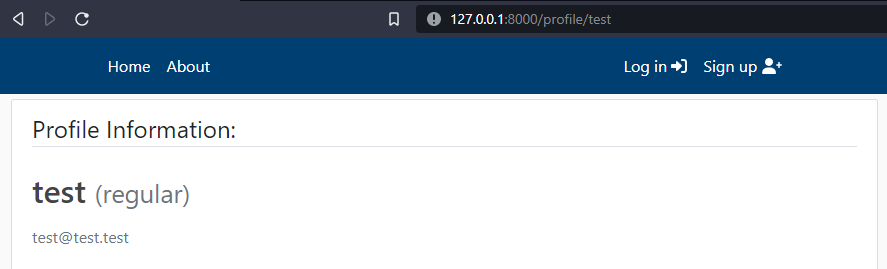
This is nice. It works as expected! Now I suppose we can make it to accept our profile changes:
# django_project/users/views.py
from django.contrib.auth import get_user_model
from .forms import UserUpdateForm

...

def profile(request, username):
    if request.method == 'POST':
        user = request.user
        form = UserUpdateForm(request.POST, request.FILES, instance=user)
        if form.is_valid():
            user_form = form.save()

            messages.success(request, f'{user_form}, Your profile has been updated!')
            return redirect('profile', user_form.username)

        for error in list(form.errors.values()):
            messages.error(request, error)

    user = get_user_model().objects.filter(username=username).first()
    if user:
        form = UserUpdateForm(instance=user)
        form.fields['description'].widget.attrs = {'rows': 1}
        return render(request, 'users/profile.html', context={'form': form})

    return redirect("homepage")
Differently from a GET method, in a POST method, we'll feed "request.POST" and "request.FILES" to our user update form because we'll play around with images in the next tutorial, so our user could have their own profile image! Other lines are pretty obvious if you were following my previous tutorials. It's nothing new here that we haven't covered. Now, let's test how it works:
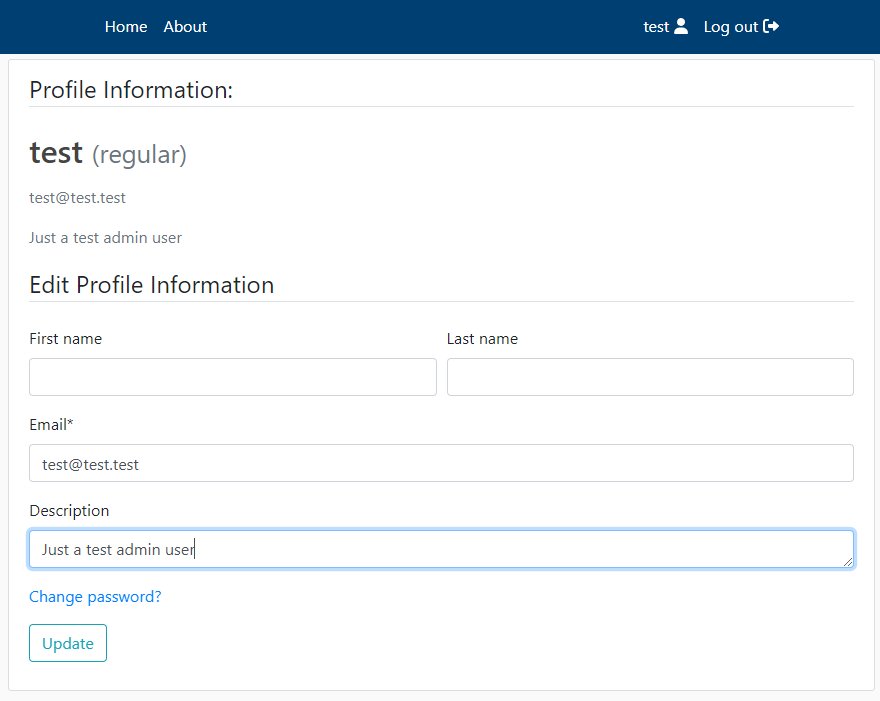
It works like a charm. That's why I love Django; when you are at least a little familiar with it, everything gets more accessible and straightforward! Have you thought it would be that simple before starting this tutorial?
So, now we can view our and other profiles and get the functionality we want. But we still need simple access to these profiles because right now, I can only access them by typing the exact URL to it. First, when the user is logged in to the account, we want to display a button that links to his profile. To do so, we need to edit our navigation bar. We head to our "django_project/main/templates/main/includes/navbar.html" and right after where we check if the user is authenticated, we insert a link to a profile:
<-- django_project/main/templates/main/includes/navbar.html -->
...
{% if user.is_authenticated %}
    <a class="nav-item nav-link" href="{% url 'profile' user.username %}">
        {{user.username}} <i class="fas fa-user"></i>
    </a>
...
It's a simple button to our profile with username as a parameter. Let's check if this change does what we want:
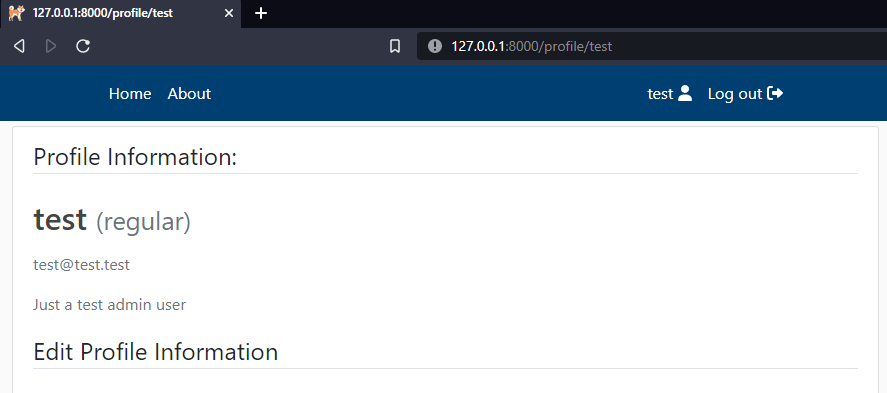
Nice, it works as expected. But still, when someone creates a record or a post on a website, usually somewhere it's mentioned the author and date of publication. But we know that our Article and ArticleSeries don't record this information; at least, we do not record the author who created a post. So, let's modify Article and ArticleSeries models so that the author would be automatically recorded every time we create a new post. Let's head to our main application to "django_project/main/models.py" and insert "author = models.ForeignKey(get_user_model(), default=1, on_delete=models.SET_DEFAULT)" line to both ArticleSeries and Article. Note, don't forget to import the "get_user_model" function from "django.contrib.auth", with this change, our models look the following:
# django_project/main/models.py
from django.db import models
from django.utils import timezone
from tinymce.models import HTMLField
from django.contrib.auth import get_user_model

class ArticleSeries(models.Model):
    title = models.CharField(max_length=200)
    subtitle = models.CharField(max_length=200, default="", blank=True)
    slug = models.SlugField("Series slug", null=False, blank=False, unique=True)
    published = models.DateTimeField("Date published", default=timezone.now)
    author = models.ForeignKey(get_user_model(), default=1, on_delete=models.SET_DEFAULT)

    def __str__(self):
        return self.title

    class Meta:
        verbose_name_plural = "Series"
        ordering = ['-published']

class Article(models.Model):
    title = models.CharField(max_length=200)
    subtitle = models.CharField(max_length=200, default="", blank=True)
    article_slug = models.SlugField("Article slug", null=False, blank=False, unique=True)
    content = HTMLField(blank=True, default="")
    notes = HTMLField(blank=True, default="")
    published = models.DateTimeField("Date published", default=timezone.now)
    modified = models.DateTimeField("Date modified", default=timezone.now)
    series = models.ForeignKey(ArticleSeries, default="", verbose_name="Series", on_delete=models.SET_DEFAULT)
    author = models.ForeignKey(get_user_model(), default=1, on_delete=models.SET_DEFAULT)

    def __str__(self):
        return self.title

    @property
    def slug(self):
        return self.series.slug + "/" + self.article_slug

    class Meta:
        verbose_name_plural = "Article"
        ordering = ['-published']
Let's do a migration to write the above changes to the database:
python manage.py makemigrations
python manage.py migrate
This will automatically assign the "test" admin user as an author to Article and ArticleSeries because our "test" user has the id of "1".
But sometimes, we want that at least the admin could change the author, so we need to change what we display in our admin panel. We head to "django_project/main/admin.py" and insert the author to the ArticleSeriesAdmin and ArticleAdmin objects. The complete code looks following:
# django_project/main/admin.py
from django.contrib import admin
from .models import Article, ArticleSeries

class ArticleSeriesAdmin(admin.ModelAdmin):
    fields = [
        'title',
        'subtitle',
        'slug',
        'author',
        # 'published'
    ]

class ArticleAdmin(admin.ModelAdmin):
    fieldsets = [
        ("Header", {"fields": ['title', 'subtitle', 'article_slug', 'series', 'author']}),
        ("Content", {"fields": ['content', 'notes']}),
        ("Date", {"fields": ['modified']})
    ]

# Register your models here.
admin.site.register(ArticleSeries, ArticleSeriesAdmin)
admin.site.register(Article, ArticleAdmin)
Excellent, now our record in the database holds the author and publication date; we can display this information in the homepage record and inside articles. First, we do this change in our "django_project/main/templates/main/home.html" template. We insert a few additional HTML lines to display the author and publication date of the record above the title:
<-- django_project/main/templates/main/home.html -->
<div class="article-metadata">
    <a class="mr-2" href="{% url 'profile' object.author %}">{{ object.author }}</a>
    <small class="text-muted">{{ object.published|date:"F d, Y" }}</small>
</div>
The complete template with the above change looks the following:
<-- django_project/main/templates/main/home.html -->
{% extends "main/header.html" %}
{% block content %}
    <div class="row display-flex justify-content-start">
    {% for object in objects %}
        <div class="col-lg-4 col-md-6 col-sm-12 mobiledevice">
            <article class="media content-section customhover" style="height: 95%;">
                <div class="media-body">
                    <a href="/{{object.slug}}">
                        <img class="img-fluid" src="/">
                    </a>
                    <div class="article-metadata">
                        <a class="mr-2" href="{% url 'profile' object.author %}">{{ object.author }}</a>
                        <small class="text-muted">{{ object.published|date:"F d, Y" }}</small>
                    </div>
                    <div>
                        <a class="article-title line-clamp-2 title-style" style="font-size: 22px" href="/{{object.slug}}">
                            {{ object.title }}
                        </a>
                        <a href="/{{object.slug}}" style="text-decoration: none;">
                            <p class="article-content line-clamp-5 subtitle-style">{{ object.subtitle }}</p>
                        </a>
                    </div>
                </div>
            </article>
        </div>
    {% endfor %}
    </div>
{% endblock content %}
Let's look at how this change affects our homepage:
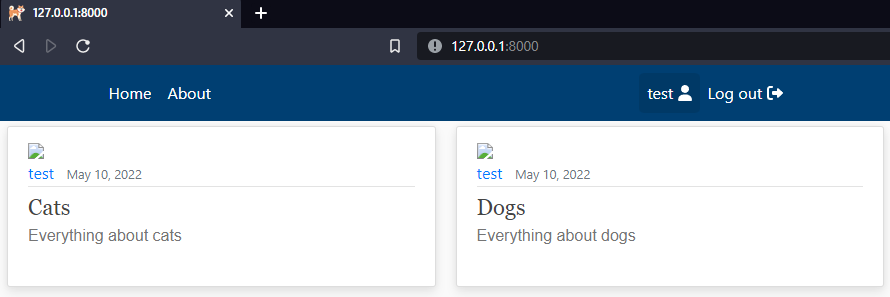
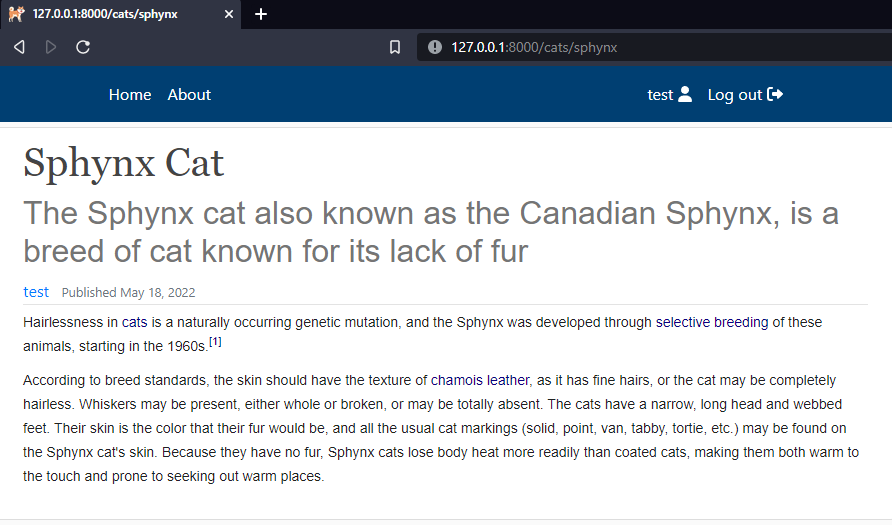
Nice, the overall view is getting better with each tutorial! Let's do a similar change inside our articles. Let's head to the "django_project/main/templates/main/article.html" template, and let's do an almost identical change. Now our article template complete code looks following:
<-- django_project/main/templates/main/article.html -->
{% extends "main/header.html" %}
{% block content %}
<div class="row media content-section mobiledevice">
    <div class="col-lg-12 col-md-12 col-sm-12">
        <div class="d-flex">
            <div>
                <h1 class="title-style">{{ object.title }}</h1>
                <h2 class="subtitle-style">{{ object.subtitle }}</h2>
            </div>
        </div>
        <div class="d-flex article-metadata">
            <div>
                <a class="mr-2" href="{% url 'profile' object.author %}">{{ object.author }}</a><br>
                <small class="text-muted">Published {{ object.published|date:"F d, Y" }}</small>
            </div>
        </div>
    </div>
    <div class="col-lg-9 col-md-12 col-sm-12" id="content">
        <div class="article-style">
            {{ object.content|safe }}
        </div>
    </div>
{% endblock content %}
Nice, let's go to our website on http://127.0.0.1:8000/ and check how this changed the detailed look of our records:
Conclusion:
Great, we quickly implemented a user profile into our Django website. Now it's way easier to continue building on a current code so that you can add more fields to a profile. Now each user will be available to add their own publication, etc., even you can start building some communication between different users or comments section! You may notice how each functionality can expand and help us continue to grow our website!
Even though now our website looks way better than in the beginning, we can still make it way more attractive by adding some images to our publications. So, in the next tutorial, I'll cover how to manage image uploads on our website!
See you in my next tutorial, final tutorial files you can download from my GitHub page.