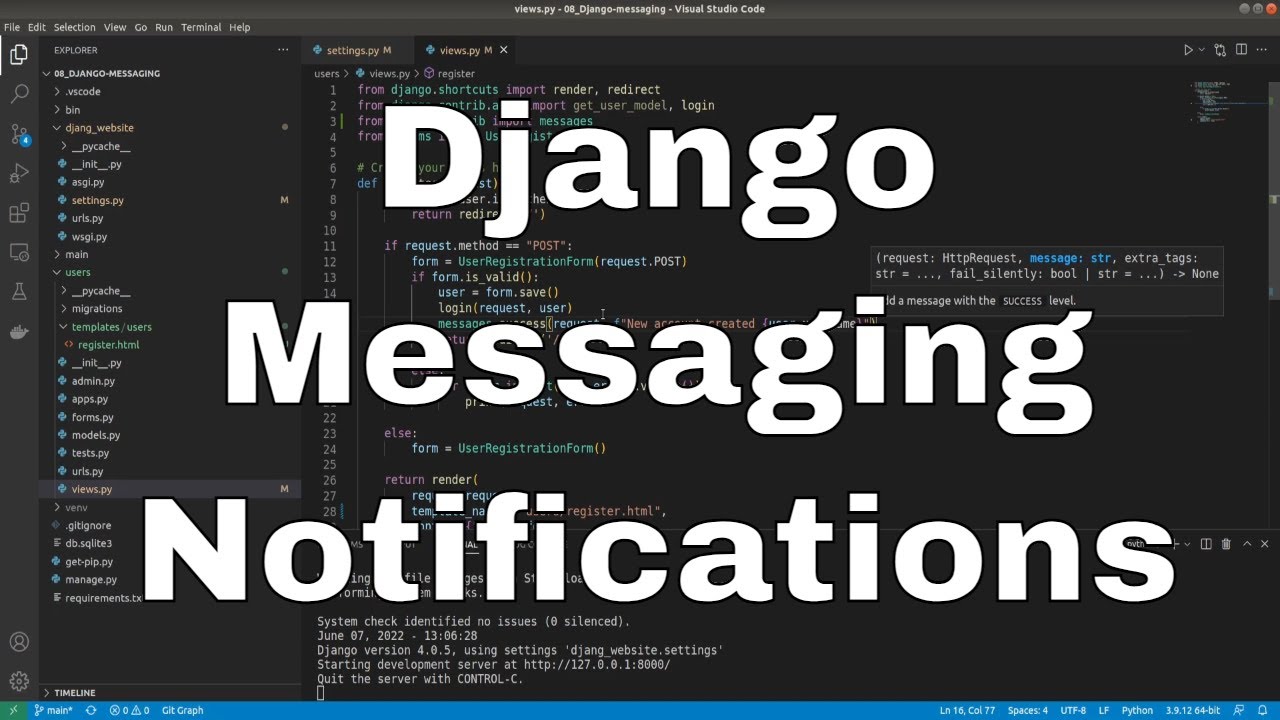
Welcome everyone to part 8 of the web development in Python with Django. This part will cover the Django messaging tool that will throw a pop-up for a user about what's going on with their operations on the website!
But, before jumping into the above-covered stuff, those familiar with Django may notice that our crispy font was not operating correctly in the previous tutorial. I forgot to add a few more essential lines into the code to make it work.
So, to finalize the functionality of our crispy form, we go to our project "settings.py" and somewhere at the end of the file, we add two following lines:
# django_project/django_website/settings.py
...
CRISPY_TEMPLATE_PACK = 'bootstrap4'
LOGIN_REDIRECT_URL = '/'
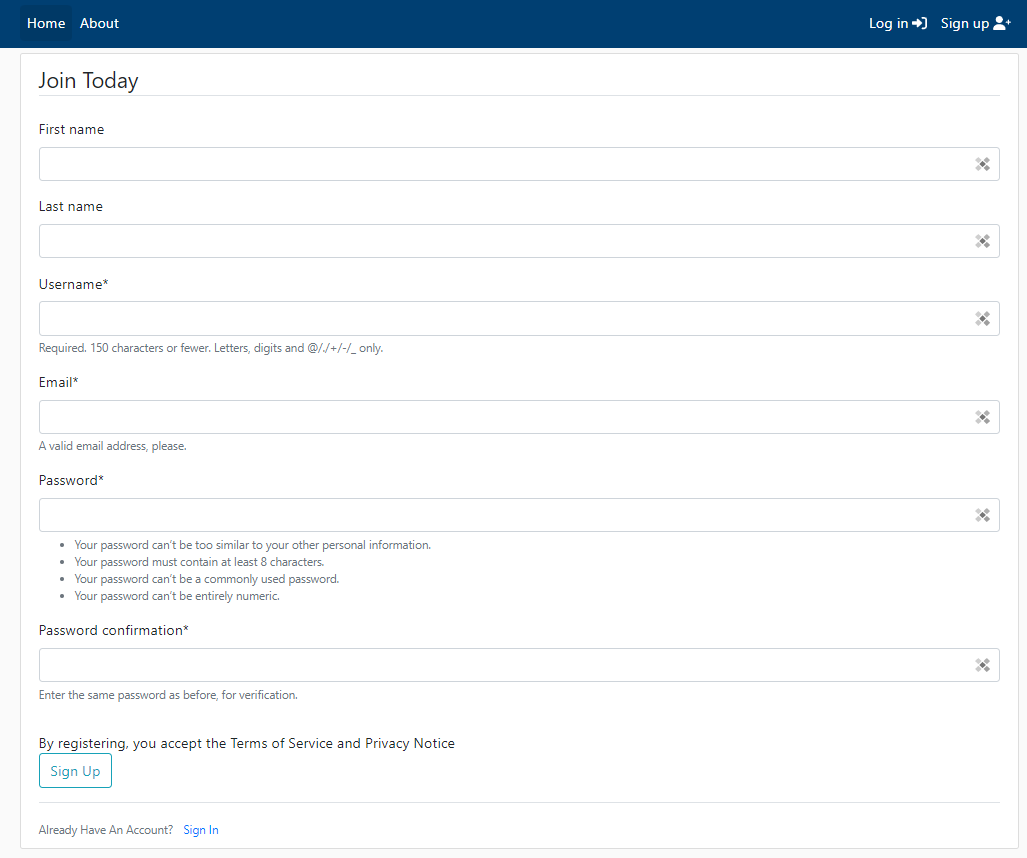
...This tells our crispy package that it should use "bootstrap4" to apply CSS styling to our forms. Another line, "LOGIN_REDIRECT_URL" is for future stuff, but when a person is logged in to his user, it's immediately redirected to the homepage. Now, if we'll open the registration page, we should see the difference immediately:
And there is another thing I noticed wrong. When we were creating a templates folder, for example, for the "main" application, inside templates, we made another folder that represents the application name - "main", while creating the "register.html" template for our "users" application. I had to do the same, so we fix it by moving "register.html" to the "users/templates/users/register.html" path. Following this change, we need to change the path in our users "views.py" script where we target our "register.html" template while returning results. So in our "views.py", the last line, we change it to the following:
# django_project/users/views.py
return render(
    request=request,
    template_name = "users/register.html",
    context={"form": form}
    )
Now we can move to our Django messaging stuff.
Django messaging:
The Django web framework has a built-in messaging system that allows us to store messages that we can display on every page we want. If there are any messages, we can display them to the user. These messages appear as pop pups in the desired page place, and we can style them however we want. I can bet you saw them on other pages, but probably you never thought about what they are; you thought that's a simple success or error notification.
In our case, we would like to quickly inform the user about the errors with their accepted forms or inform them about a successful move.
To begin with messages, we need to import messages into our Django code. We'll do this only to our "users" application because we want to inform our users when he registers, log in or sign out. We head to our "users/views.py" file and do the following import: from django.contrib import messages.
Next, after our user successfully creates an account, we can inform him about that with the following line followed after the login(request, users) line:
messages.success(request, f"New account created: {user.username}")Great, but also we need to inform him if he fails to register, so instead of using a print statement, we replace it with the following:
for error in list(form.errors.values()):
    messages.error(request, error)
This is great, here is our complete views.py code with registration function:
# django_project/users/views.py
from django.shortcuts import render, redirect
from django.contrib.auth import get_user_model, login
from django.contrib import messages
from .forms import UserRegistrationForm

# Create your views here.
def register(request):
    if request.user.is_authenticated:
        return redirect('/')

    if request.method == "POST":
        form = UserRegistrationForm(request.POST)
        if form.is_valid():
            user = form.save()
            login(request, user)
            messages.success(request, f"New account created: {user.username}")
            return redirect('/')

        else:
            for error in list(form.errors.values()):
                messages.error(request, error)

    else:
        form = UserRegistrationForm()

    return render(
        request=request,
        template_name = "users/register.html",
        context={"form": form}
        )
Once that's done, we are somewhat ready to display these messages to the user. We don't need to pass these messages through the context; that's precisely what manages this Django messaging stuff.
We could modify our "register.html" page to handle these messages. Still, messages are something that we would like to use all over the place, not just on this page, so we'll handle this on another template, and the best one to do that is "header.html" right after our navigation bar because we know that all the pages will have this navigation bar.
We know that we created our main application to be the center of our page, so it's the best place to create a template to handle and style our messages. So, we head to our includes folder in "main/templates/main/includes" and we create the "messaging.html" template:
<!-- django_project/main/templates/main/includes/messaging.html -->
{% if messages %}
{% for message in messages %}
{% if message.tags == 'success' %}
<div class="alert alert-success alert-dismissible" role="alert">
<a href="#" class="close" data-dismiss="alert" aria-label="close">×</a>
{{ message|safe|escape }}
</div>
{% elif message.tags == 'error' %}
<div class="alert alert-danger alert-dismissible" role="alert">
<a href="#" class="close" data-dismiss="alert" aria-label="close">×</a>
{{ message|safe }}
</div>
{% elif message.tags == 'info' %}
<div class="alert alert-info alert-dismissible" role="alert">
<a href="#" class="close" data-dismiss="alert" aria-label="close">×</a>
{{ message|safe|escape }}
</div>
{% elif message.tags == 'warning' %}
<div class="alert alert-warning alert-dismissible" role="alert">
<a href="#" class="close" data-dismiss="alert" aria-label="close">×</a>
{{ message|safe|escape }}
</div>
{% endif %}
{% endfor %}
{% endif %}This is HTML code wrapped inside Django functionality. We'll pass a message object to this template and it will iterate all of them one by one. As you can notice, we have four different types of these messages: success, danger, info, and warning. I think it's not necessary to explain what each of them means.
Okay, we are close to testing them out; we have finished messaging template and views file; the only thing left is to import it into our "header.html" template. Just like we included "navbar.html" on every page, the same way we'll include this "messaging.html" template, and the same way we'll include a footer in the future! It's as simple as typing the following line: "{% include 'main/includes/messaging.html' %}". So now our body should start with the following code:
<!-- django_project/main/templates/main/header.html -->
{% include 'main/includes/navbar.html' %}
<main role="main" class="container-xl">
    <div class="row">
        <div class="col-lg-12 col-md-12-p-0 col-sm-12">
            {% include 'main/includes/messaging.html' %}
            {% block content %}
            {% endblock %}
        </div>
    </div>
</main>
Let's try to fill our registration form with some wrong data:
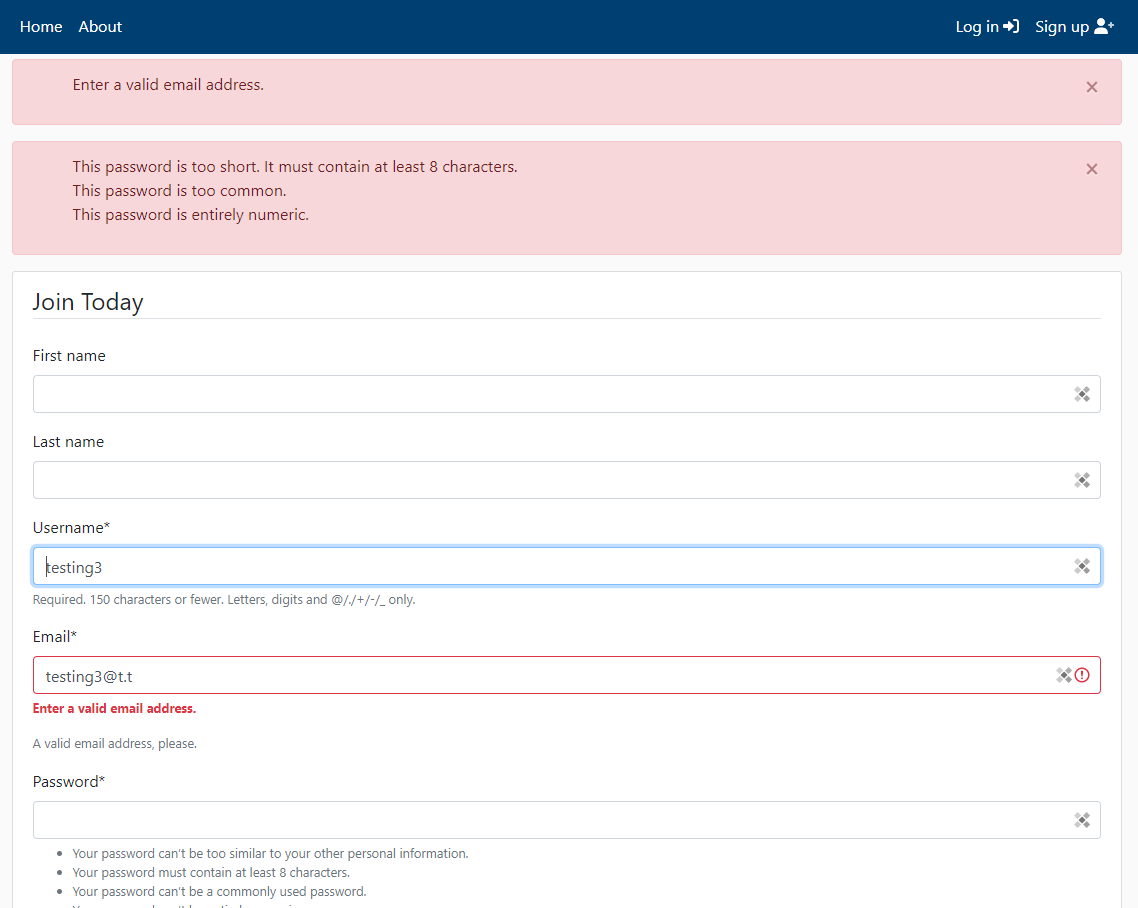 This is nice; as you can see, it listed all the errors we received while filling out our form. Now let's try filling it with the right stuff:
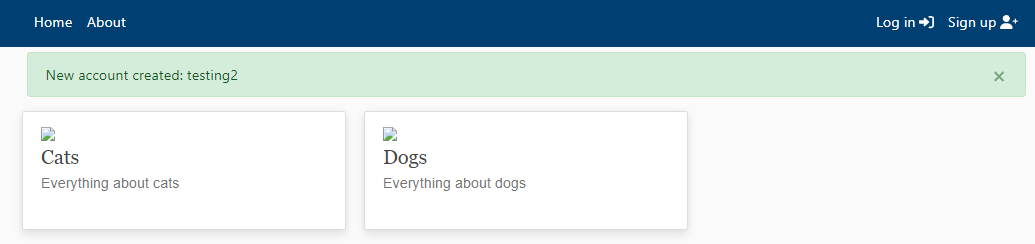
This is nice; it notified us that we had created a new account. And what is exciting, before getting this message, we were redirected to the homepage, which is not that easy to implement when we write everything from scratch!
Conclusion:
This tutorial was short, but we can't miss such essential things because this adds a great dynamic and functionality to our page!
The next thing we want to do in the next tutorial is to handle user login and logout functionalities. Right now, the only way to log in is by registering a new account, and we can log out only by trying to access the admin page; that's terrible. In the previous part, we missed some changes in our navigation bar when we were logged in. Let's fix both things in the next tutorial part!
See you in my next tutorial, final tutorial files you can download from my GitHub page.