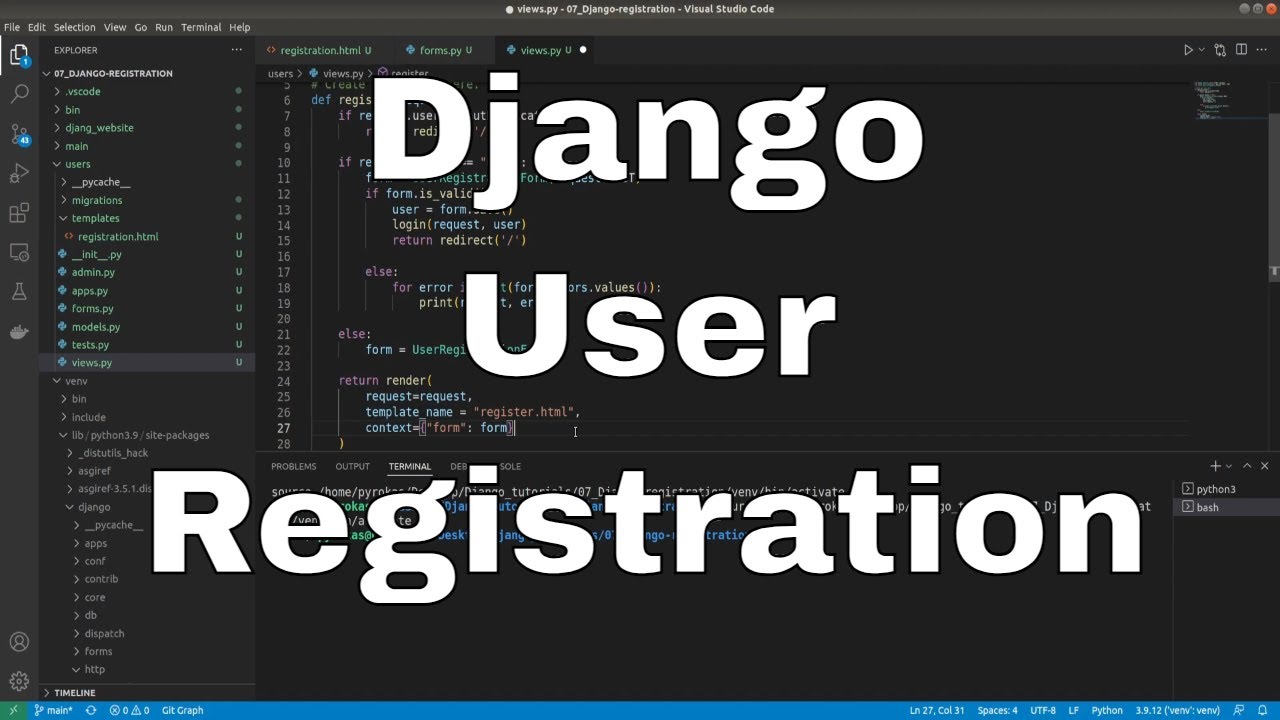
Welcome everyone to part 7 of the web development in Python with Django. This tutorial will guide us on handling user accounts, including registering, logging in, and logging out. This tutorial will be a little shorter than the previous one, but keep in mind that shorter doesn't mean easier.
To get started, we need some way to create users. We already know that we can manually create users on the Admin page or use the "manage.py" script, but we probably don't want to do this for every site user. Django already has a User model, which may be enough for you to use the default user model. However, remember that we wrote our custom "UserModel", so it won't work. In this section, I will show you how to solve this problem.
If we go to our admin panel and click on users while creating a new user, you might see that there are a lot of required fields for registration, but you already know that you can manage these fields with the "CustomUser" model created. So, when creating any new page, we need to remember that we need to create MVC, which stands for model, view, and controller most of the time!
So, because registration is highly dependent on our users, we'll create everything on that app. Let's go and create users templates, and create a new file called "register.html," and paste the following HTML code into it:
<!-- django_project/users/templates/register.html -->
{% extends "main/header.html" %}
{% block content %}
    <div class="content-section">
        <form method="POST">
            {% csrf_token %}
            <fieldset class="form-group">
                <legend class="border-bottom mb-4">Join Today</legend>
                {{ form.as_p }}
            </fieldset>

            By registering, you accept the Terms of Service and Privacy Notice

            <div class="form-group">
                <button class="btn btn-outline-info" type="submit">Sign Up</button>
            </div>
        </form>
        <div class="border-top pt-3">
            <small class="text-muted">
                Already Have An Account? <a class="ml-2" href="/login">Sign In</a>
            </small>
        </div>
    </div>
{% endblock content %}
Alright, some basics here; I am not going deep into HTML things, but let's talk about Django stuff. The form tag indicates that there will be a form, and the method means that a POST request will be generated (meaning that data will be provided) rather than a GET request when specific data is expected to be returned.
Next, we have a unique {% csrf_token %} token that aims at combatting Cross-Site Request Forgery, which you can learn more about on the following page: Cross-Site Request Forgery (CSRF).
Next, we have a simple form variable, which you should be able to guess will be passed as context into this template. Finally, we have a bit of text if the user miss-clicked to signup and needs to log in instead.
Great, we have our template prepared; now we need to code the view that could render it. But to do that, first, we need our registration form. Let's head to django_project/users/ and create form.py script and inside of it create our "UserRegisterForm" object:
# django_project/users/forms.py
from django import forms
from django.contrib.auth.forms import UserCreationForm
from django.contrib.auth import get_user_model

class UserRegistrationForm(UserCreationForm):
    email = forms.EmailField(help_text='A valid email address, please.', required=True)

    class Meta:
        model = get_user_model()
        fields = ['first_name', 'last_name', 'username', 'email', 'password1', 'password2']

    def save(self, commit=True):
        user = super(UserRegisterForm, self).save(commit=False)
        user.email = self.cleaned_data['email']
        if commit:
            user.save()
        return user
If we were using the default user model, we could use "UserCreationForm" but now we need to create a function that inherits everything from it. Also, we must use "get_user_model()" to get our model. The reason is the same - we are using a custom user model, so get used to it.
Great, now we have our form ready; now we can finally build our register function in the views.py:
# django_project/users/views.py
from django.shortcuts import render, redirect
from django.contrib.auth import get_user_model, login
from .forms import UserRegistrationForm

# Create your views here.
def register(request):
    # Logged in user can't register a new account
    if request.user.is_authenticated:
        return redirect("/")

    if request.method == 'POST':
        form = UserRegistrationForm(request.POST)
        if form.is_valid():
            user = form.save()
            login(request, user)
            return redirect('/')
        else:
            for error in list(form.errors.values()):
                print(request, error)

    else:
        form = UserRegistrationForm()

    return render(
        request = request,
        template_name = "register.html",
        context={"form":form}
        )
So, now let's understand what's happening here. First thing when we come to our register page, we check if a user is logged in or not because it's obvious that it shouldn't be allowed for a registered and logged-in person to create an account. We should check if the request made to this page has been a POST (submitting registration results) or a GET (trying to get a form where to write our registration details). Most of the time, first, we get a GET form, and we submit that form with a POST. After that, we try to map the submitted form to our created "UserRegisterForm" and check if the form was filled correctly and valid. If the form is valid, we save this new User object (which is the part of the form, so we save the form).
This is saving the user to the database, but, in general, it's nice if the user just registered to also login them in, so they don't need to re-type things again. We are using Django's login function, which we grab from django.contrib.auth, which also gives use log out and authenticate functionalities, all of which we'll need later.
Now we want to send the user to the homepage. While we could render the homepage, we also need to change the URL, and since we want to send them to the homepage, we want to redirect them from here. We call redirect('/'), which we imported from django.shortcuts.
In some cases, the form won't be valid for whatever reason, so we handle that with "else" logic, and for now, we are printing the error for simplicity.
So, we prepared our template, views, and form, we are close to running it, but there are still a few more steps to do. We need to have a register page controller. In simple terms, we need an URL for this page. Let's head to django_project/users path and create an urls.py file with the following content:
from django.urls import path
from . import views

urlpatterns = [
    path('register', views.register, name='register'),
]
This is our user's application controller (urls.py). But now, it's not working yet; we need to register the users urls.py file to our main urls.py. To do that, we head to django_project/django_website/urls.py and insert path("", include('users.urls')) line, it should look the following:
urlpatterns = [
    path('tinymce/', include('tinymce.urls')),
    path('admin', admin.site.urls),
    path("", include('users.urls')),
    path("", include('main.urls')),
]
Now I think we are at the point where it should work, so let's test our registration and create simple "testing" user:
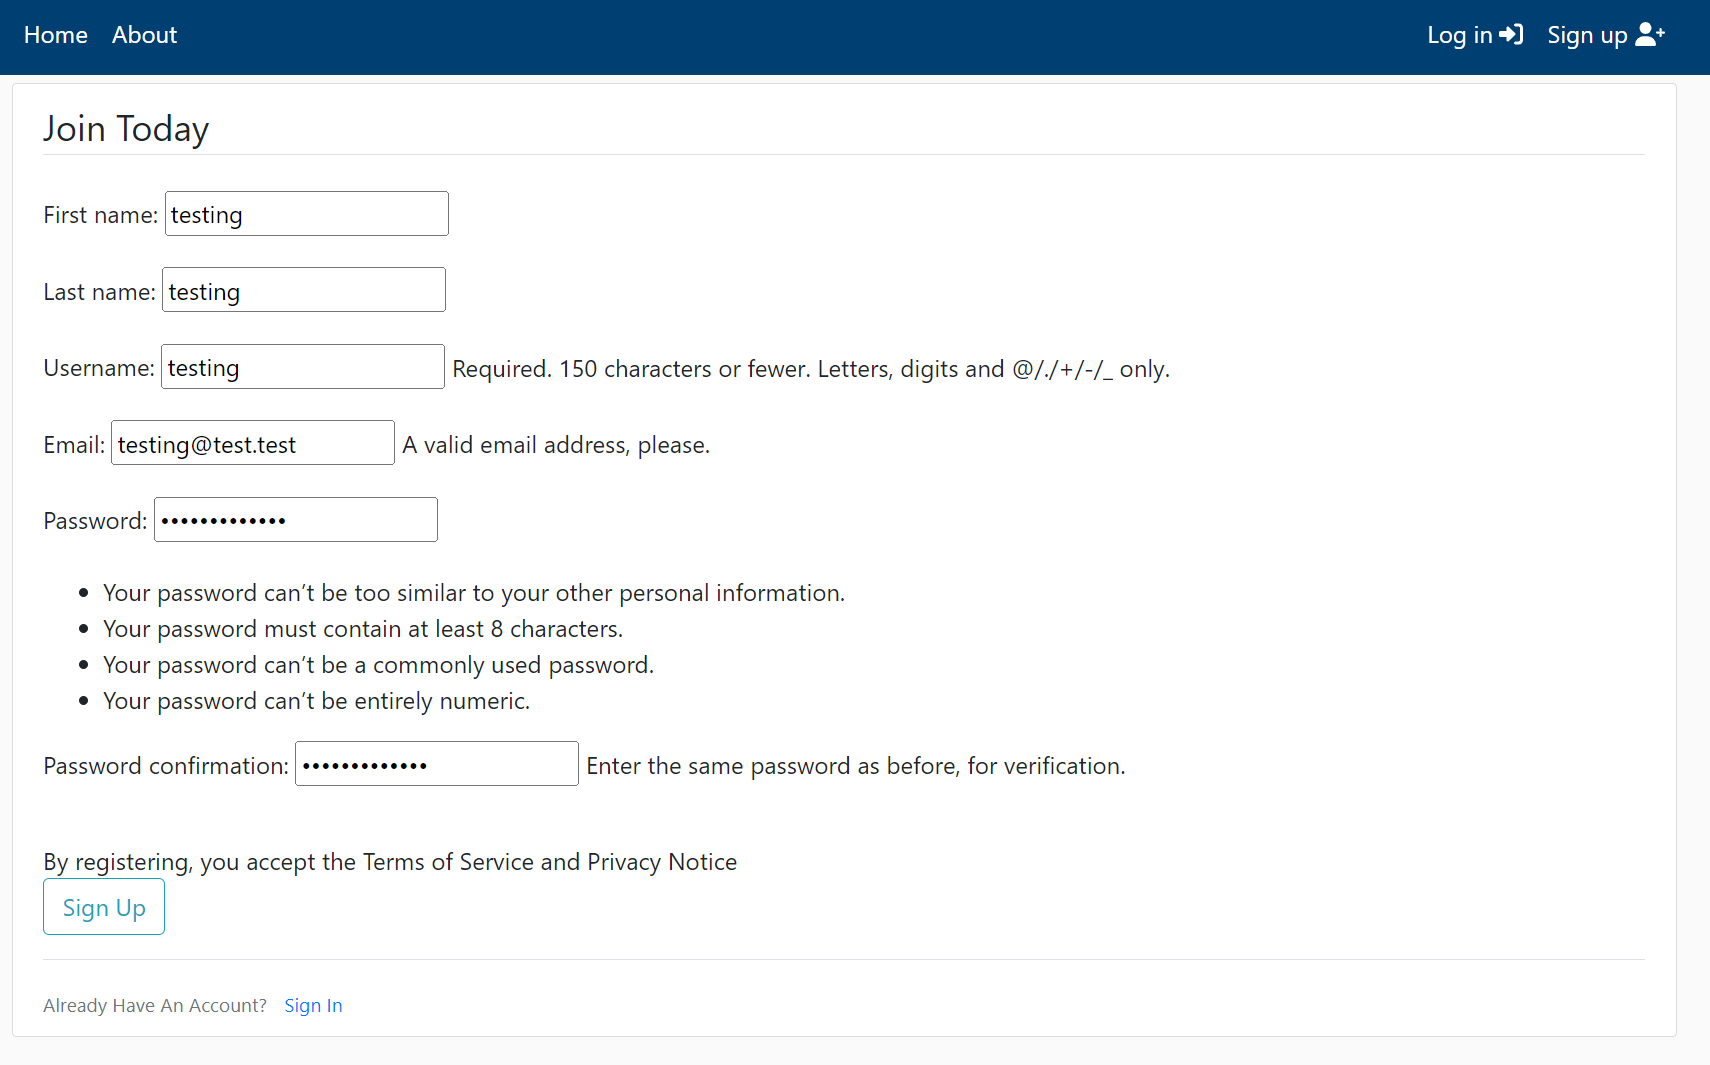 As you can see, Django handles the password field for us, so users can't create very weak passwords. It shouldn't be similar to other personal information, must be at least eight characters in length, not commonly used, and can't be entirely numeric. This is cool, isn't it?
After successfully creating an account, let's go to our admin dashboard on http://127.0.0.1:8000/adminusers/customuser/, and we can see the "testing" user created.
There is a straightforward way to make this register page look even better, and the answer is crispy forms. First, we need to install this package with "pip install django-crispy-forms", then we need to register the new package to "settings.py":
# django_project/django_website/settings.py
...
INSTALLED_APPS = [
    # Add our new application
    'users',
    'main',
    'tinymce',
    'fontawesomefree',
    'crispy_forms',
]
...
And finally, modify our template to the following:
<!-- django_project/users/templates/register.html -->
{% extends "main/header.html" %}
{% load crispy_forms_tags %}
{% block content %}
    <div class="content-section">
        <form method="POST">
            {% csrf_token %}
            <fieldset class="form-group">
                <legend class="border-bottom mb-4">Join Today</legend>
                {{ form|crispy }}
            </fieldset>

            By registering, you accept the Terms of Service and Privacy Notice

            <div class="form-group">
                <button class="btn btn-outline-info" type="submit">Sign Up</button>
            </div>
        </form>
        <div class="border-top pt-3">
            <small class="text-muted">
                Already Have An Account? <a class="ml-2" href="/login">Sign In</a>
            </small>
        </div>
    </div>
{% endblock content %}
Here we inserted {% load crispy_forms_tags %} before {% block content %} and changed {{ form.as_p}} to {{ form|crispy }}. And let's check our register page now:
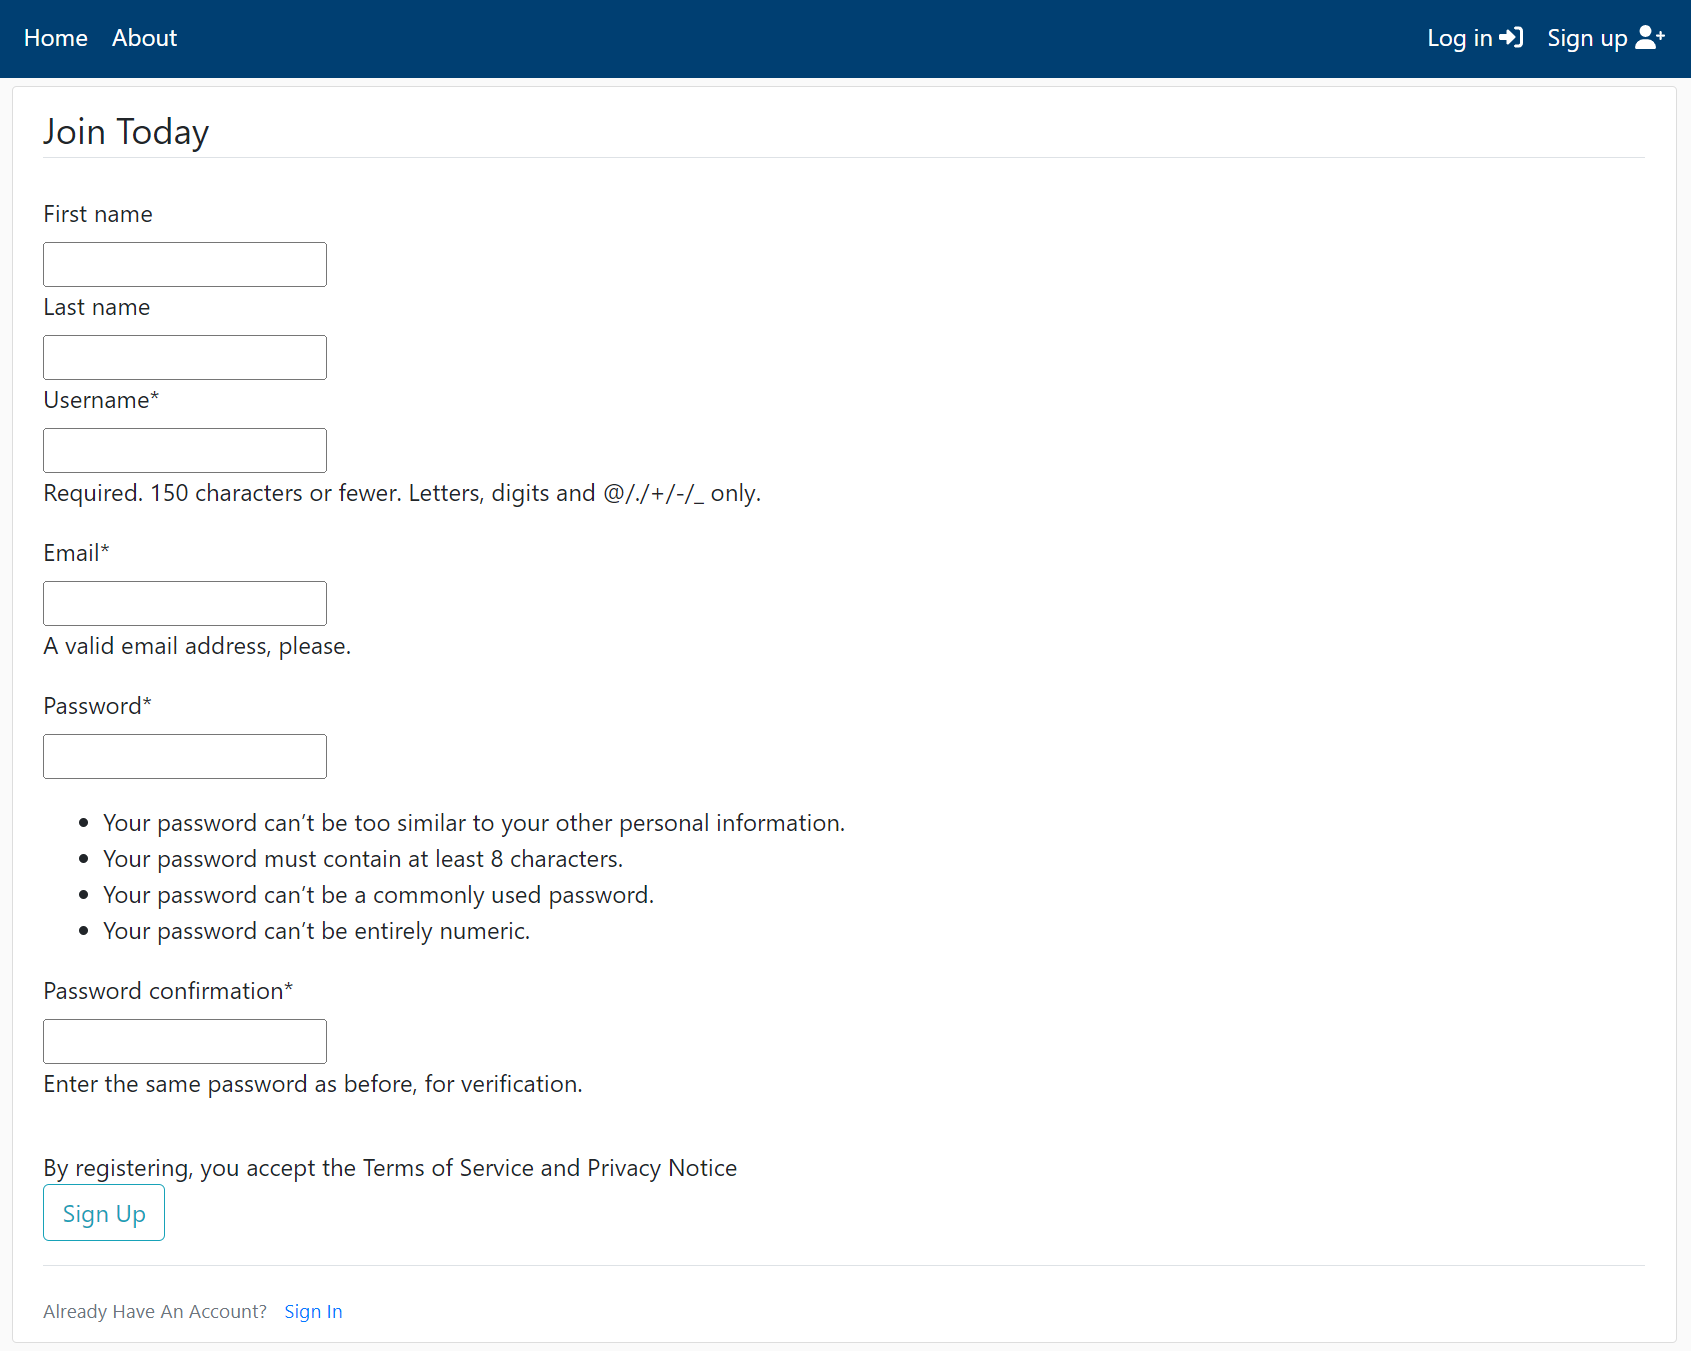 Now it looks way better, and it took us only a few minutes! So at this point, I am satisfied with what our registration page looks like, but more importantly, it functions as it should be.
Conclusion:
If you were playing around with user registration, you noticed that we are not informing users if something wrong happens or if it registers successfully. There's nothing to notify the user when they sign in and nothing that tells if we did something wrong. So now we've found ourselves where we need something more than a print statement for information. This is where messaging comes in, which we'll discuss in the next tutorial, along with some other changes for the user on login.
See you in my next tutorial, final tutorial files you can download from my GitHub page.