Hello everyone, welcome back to part 13 of the web development in python with Django. In the previous tutorial, we were working on updating our user profile information and displaying it to other users.
We've created a link to a profile for an author of all posts, so right now, we can go to view the profile. Unfortunately, our page is not as beautiful as it would be if we added some images, for example, for the cats and dogs series, or even if a user could add his profile image so that others could recognize him.
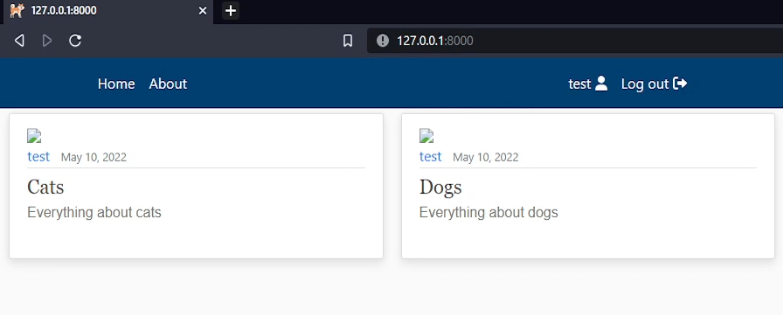
This is an excellent feature that is not that hard to implement. I have only images prepared for this tutorial, different from previous tutorials. I don't have anything at all, so I hope this will be pretty quick, and we'll be able to do this by ourselves without any template preparation up front.
So, let's begin. First, we need to go to our code and create a folder where we'll keep all our images. So, this folder we will call "media".
Django is so super flexible and has a lot of things already implemented. To use this "media" folder, we need to tell our Django project that this media is our folder to save all the images. To do so, we define MEDIA_ROOT and MEDIA_URL in django_project/django_website/settings.py:
# django_project/django_website/settings.py
import os

...

MEDIA_ROOT = os.path.join(BASE_DIR, 'media')
MEDIA_URL = '/media/'

...Note. Don't forget to import os at the top of this file.
To upload images into our Django project, it's required to have a pillow library, so we need to install it (pip install pillow) and add it to our requirements.txt file:
# django_project/requirements.py
django
django-tinymce
fontawesomefree
django-crispy-forms
django-recaptcha
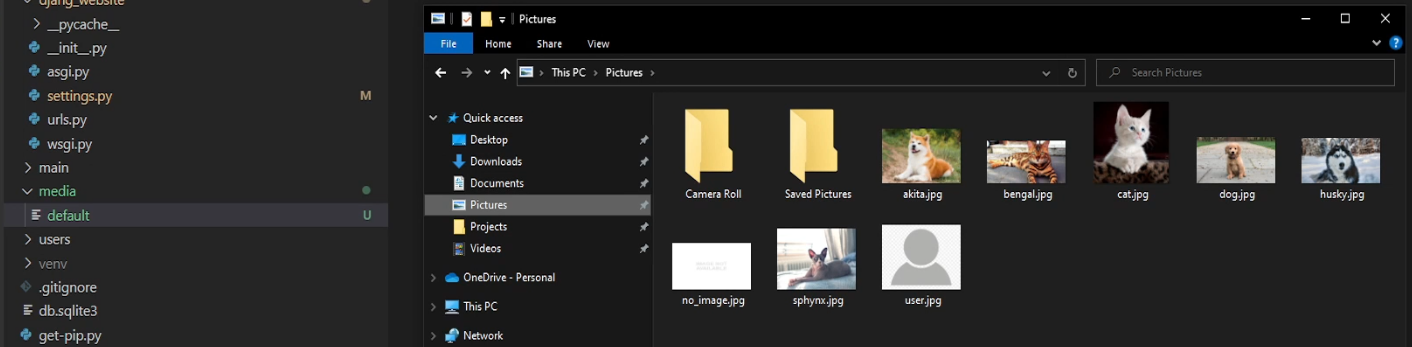
pillowPillow is right now successfully installed into our project. That's cool; we can close the settings because we won't need them anymore. I go to my media folder. I create another folder that I will call a "default". Here I'll store all the default images, for example, for my user profile or for posts that don't have uploaded images yet.
I go to my pictures (on my local computer), and I have already downloaded some images of cats and dogs. I grab my user.jpg and no_image.jpg files and put them into the default folder:
 It's cool; this is how our post without an image would look now:

Now we need to update our main application models so that it would handle the image field. So we go to my main application models, and here we need to do a few imports:
# django_project/main/models.py
...
from django.template.defaultfilters import slugify
import os
...
Now I go to my article series model and create a new row line called " image". Django has already implemented the image field that we use:
# django_project/main/models.py
...

class ArticleSeries(models.Model):
    def image_upload_to(self, instance=None):
        if instance:
            return os.path.join('ArticleSeries', slugify(self.slug), instance)
        return None

    ....
    image = models.ImageField(default='default/no_image.jpg', upload_to=image_upload_to, max_length=255)
    ...
This image field has a parameter called upload_to, and this will be equal right now to image_upload_to. At the beginning of this model, I define this new image_upload_to function where "instance=None" and the "instance" will be the name of the image we are trying to upload. While creating this function first, we are checking whether the instance is not equal to None.
Here we use a "slugify" function on a slug to ensure our slug meets slug requirements. We join this path with TutorialSeries and given instance, where the instance represents the image name on the local computer. So, if we'll upload an image for the "cats" series, with the image name "cats.png", a new folder will be created in "TutorialSeries" called "cats", and inside of it, the "cats.png" image will be placed.
# django_project/main/models.py
...

class Article(models.Model):
    def image_upload_to(self, instance=None):
        if instance:
            return os.path.join('ArticleSeries', slugify(self.series.slug), slugify(self.article_slug), instance)
        return None

    ...
    image = models.ImageField(default='default/no_image.jpg', upload_to=image_upload_to, max_length=255)
    ...
I copy the same line to our "Articles" models. Now it's a little different with this field because we want to use a "self.series.slug" not as simple "self.slug" as before. We join it with "self.article.slug" but you can use whatever you want; that's only my example - for better understanding.
There is no such field "image" in our main models database yet, so we need to construct migrations: python manage.py makemigrations, that's cool, and we need to migrate: python manage.py migrate.
Before testing, if it works, it's necessary to change our home.html template to link our image URL. We do this with the following change in our template:
<-- django_project/main/templates/main/home.html -->
<img class="img-fluid" src="{{ object.image.url }}">
That's cool, and I believe that this is fine, let's see if my server is running now. If it's not, let's run or restart it. We go to our page and hit refresh, and let's see what we got here.
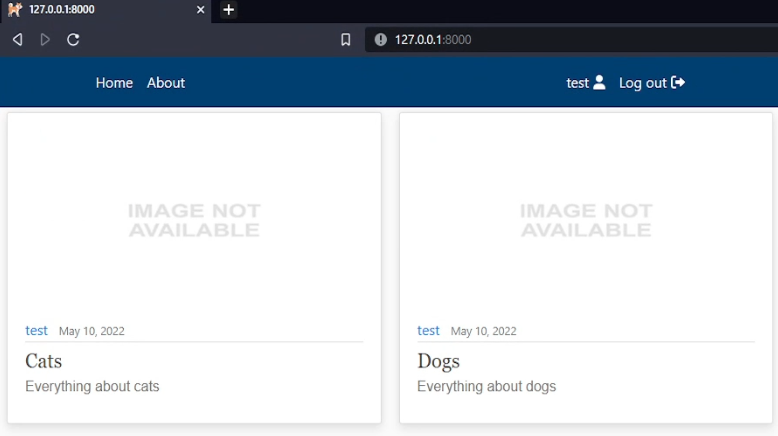
It works! As you can see, our image is present here as "no image available", which was my goal with series that don't have an image uploaded.
But now, we would like to add a new image here, so we go to the admin panel of our page and navigate to our series. For example, if we go to cats, there is no field to add an image. So we need to add a tab here to be able to upload images at least from our admin panel.
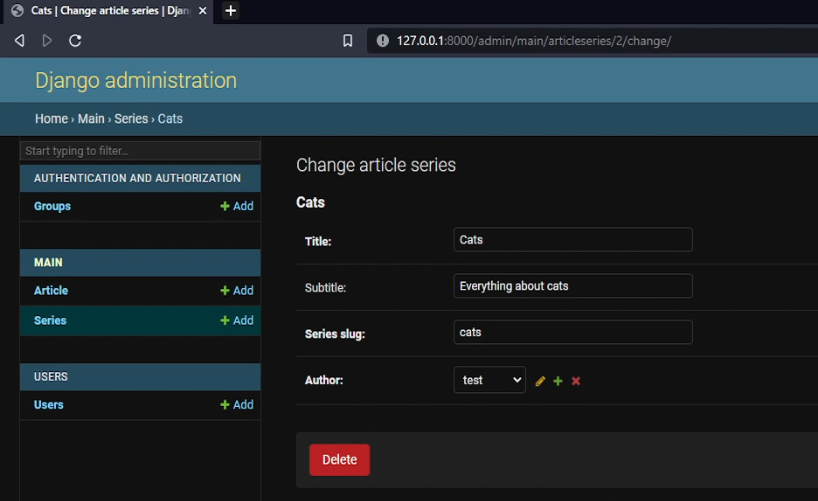
So, I go back to my "django_project/main/admin.py", and here in the "ArticleSeriesAdmin" fields and "ArticleAdmin", I create new records that I name "image":
# django_project/main/admin.py
class ArticleSeriesAdmin(admin.ModelAdmin):
    fields = ['title', 'subtitle', 'slug', 'author', 'image',]

class ArticleAdmin(admin.ModelAdmin):
    fieldsets = [
        ("Header", {"fields": ['title', 'subtitle', 'article_slug', 'series', 'author', 'image']}),
        ("Content", {"fields": ['content', 'notes']}),
        ("Date", {"fields": ['modified']})
    ]
Now, if we go back to my cats series in the admin panel, I hit refresh, and as you can see new field appears. It was successfully updated if I clicked to upload a new image from my local computer. If I go to dogs, I do the same.

Let's go to my homepage, and we should see the following results:
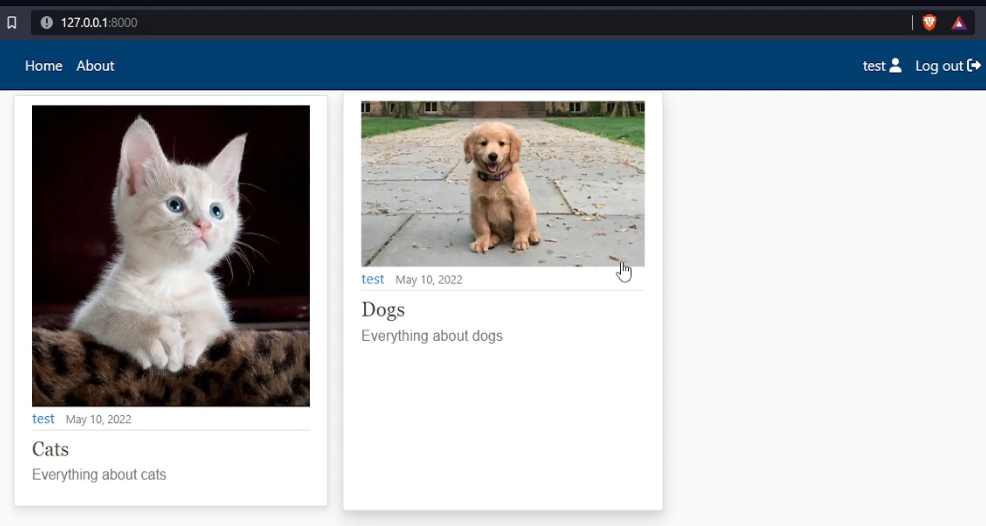
That's cool. As you can see, that was effortless, and that's amazing how easily these images can be uploaded.
Now we have cats and dogs series with images. If you go to my media folder, it creates cats and dogs folders where it puts uploaded images. That's amazing! We don't need it to handle this, and it doesn't matter what series we create; giraffe, it's a house, it's a jacket, it doesn't matter how our series is called, it always locates a new folder, and it will upload images to here.
That's amazing! So, from this point, we can handle these images on the homepage. But now, these images are in their original size. We want to handle them to keep the same standard size for all images.
So we'll handle it with the CSS of our website. Before that, I go to my "home.html" template, and here I will create a new div with a class "aspect-ratio-box":
<-- django_project/main/templates/main/home.html -->
<div class="aspect-ratio-box">
    <img class="img-fluid" src="{{ object.image.url }}">
</div>
Let's navigate to "django_project/main/static/main/main.css", scroll somewhere to the bottom here, and I'm writing several code lines here to maintain 16 by 9 aspect ratio:
/* django_project/main/static/main/main.css */
...
/* Position child elements relative to this element */
.aspect-ratio-box {
  position: relative;
}

/* Create a pseudo element that uses padding-bottom to take up space */
.aspect-ratio-box::after {
  display: block;
  content: '';
  /* 16:9 aspect ratio,  9 / 16 * 100% = 56.25*/
  padding-bottom: 56.25%;
}

/* Image is positioned absolutely relative to the parent element */
.aspect-ratio-box img {
  /* Image should match parent box size */
  position: absolute;
  left: 0;
  top: 0;
  width: 100%;
  height: 100%;
}
As you can see, right now, whatever image we will upload will keep the aspect ratio of 16 by 9. Remember that if you upload a larger image, it will be stretched or resized. For example, this cat image on the homepage, we might see that it's not the original size:
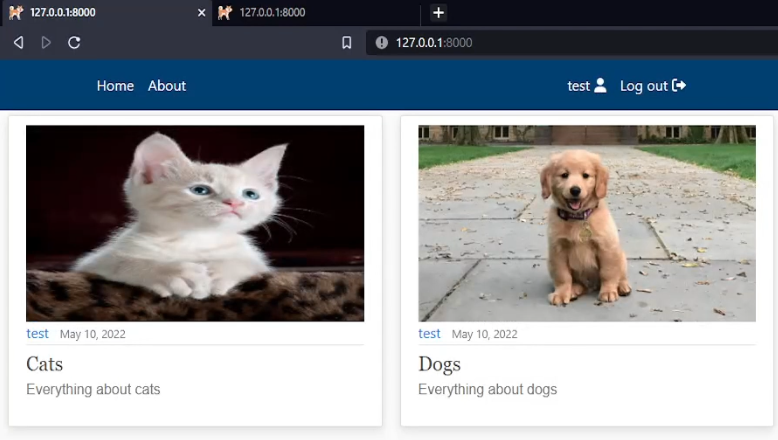
But still, our homepage images were resized, and our homepage looks way better than before! I upload images for all my articles inside the series.
Now we know that we can upload images to our articles and series. But we would like to have something similar for our users. We would like to have some profile images.
Let's head to our "django_project/users/models.py", the same as we did for our main application. We create very similar image field:
# django_project/users/models.py
...
import os

class CustomUser(AbstractUser):
    def image_upload_to(self, instance=None):
        if instance:
            return os.path.join('Users', self.username, instance)
        return None

    ...
    image = models.ImageField(default='default/user.jpg', upload_to=image_upload_to)
Right now, we change it to upload images to the "Users" folder, and instead of the slugify, we will use "self.username", and we will join this with an instance that is the original name of the image we are uploading.
That's cool; now we need to update our users forms. We go to our "django_project/users/forms.py", and there is an email and description; between them, we create a new "image" entry:
# django_project/users/forms.py

...

class UserUpdateForm(forms.ModelForm):
    email = forms.EmailField()

    class Meta:
        model = get_user_model()
        fields = ['first_name', 'last_name', 'email', 'image', 'description']
Now, same as before, we need to do migrations because we'll receive the same errors as before:
python manage.py makemigrations
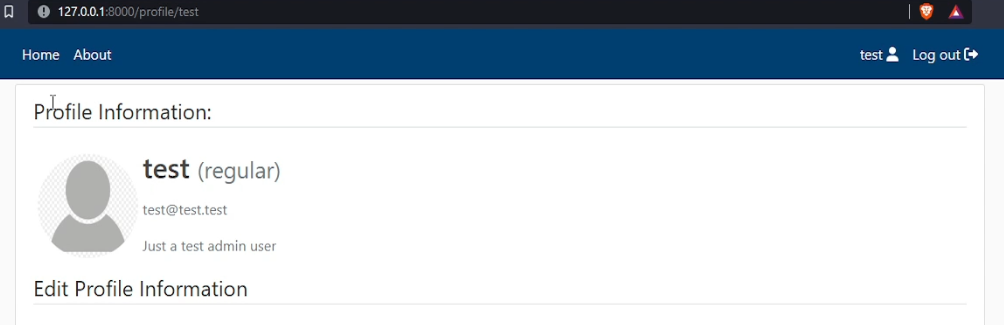
python manage.py migrateEverything works like a charm. Now we would like to see this image somewhere here:
We go back to our "django_project/users/templates/users/profile.html" template and right after "<div class="media">" field I would like to create a new line:
<-- django_project/users/templates/users/profile.html -->

...
<img class="rounded-circle account-img profile-image" src="{{ form.instance.image.url }}">
...
Cool, right now, we can see that our profile has a default image as we updated our database, and we created this new line to display this profile image. But what if we don't want to have it so huge? We always want to minimize it. To do that, the same as before, we go to our CSS, and somewhere at the bottom, we create a new function:
/* django_project/main/static/main/main.css */
.profile-image {
width: 125px;
height: 125px;
padding: 5px
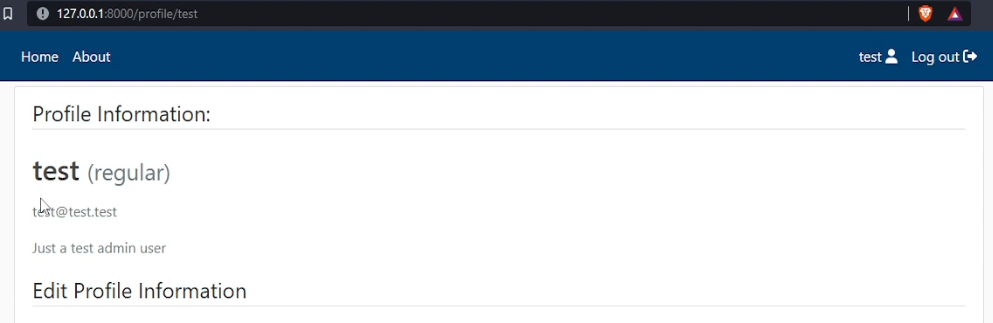
}We set fixed width and height of 125 pixels, and the padding will be 5 pixels. Let's check if it works:
As we can see, it resizes this image, and as a result, we get a pretty beautiful small image of my default profile. But what about if we would like to allow the user to upload their personal image?
That's not that hard! Similar to how we let a user update his first name, last name, and description. We go back to my "django_project/users/templates/users/profile.html" template, and here we modify this place a little:
<-- django_project/users/templates/users/profile.html -->

...
{% if user.username == form.instance.username %}
    <input id="id_image" type="file" name="image" hidden/>
        <label for="id_image">
                <img class="rounded-circle account-img profile-image"
                    style="cursor: pointer;" src="{{ form.instance.image.url }}" title="Upload new image">
        </label>
{% else %}
        <img class="rounded-circle account-img profile-image" src="{{ form.instance.image.url }}">
{% endif %}
...
Here we are checking whether the user is the owner of the profile. If it is, we display him an input field with an image upload stuff. Otherwise, we display a simple image on the front end.
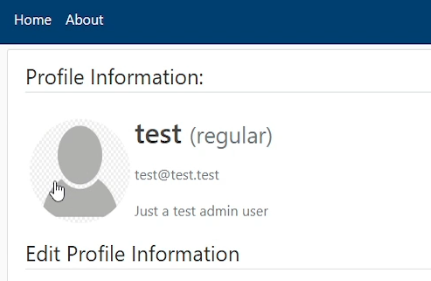
Let us see if our changes work. Nothing changes if we hit a refresh, but if we hover over this profile image, you can see the cursor changes!
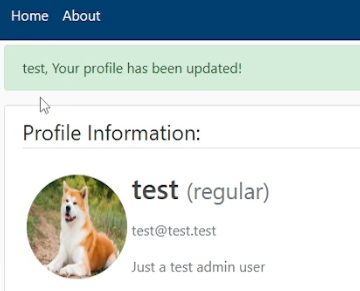
So let's click on our profile image and any image you want. But when we do that, nothing changes, but when we press an update button, we can see the changes!
We didn't need to modify any python code, etc., and we all did this straight inside our HTML template. It's hard to explain how it works, but we need to bother about that if it works? That's exactly what we wanted.
Conclusion:
We can edit more stuff in our profile, and our page looks way more attractive!
But what about changing the password if we want to remember the password or email confirmation? We will talk about this in future tutorials. For this tutorial, we reached the end. I thought it would be quicker and shorter, but it took a lot of time to show you and explain how everything works.
Of course, I hope this tutorial was helpful for you and you enjoyed reading it and liked it. There is still a lot of what to cover in Django that is very important.
See you in my next tutorial, final tutorial files you can download from my GitHub page.